White Travertine Pool Coping
White Travertine Pool Coping
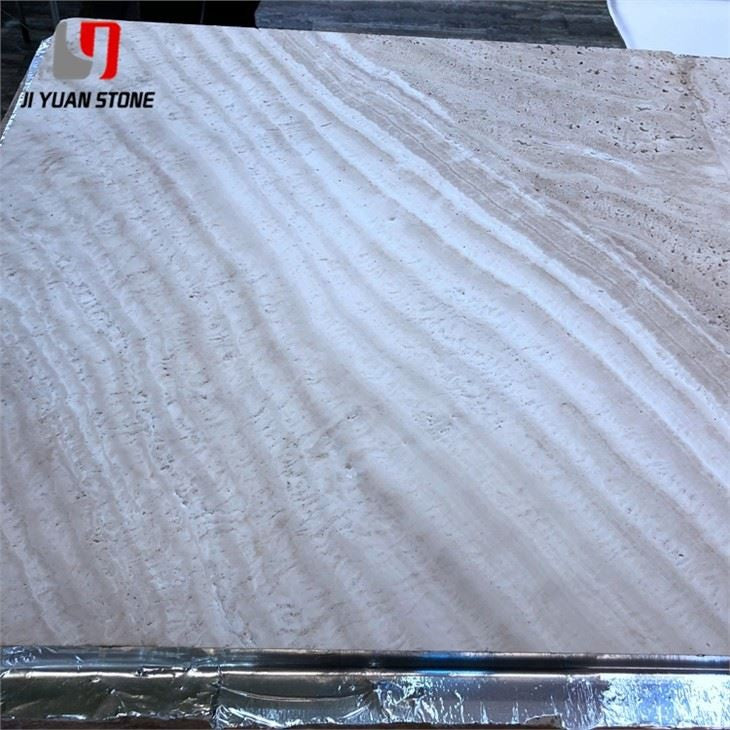
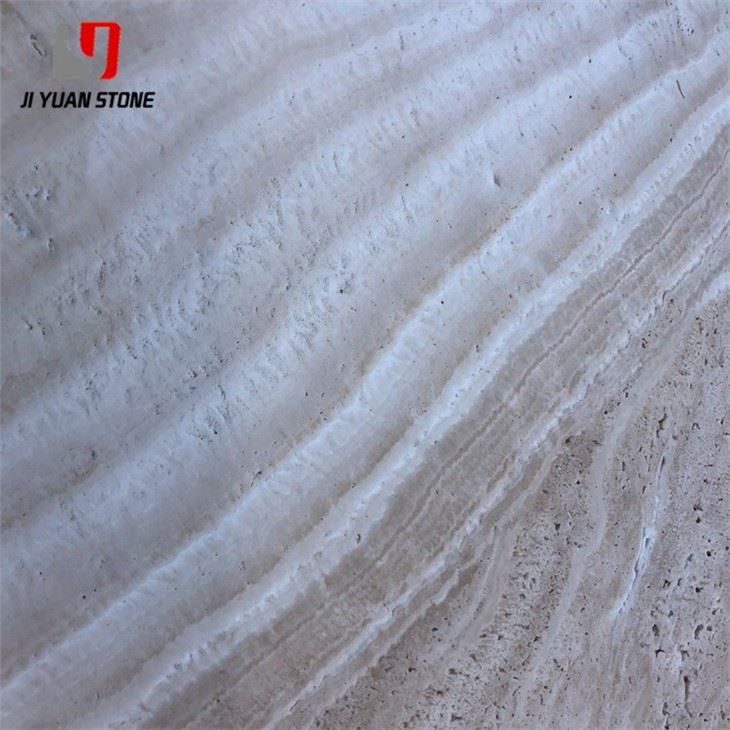
White Travertine Pool Coping – Elegant, Durable, and Designed for Precision Installation
Get the perfect finishing touch for your pool with our White Travertine Pool Coping. Made from high-quality travertine, this pool coping adds a touch of elegance and durability. With its weather-resistant properties, it's the perfect choice for any outdoor pool. Upgrade your pool today with our beautiful White Travertine Pool Coping.
| Feature | Details |
|---|---|
| Big slab Size |
|
| Tile Size |
|
| Vanity top |
|
| Countertop |
|
| Stair | step100-150x30-35x2/3cm riser100-150x12-17x2/3cm |
| Quality Control |
1) Polished degree: 90 degree or up. 2) Thickness tolerance: +/-0.5mm 3) Diagonal tolerance : +/-1mm. 4) Surface flatness tolerance: +/-0.3mm. 5) Adjacent edge verticality tolerance: +/-0.5mm, Precise Cutting by infrared-ray-cut machine. |
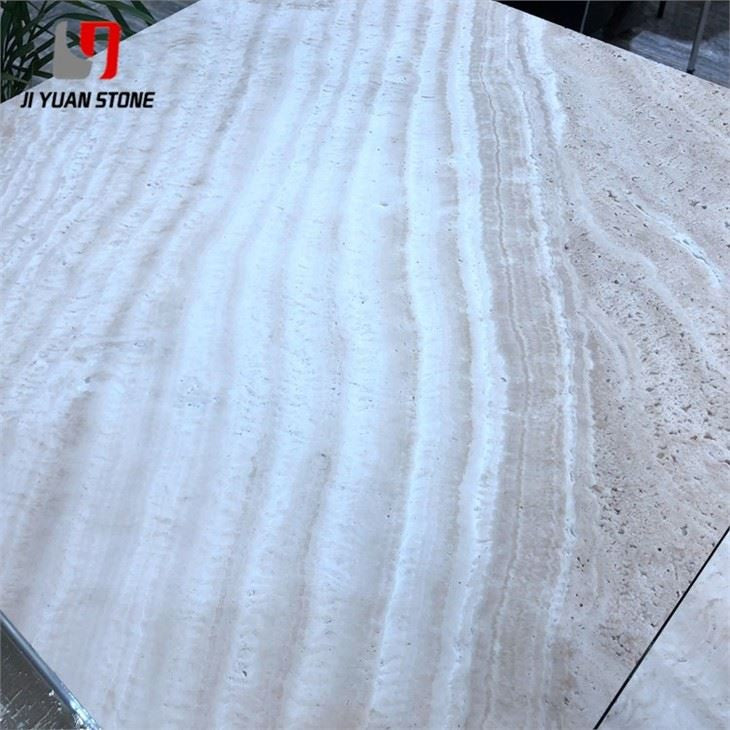
Transform your outdoor space with the natural beauty and resilience of White Travertine Pool Coping, engineered for refined aesthetics and structural integrity. Ideal for pool surrounds, spa edges, and water features, this material offers a timeless look with excellent slip resistance, making it both functional and beautiful.
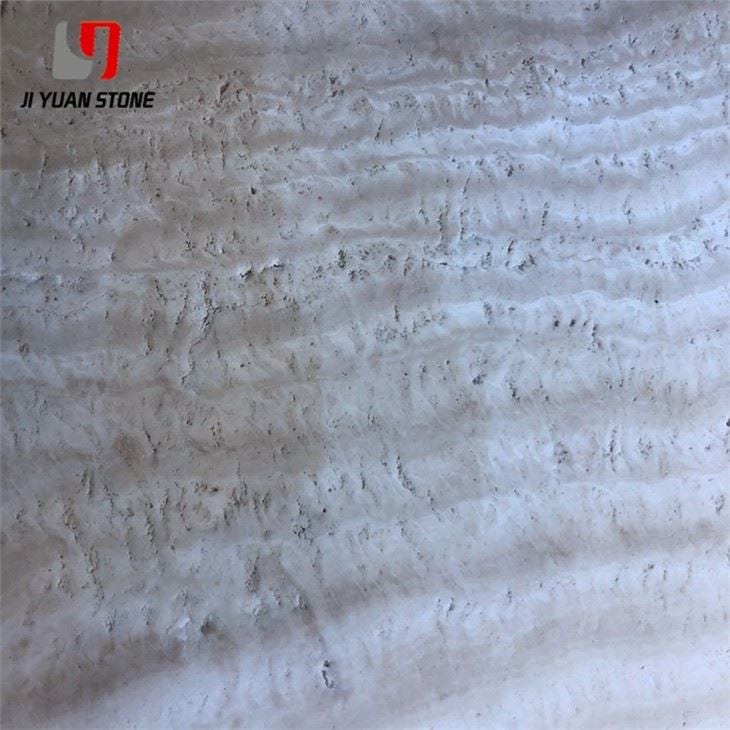
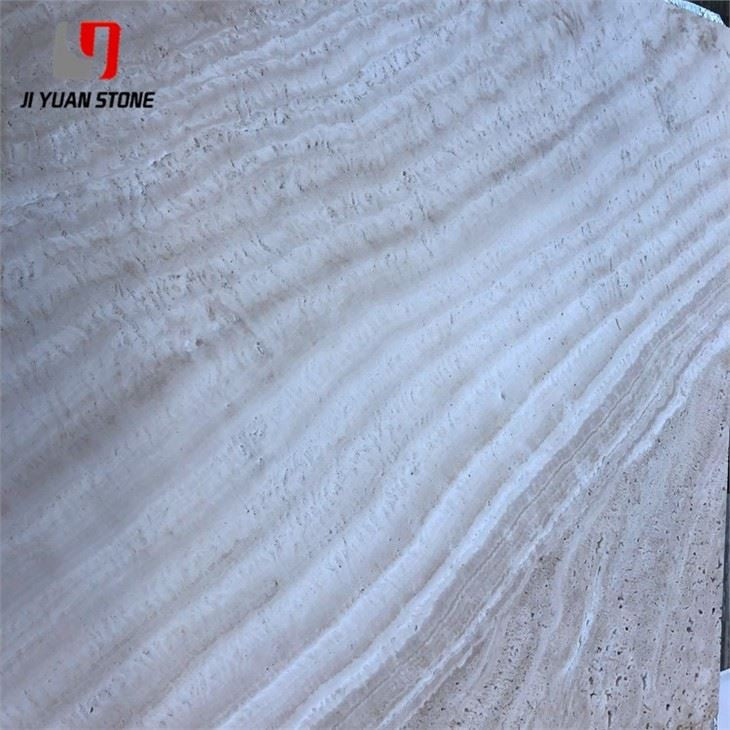
Crafted from premium-grade travertine, this pool coping features a cool, light tone that complements a wide variety of pool and landscape designs. Its durability and weather resistance make it ideal for both residential and commercial applications.
🛠️ Batch Embedded Cement Mortar & White Travertine Pool Coping Installation Guide
For long-lasting performance and flawless finish, follow these professional installation guidelines:
🧱 Batch Embedded Cement Mortar Preparation
- Mixing Ratio: 500# cement and medium sand in a 1:2.5 ratio.
- Optional Enhancement: Add fiber to improve the net-hanging capability of the mortar.
- Consistency: Control water content carefully for optimal application texture.
Application Steps:
- Apply from the top of the column downward.
- Allow cement slurry to fully penetrate the steel wire mesh.
- Maintain even thickness and surface flatness—avoid over-smoothing.
- Expose horizontal keel-tied steel wire when wiping the surface.
🧱 Columnar White Travertine Coping Facing Instructions
1. Master Mold Preparation
- Use thick plywood to build a master mold.
- Mold’s inner diameter must match the column’s outer diameter.
- Determine slab cutting angles based on mold alignment.
2. Cutting the Stone Slabs
- Position travertine slabs in veneer direction.
- Measure and cut slabs to precise butt seam angles.
- Use a stone-cutting machine for accurate trimming.
- Test slabs by placing on the mold to ensure tight seams.
🔧 Installation Process: Step-by-Step
Step 1: Setting the Reference Circle
- Align and secure the profiling model at the base of the column.
Step 2: Bottom Layer Alignment
- Clean slabs and straighten copper wires.
- Use predefined horizontal and vertical lines for positioning.
Step 3: Securing the Stone Slabs
- Begin from the smallest angle and carefully stretch slabs into place.
- Tie bottom copper wire to cross ribs—leave flexibility for adjustment.
- Tie top copper wire and stabilize with wooden wedge.
- Use a ruler to ensure proper alignment, then fully secure the wires.
Step 4: Layer-by-Layer Installation
- Install stone slabs sequentially for even coverage.
- Use lead padding for uneven gaps to maintain consistency.
- Ensure the first layer is perfectly flat, forming a strong base for upper layers.
🌟 Why Choose White Travertine Pool Coping?
- Elegant Finish: Naturally light color brightens pool surroundings.
- Anti-Slip Texture: Safe for wet environments.
- Weather Resistant: Withstands sun, rain, and chlorine.
- Versatile: Perfect for curved pools, spas, or decorative columns.
- Expert Install Ready: Detailed guide included for professional results.
🛒 Order now to elevate your poolside with timeless elegance and engineered strength. For custom sizes, bulk orders, or technical support, contact our stone specialists today.
Share