Travertine Wall Tiles
Travertine Wall Tiles
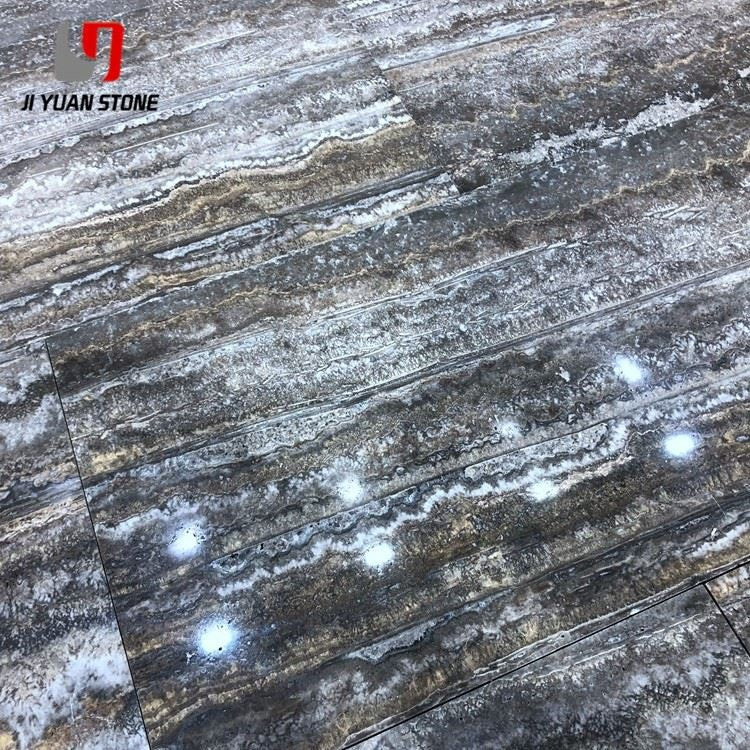
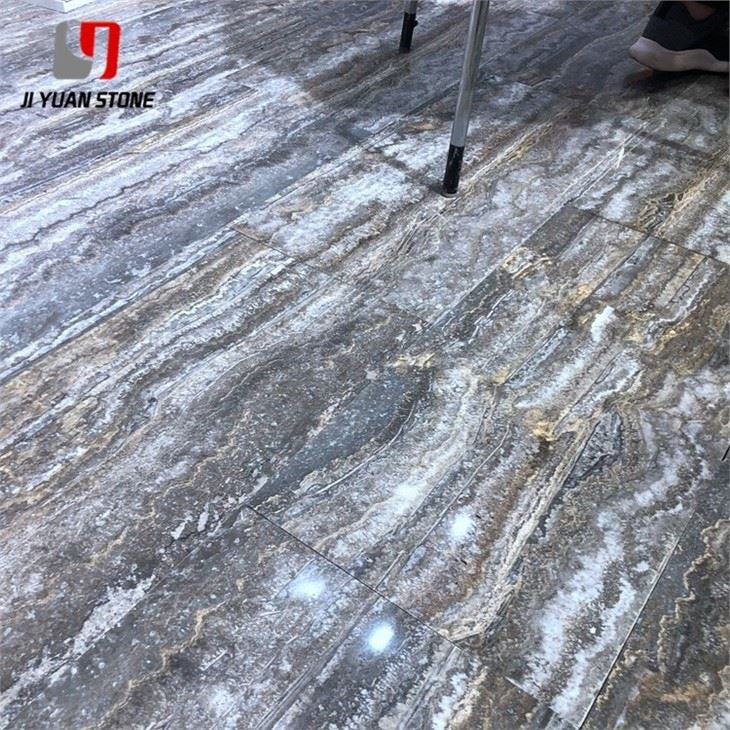
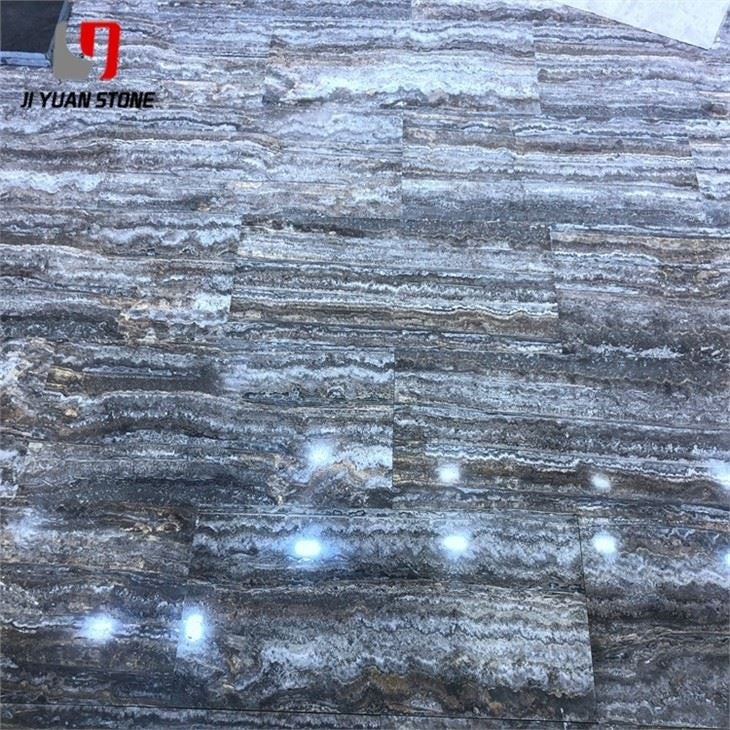
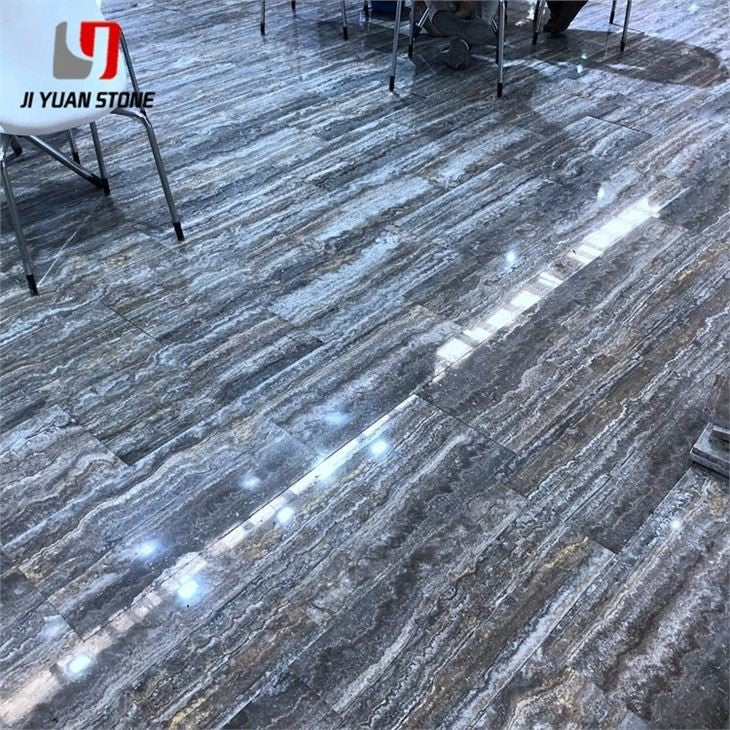
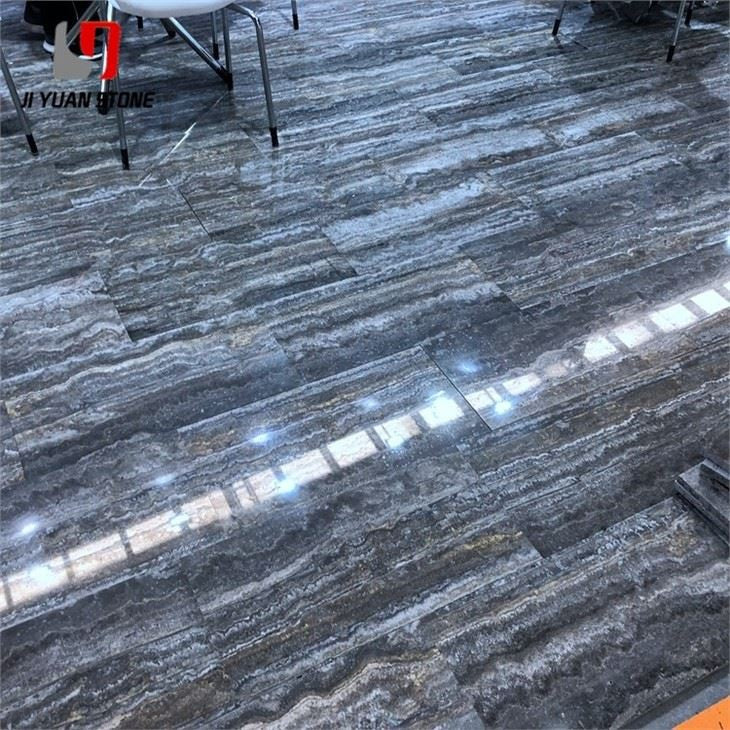
Travertine Wall Tiles – Reinforced Strength with Luxurious Finish
These travertine wall tiles offer a beautiful, natural option for surfaces in your home or office. With their unique patterns and variations, these tiles provide a stunning look that is both durable and easy to maintain. Perfect for any wall application, these tiles will add a touch of elegance to your space.
| Feature | Details |
|---|---|
| Material | Natural travertine |
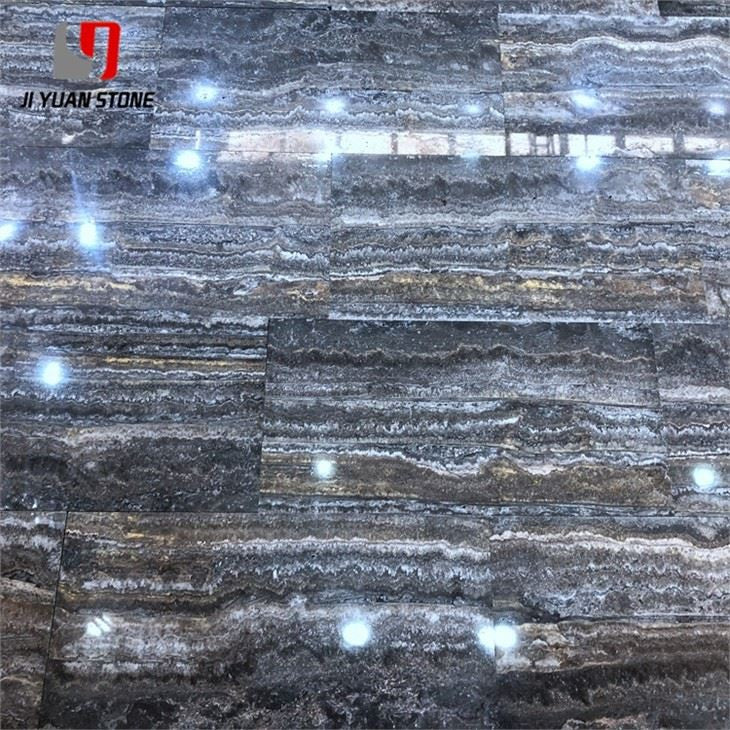
| Colour | Silver, Grey |
| Thickness | 15mm , 16mm , 18mm , 20mm or customized |
| Slab sizes |
|
| Tile sizes | 300x300mm ; 600x600mm; 450x450mm etc |
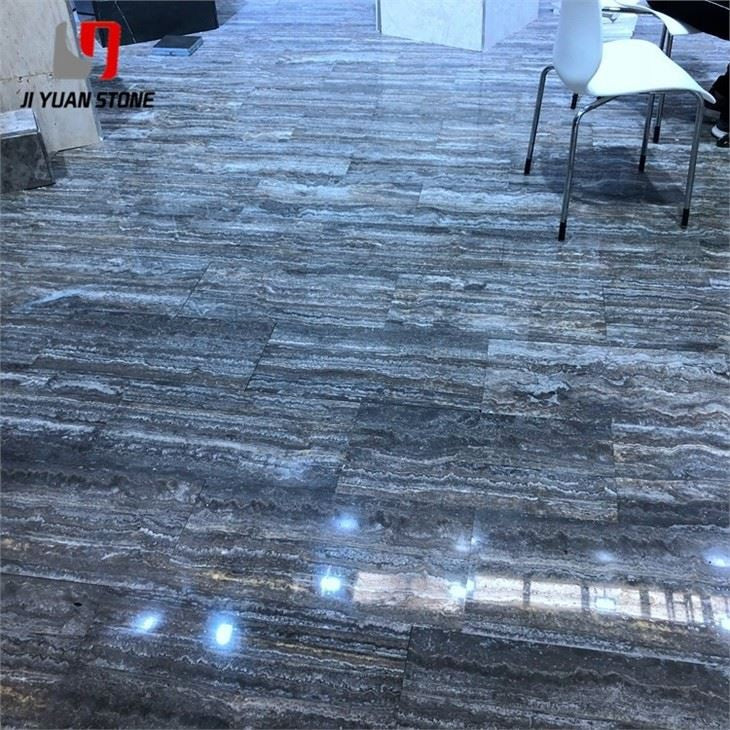
| Surface | Polished |
| Edge processing | Machine cutting, round edge etc |
| Packing | Seaworthy wooden crate, pallet |
Travertine wall tiles offer timeless elegance, natural beauty, and remarkable versatility for both residential and commercial spaces. However, to maximize their durability and appearance, proper reinforcement, installation, and polishing techniques are essential—especially when dealing with porous surfaces vulnerable to corrosion or moisture intrusion.
🧱 Why Reinforcement Matters for Travertine Wall Tiles
Travertine, being a natural sedimentary stone, contains microscopic pores. Over time, these can absorb moisture and lead to internal weakening. If not reinforced correctly, tiles may loosen, resulting in polish failure or structural issues.
One key issue found during field applications is ineffective reinforcement due to improper drying. While factory drying is efficient, on-site drying poses challenges—moisture re-enters through the tile's bottom and sides, making it difficult for reinforcing agents to penetrate properly. As a result, polishing materials may peel off and fail to bond effectively.
To address this, choosing the right hydrophilic, high-penetration, and color-safe reinforcement material is critical.
🛠️ Optimized Travertine Wall Tile Installation & Reinforcement Sequence
To ensure smooth installation and a long-lasting mirror finish, follow this expert sequence:
Step 1: Surface Grinding
- Begin with a 50-mesh rough grinding disc to smooth the tile and open up surface pores.
Step 2: Drying & Ventilation
- Dry the tile with strong air circulation for at least 24 hours, depending on humidity and ambient temperature.
Step 3: Apply Curing Agent
- Use a solvent-based penetrating curing agent to block moisture migration from below and allow it to dry thoroughly.
Step 4: Reinforcement Application
- First Application: Use diluted reinforcement for deeper penetration into gaps. Cover with plastic film for 12 hours to prevent evaporation.
- Second Application: Apply a thicker coat for gap-filling. Again, cover for 12 hours.
Step 5: Hole Repair
- Fill large holes with color-matched, strong-adhesion glue, then fill smaller gaps. Let dry completely.
Step 6: Scar Removal
- Use 100#–300# butterfly pads to grind off excess adhesive and smooth the surface.
Step 7: Fine Grinding
- Continue with 500# to 3000# pads for a seamless finish.
Step 8: Polishing
- Achieve a high-gloss mirror-like surface using polishing pads or machines.
Step 9: Final Sealing or Wax Curing
- Finish with a crystal face treatment or wax curing to lock in the shine and protect the surface.
💡 Key Features of Our Travertine Wall Tiles
- Made from high-quality natural travertine
- Pre-tested for structural integrity and durability
- Compatible with advanced reinforcement & polishing treatments
- Smooth, elegant finish suitable for modern and traditional interiors
- Easy to maintain with proper sealing and care
Experience the refined texture, earthy tones, and mirror-smooth finish of expertly reinforced Travertine Wall Tiles. Perfect for bathrooms, living rooms, accent walls, and high-end commercial applications.
🛒 Order now and enhance your walls with timeless sophistication and proven durability.
Share