


Travertine Mosaic Wall Tiles
Travertine Mosaic Wall Tiles
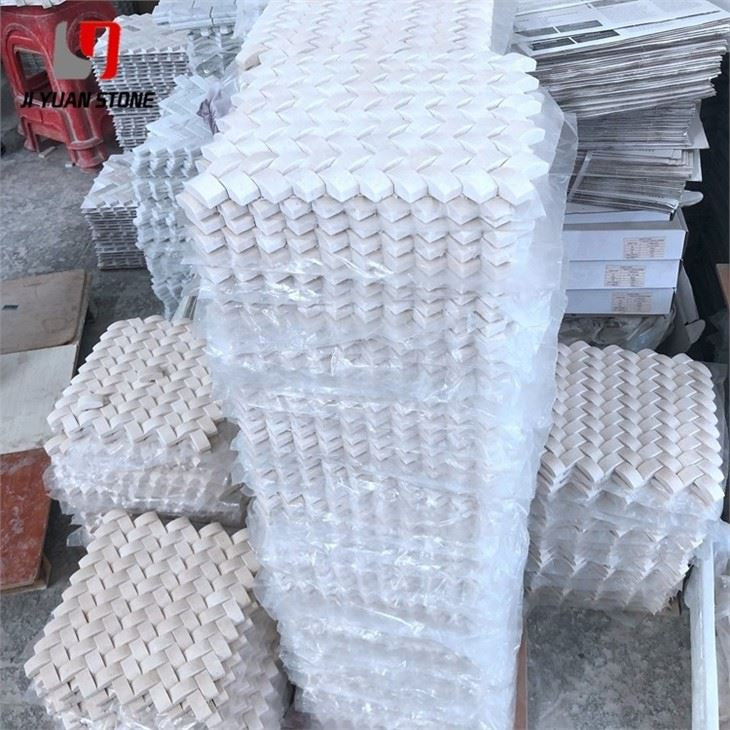
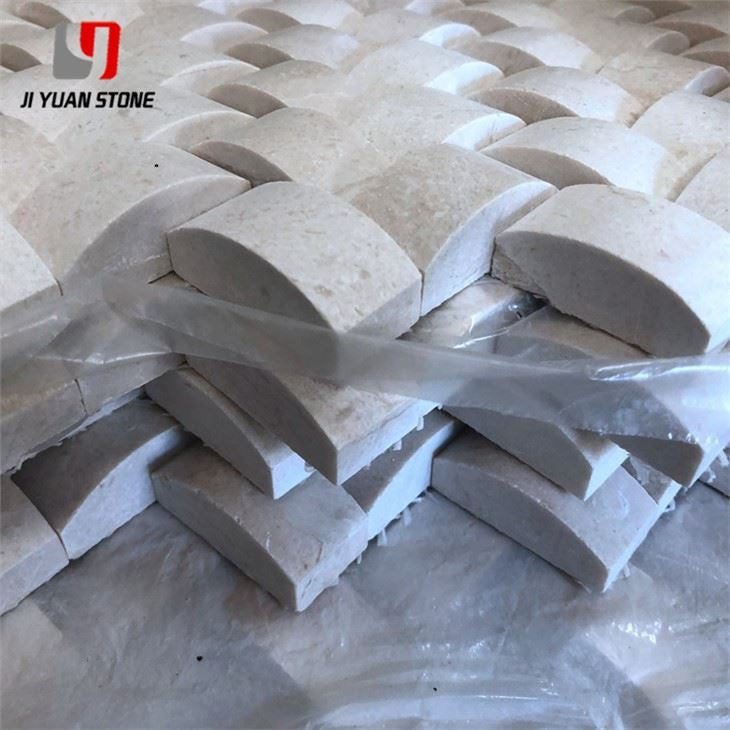
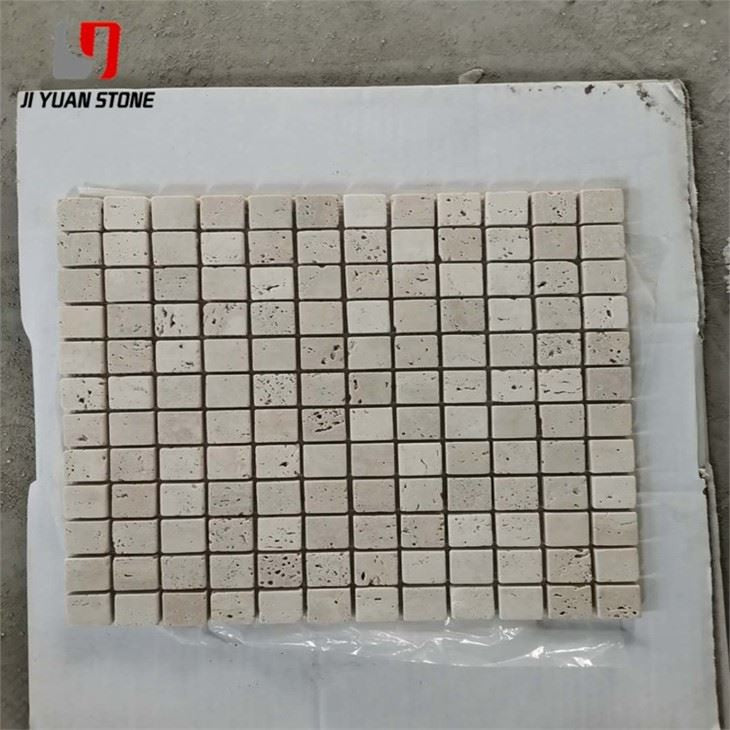
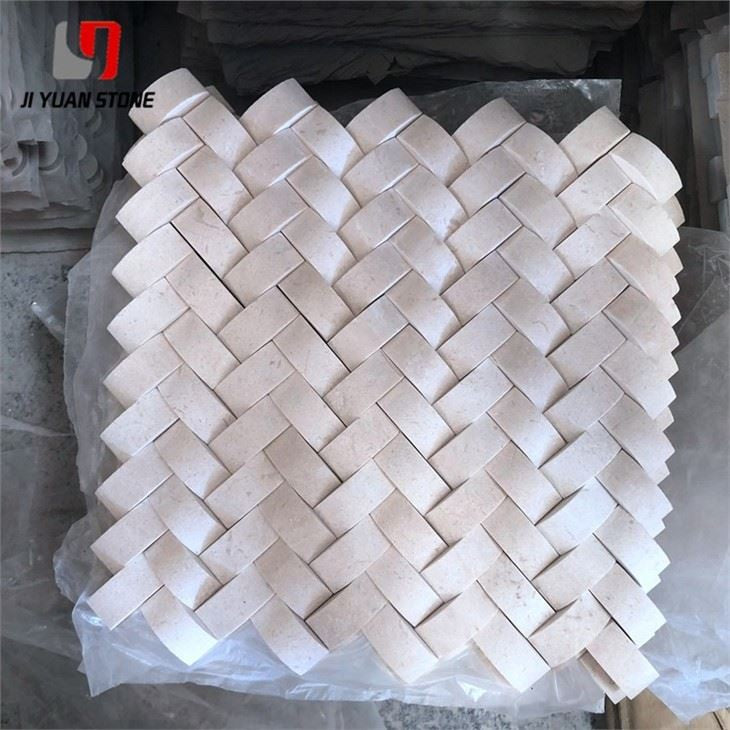
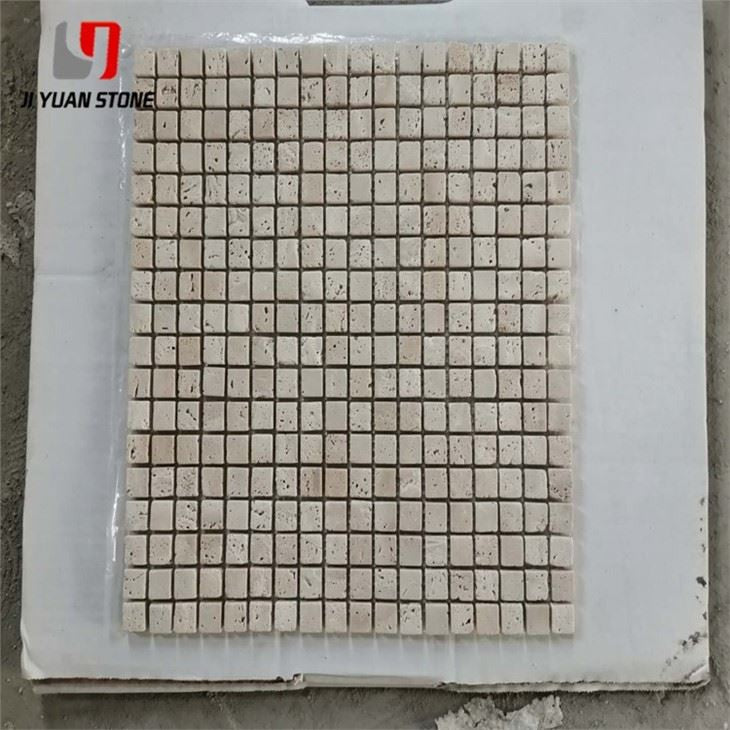
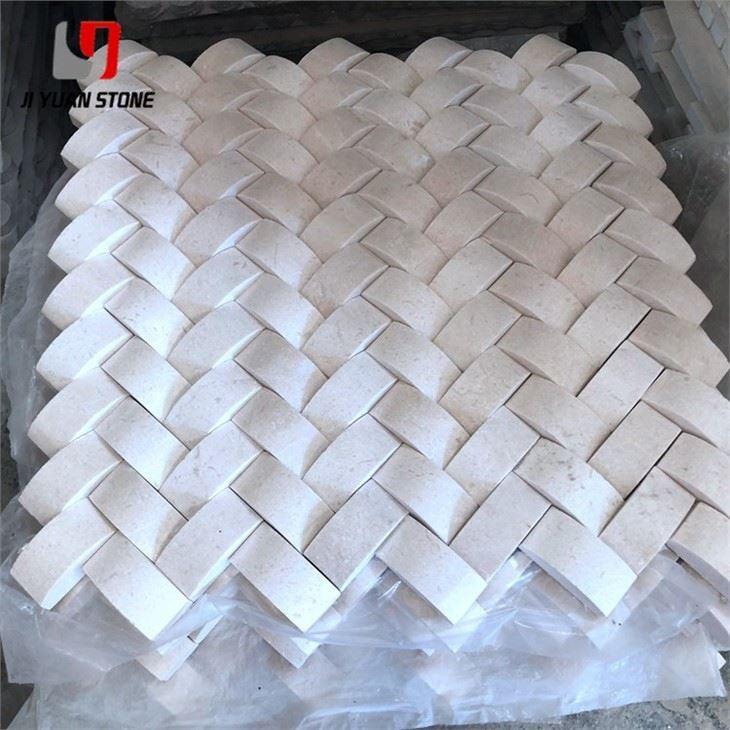
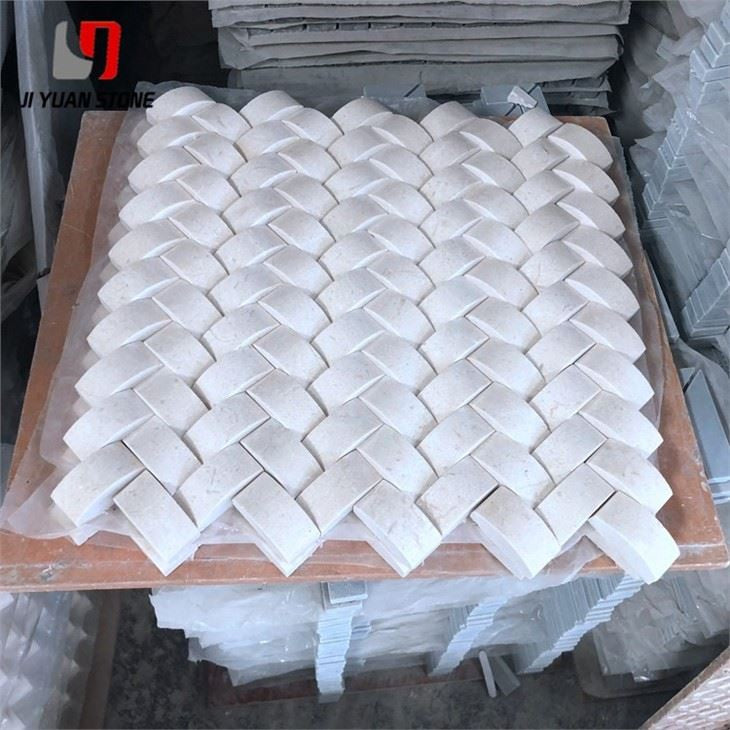
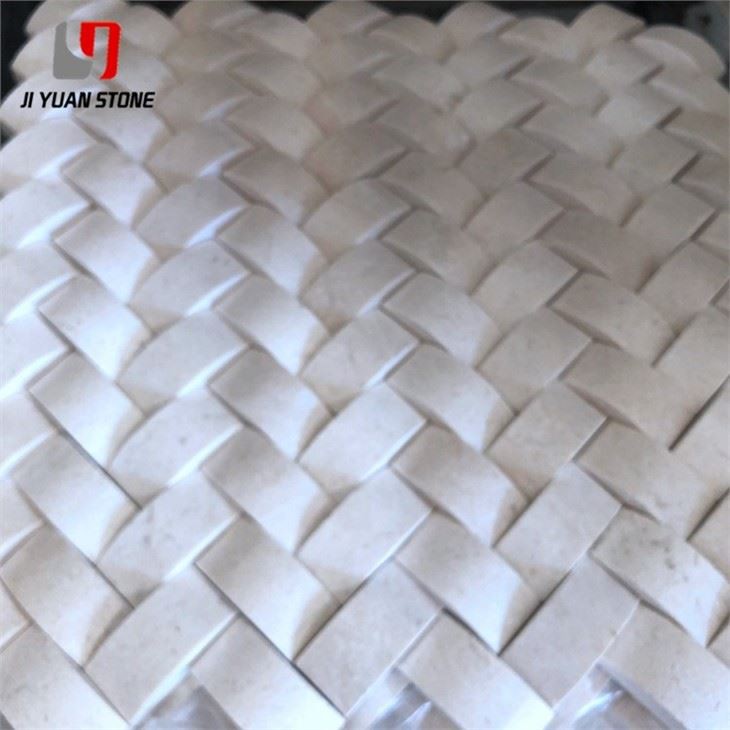
Discover the timeless beauty of our Travertine Mosaic Wall Tiles. Crafted from premium quality travertine, these tiles add a touch of elegance to any space. With their durable and versatile nature, our tiles are perfect for enhancing the look of your walls and providing long-lasting beauty.
| Feature | Details |
|---|---|
| Material | Natural Marble Stone,Travertine,Limestone |
| Colour | As pictures show or customized |
| Shape | Square, Basketweave, Mini brick, Modern brick, Herringbone, Subway, Hexagon, Octagon, Mixed, Grand fan, Penny round, Hand clipped, Tesserae, Random strip, River rocks, 3D cambered, Pinwheel, Rhomboid, Bubble round, Circle bubble, Stacked, etc... |
| MOQ | Unrestricted |
| Warranty | 3 years |
| After-sale Service | Online technical support |
| Size | Customized Size |
| Style | Modern |
| Occasion | Wall or Floor |
| Project Solution Capability | Total solution for projects |
| Application | Bathroom |
| Design Style | Modern |
| Place of Origin | China |
| Model Number | Brass Marble Waterjet Mosaic |
| Shape | Irregular |
Grouting and Reinforcement Construction Process for Travertine Mosaic Wall Tiles
1️⃣ Multi-Step Grouting Process
✅ Importance of Multi-Step Grouting
- One-time filling is not recommended as thick glue may trap solvents inside, causing the surface to harden while the lower layer remains soft.
- The correct process involves grouting, curing, regrouting, and recuring to ensure proper adhesion and strength.
✅ Final Filling for Shrinkage
- If colloid shrinkage is significant, apply a third layer of glue.
- Use polished joint sealant for larger cavities and leaks.
2️⃣ Grouting Reinforcement Construction Steps
✅ Step-by-Step Process
- Surface Cleaning
- Brushing with Oil-Repellent Material
- First Thin Glue Filling & Curing
- Second Glue Filling & Curing
- Surface Inspection & Repairs
- Final Curing
3️⃣ Detailed Construction Steps
✅ (1) Surface Cleaning
- Remove all floating dust using a vacuum cleaner with a brush head.
- The brush helps weaken suction, preventing damage to the travertine mosaic wall tiles while ensuring clean gaps for better glue adhesion.
✅ (2) Coating Oil-Proof Protective Material
- Different joint glues and stone particles can lead to oil seepage and discoloration.
- Apply oil protection to prevent stains.
- Quick-drying acrylic resin (special preparation required) is recommended.
✅ (3) Diluting & Matching Joint Potting Glue
- The first pour of grouting glue should be diluted to allow deep penetration into primer pores and tight joints.
-
Control factors:
- Penetration time
- Curing time
- Shrinkage rate
✅ (4) Color Matching the Grout
- Travertine mosaic wall tile gaps require careful grout color selection.
- The grout color should highlight the stone’s texture while ensuring a harmonious overall appearance.
-
Approval Process:
- The general contractor and owner should approve the final grout color.
- A sample model should be prepared for selection, as shown in Figure 6.
- Ensure uniform color consistency between liquid glue and caulking glue.
Final Thoughts
By following these precise grouting and reinforcement steps, travertine mosaic wall tiles achieve:
✅ Stronger adhesion
✅ Better aesthetic integration
✅ Minimal shrinkage & surface defects
✅ Increased durability & longevity
This step-by-step approach guarantees a high-quality finish with lasting structural integrity. ✅
Share