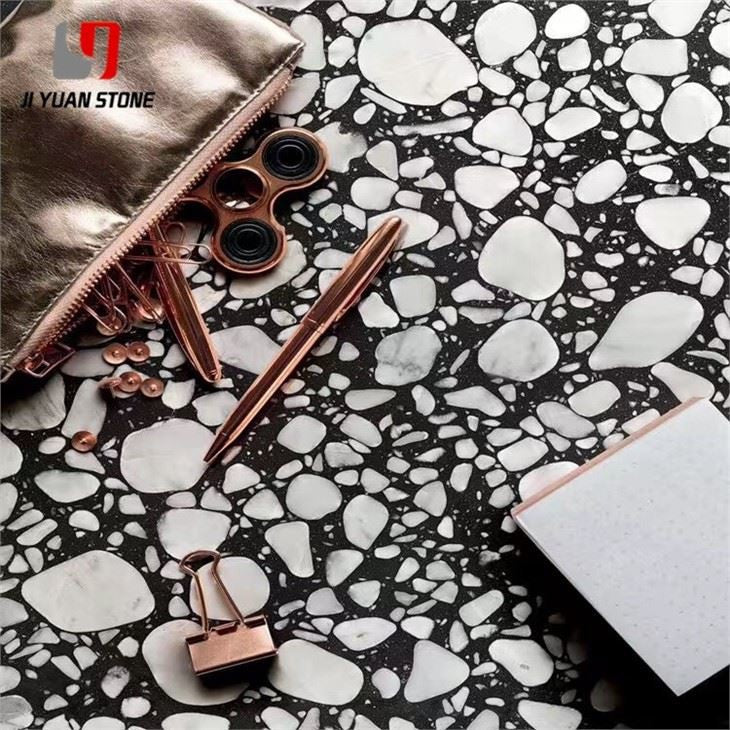
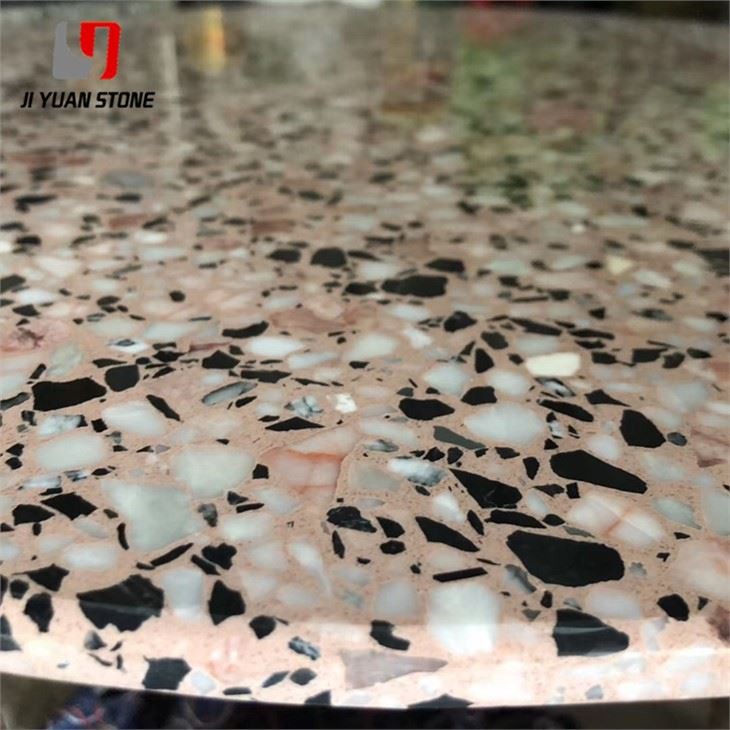
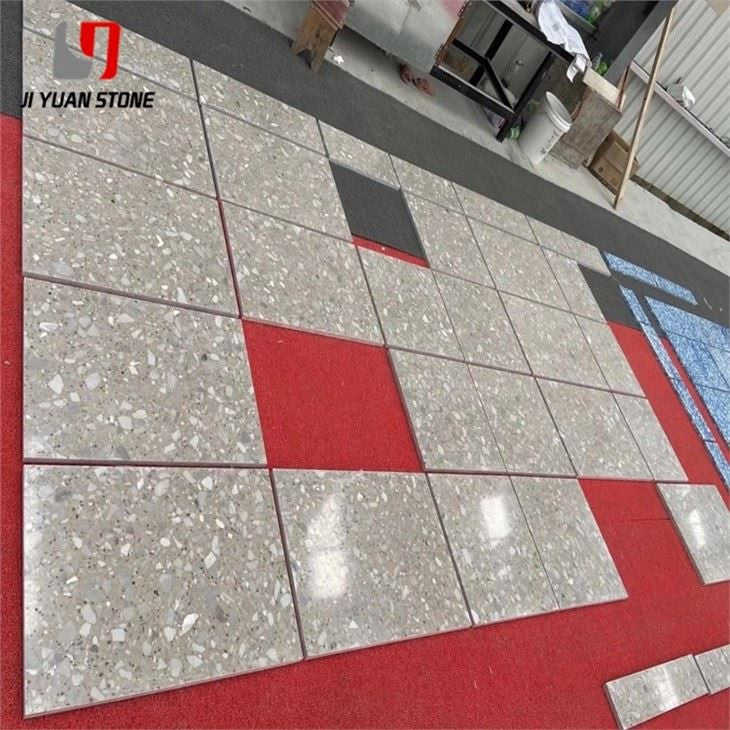
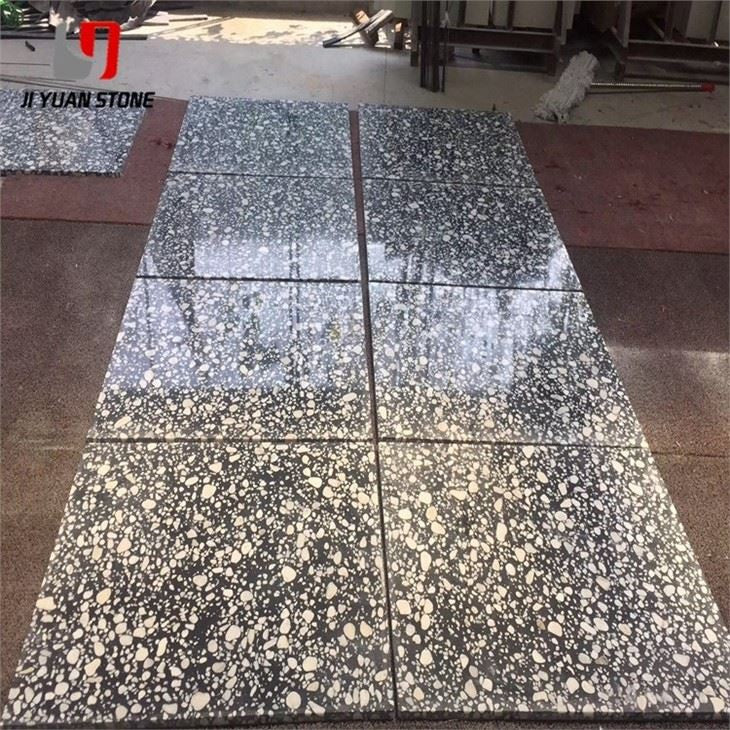
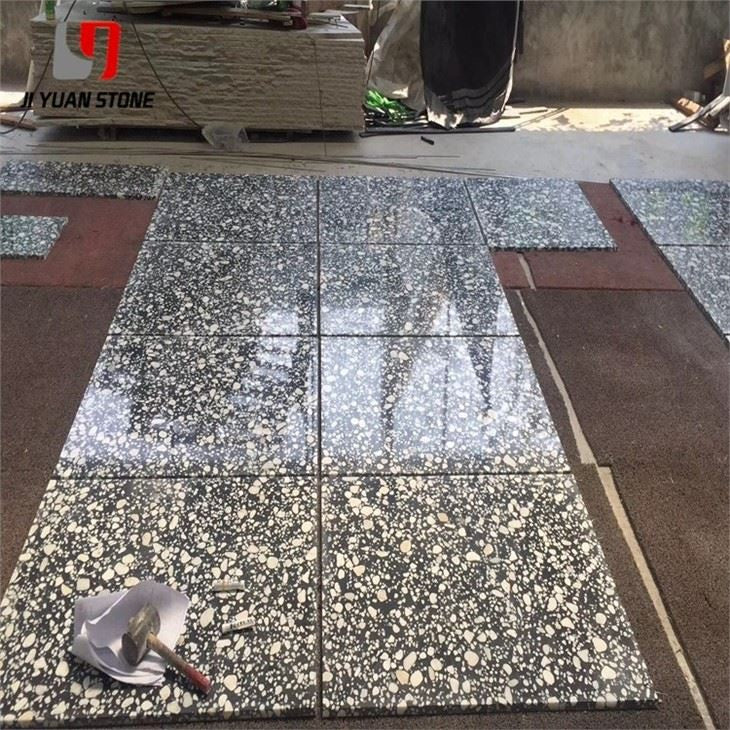
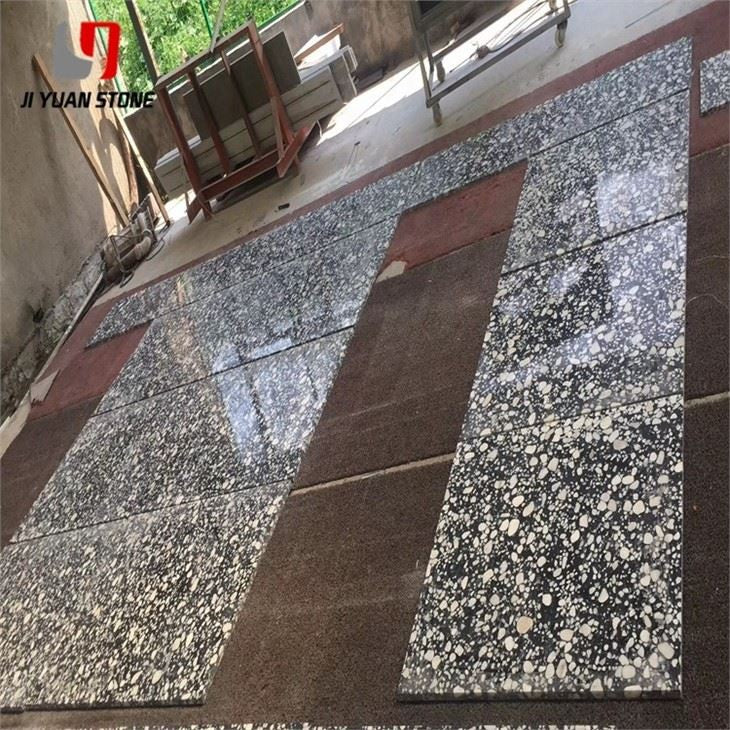
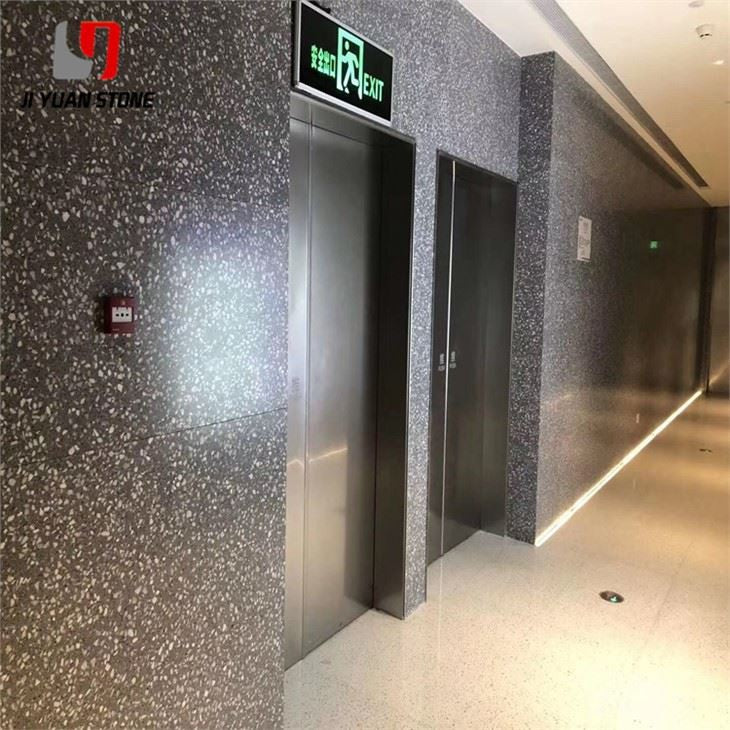
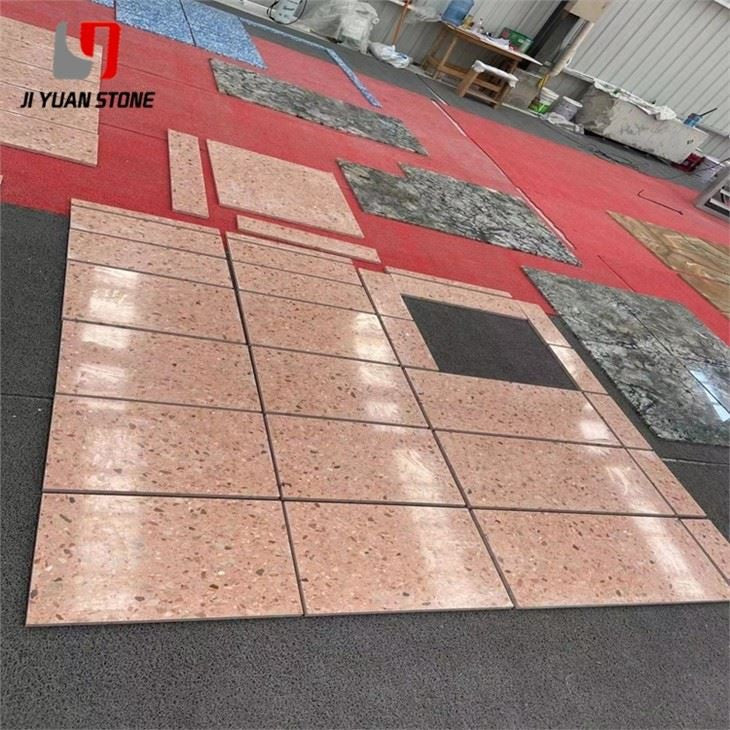
Upgrade your architectural and interior projects with high-quality terrazzo tiles from Purchase Stones. Our terrazzo tiles combine timeless elegance, modern versatility, and exceptional strength—ideal for residential, commercial, and public spaces. With customizable colors, patterns, and finishes, our terrazzo tiles add a touch of style while meeting the highest standards of durability and functionality.
Whether you're creating seamless floors, eye-catching wall panels, or decorative surfaces, our terrazzo tiles deliver outstanding aesthetic appeal and performance.
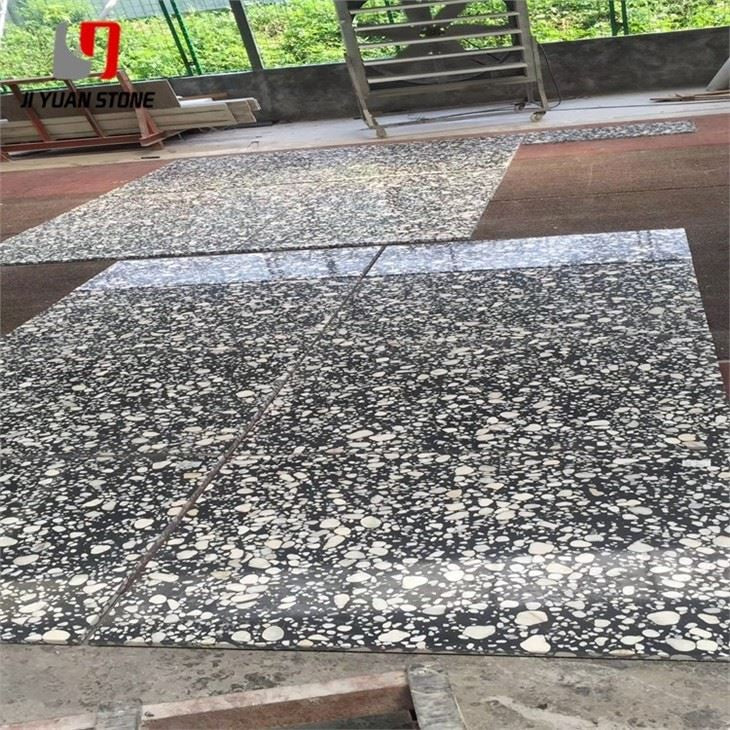
Our Advantages:
a) Owner of professional factories
b) Experienced and have sophisticated craftsmanship
c) Strict control of every process and thoroughly quality-inspected
d) Large stock, fast delivery, and a well-established reputation in the stone industry
Stringent Quality Control at Every Stage:
We prioritize quality at every step of the production process:
-
Inspection Coverage: From raw block cutting to final packing and container loading
-
Precision Tolerances: Thickness tolerance controlled within ±0.5mm to ±1mm
-
Double Inspection System: Each process checked by two expert inspectors
-
Pre-Shipment Transparency: Detailed product images shared with customers before dispatch
Operation Process for Terrazzo Tiles:
Our terrazzo tile manufacturing follows a meticulous, step-by-step process to ensure strength, flatness, and visual consistency:
3.1 Process Flow:
- Grassroots Treatment
- Elevation Marking
- Elastic Grid Line Bouncing
- Spreading the Leveling Mortar
- Curing
- Grid Bar Inlay
- Terrazzo Mixture Preparation
- Cement Slurry Bonding Layer
- Terrazzo Mixture Laying
- Rolling and Smoothing
- Trial Grinding
- Rough Grinding
- Fine Grinding
- Polishing
- Oxalic Acid Cleaning
- Waxing and Final Polish
Highlights from the Installation & Finishing Process:
3.1.1 Grassroots Treatment:
All surface contaminants like grease, grout, and dust are removed using steel chisels and wire brushes to ensure a solid bond.
3.1.2 Elevation Setting:
Using the +50cm elevation reference line, the exact height of the terrazzo tile surface is determined and marked consistently throughout the space.
3.1.3 Spreading the Leveling Layer:
A 1:3 cement mortar layer is applied after creating 1.5m spaced mortar cakes to achieve a uniformly flat surface using a 2m long scraper and wooden trowel.
3.1.4 Curing:
The leveling layer is cured for 24 hours until the compressive strength reaches 1.2MPa, ensuring stability before terrazzo tile application.
3.1.5 Grid Line Bouncing:
According to design specs, 1m × 1m grids are marked to define tile patterns or decorative layouts. This step is essential for aesthetic alignment and symmetry.
Versatile Applications:
- Commercial lobbies
- Office buildings
- Residential interiors
- Retail spaces
- Public institutions
Our terrazzo tiles are not only a design choice but also a sustainable and long-lasting solution for modern spaces.
Get in Touch for Custom Orders or Bulk Inquiries
Whether you need a custom terrazzo tile color palette or large-scale commercial quantity, Purchase Stones ensures efficient fulfillment and dependable service.
Contact us today and transform your space with premium terrazzo tiles that reflect craftsmanship, durability, and timeless beauty.