Terrazzo Outdoor Tiles
Terrazzo Outdoor Tiles
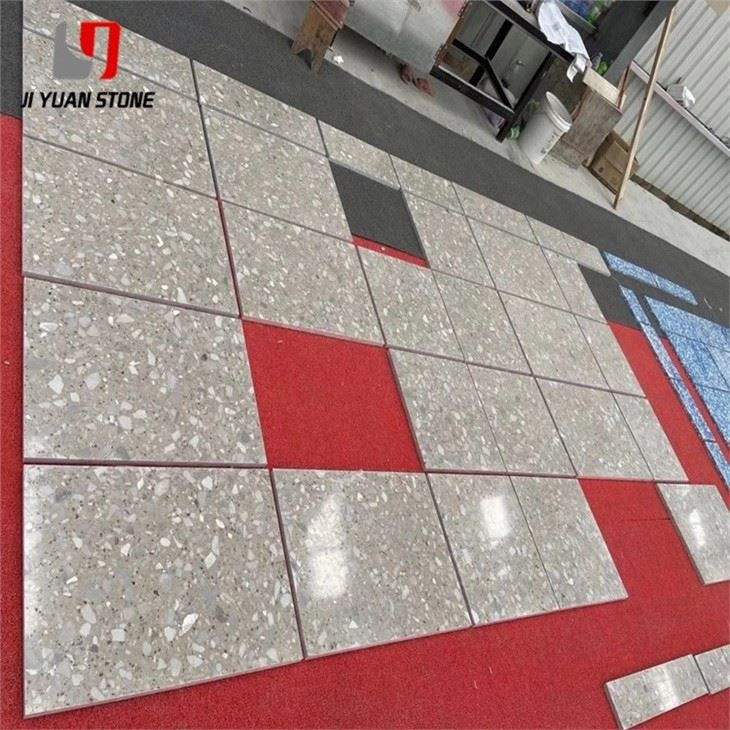
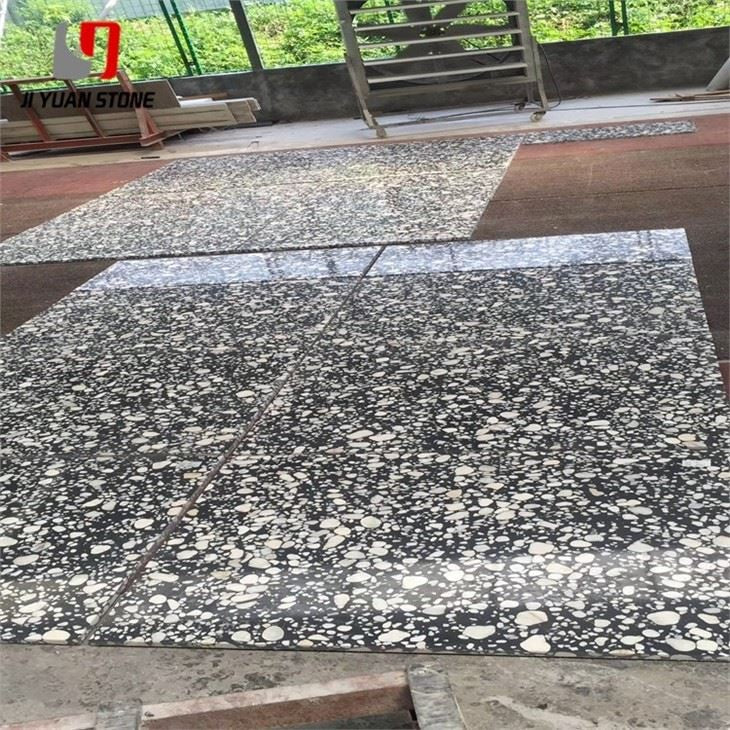
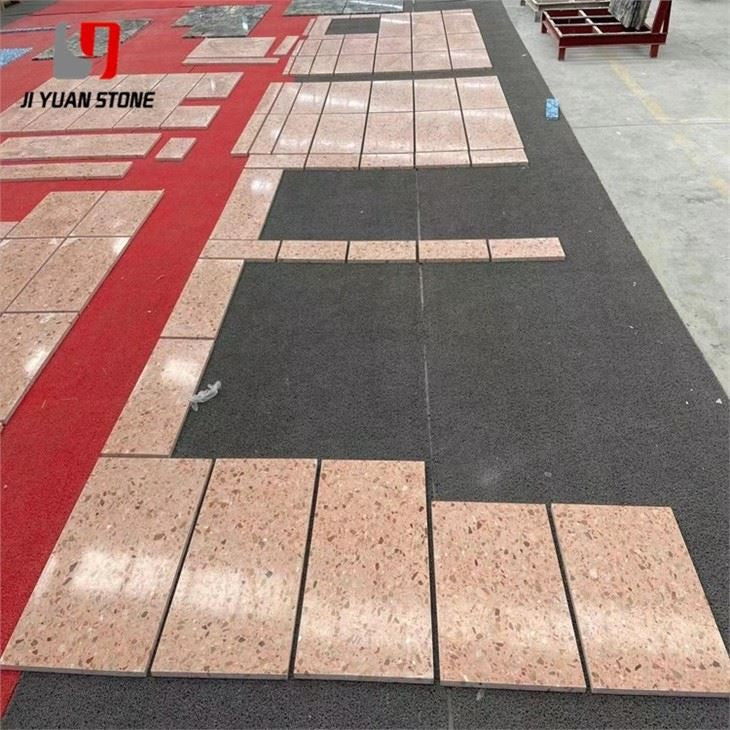
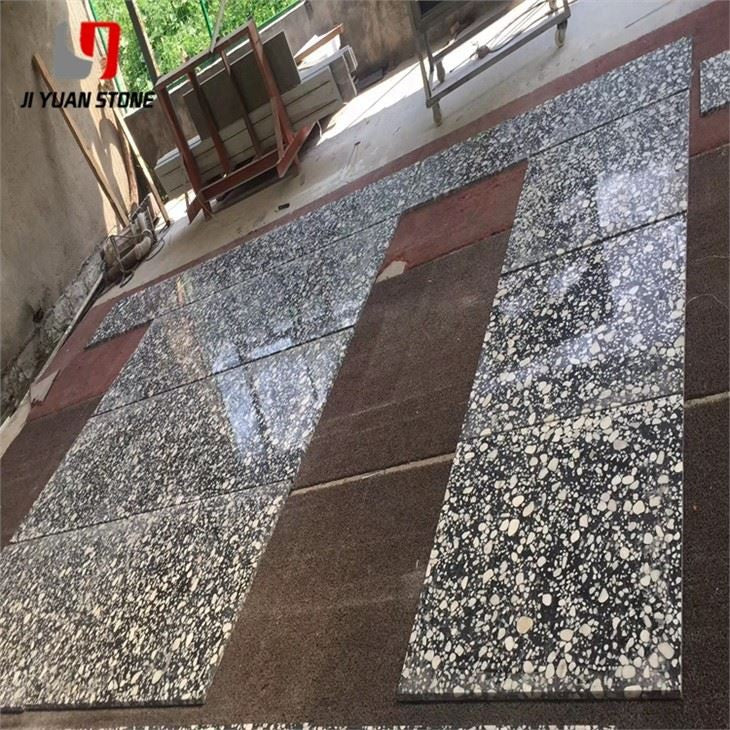
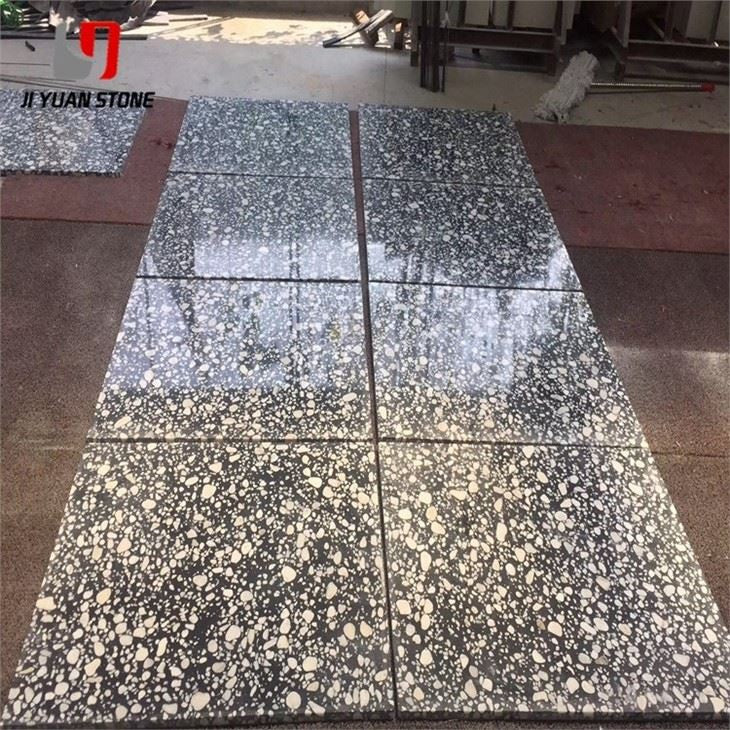
Terrazzo Outdoor Tiles – Durable Elegance for Exterior Spaces
Upgrade your outdoor space with our durable Terrazzo Outdoor Tiles. Made from high-quality materials, these tiles provide a slip-resistant surface for safety and are resistant to various weather conditions. Enhance the look of your patio, poolside, or walkway with our stylish and low-maintenance terrazzo tiles.
| Feature | Details |
|---|---|
| Material | Terrazzo |
| Surface Finish | Polished,Honed |
| Common Slabs sizes |
|
| Common Tile sizes |
|
| Countertops Size |
|
| Vanity Tops Size |
|
| Edge Style | Bull nose, ogee, bevel, eased, polish, etc |
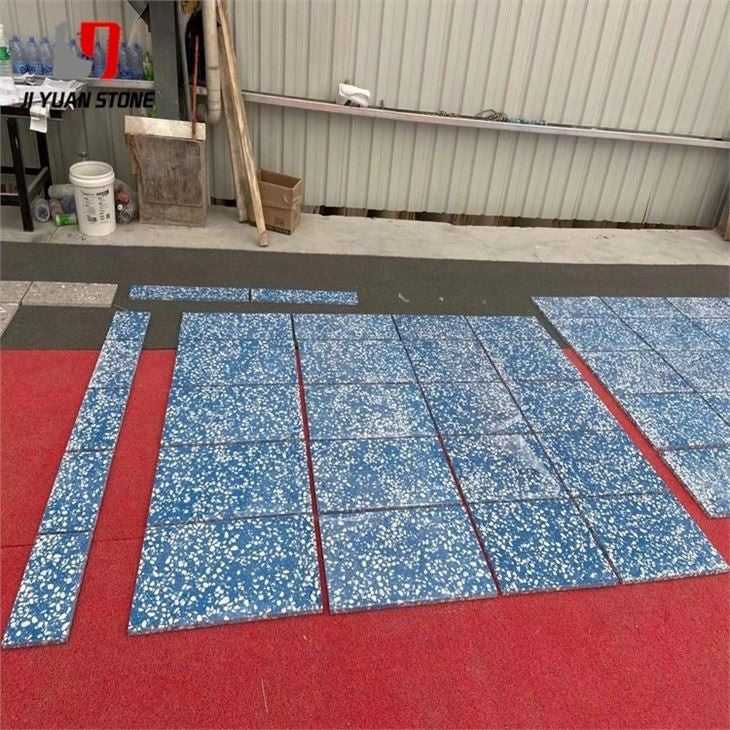
Upgrade your outdoor spaces with our premium terrazzo outdoor tiles, a perfect blend of durability, design versatility, and weather resistance. Crafted with precision, these tiles are ideal for patios, rooftops, walkways, and other outdoor areas where aesthetics meet function.
Construction & Installation Guidelines for Long-Lasting Terrazzo Surfaces:
1 . Sequential Surface Layer Construction:
The terrazzo surface layer must be constructed in proper sequence — beginning from the top and working downward. On multi-floor buildings, always complete the flat roof and wall painting before installing the terrazzo tiles and footboards. This prevents slurry leakage and protects decorative work on lower floors. Ensure scaffolding does not damage the tile surface, and apply reliable water seepage protection.
2 . Color Matching & Material Prep:
Before laying the terrazzo tiles, prepare a sample panel using the selected mix ratios and color combinations. After approval, this sample will guide material preparation and final execution.
3 . Base Layer Inspection & Treatment:
Thoroughly inspect the base layer’s elevation and flatness. Reinforce and clean the surface as needed to ensure proper bonding and structural integrity.
4 . Surface Layer Elevation & Bonding:
Mark accurate elevation using a unified reference line. Wet the base layer 24 hours before laying, then brush a cement slurry bonding layer just before installation. Maintain a water-cement ratio of 0.4–0.5 and control the slurry thickness to within 1mm. Apply the cement mortar bonding layer (ratio 1:3 or 1:3.5) before the slurry dries to ensure strong adhesion.
5 . Cement Mortar Bonding Layer:
Follow guidelines similar to those in Section 18-4-3 for laying cement mortar surfaces. Rub the surface with a wooden trowel to create texture, enhancing bonding. Post-installation, maintain for 24 hours, adjusting curing based on temperature until compressive strength reaches at least 1.2N/mm².
6 . Grid Division & Pattern Alignment:
Before tile installation, divide the bonding layer into 1m grids and patterns per design specifications. Ensure grid lines align with the base layer’s shrinkage seams for synchronized movement and to avoid cracking.
7 . Grid Insert Placement:
Align copper or glass inserts precisely with ruler boards and elastic lines. Fix inserts using plain cement grout, ensuring the top is straight and aligned 3mm below the surface. Angle the grout on both sides in a V-pattern for secure bonding. Perform a second alignment during initial cement setting to ensure perfect grid integration.
Why Choose Our Terrazzo Outdoor Tiles?
- High strength and weather resistance
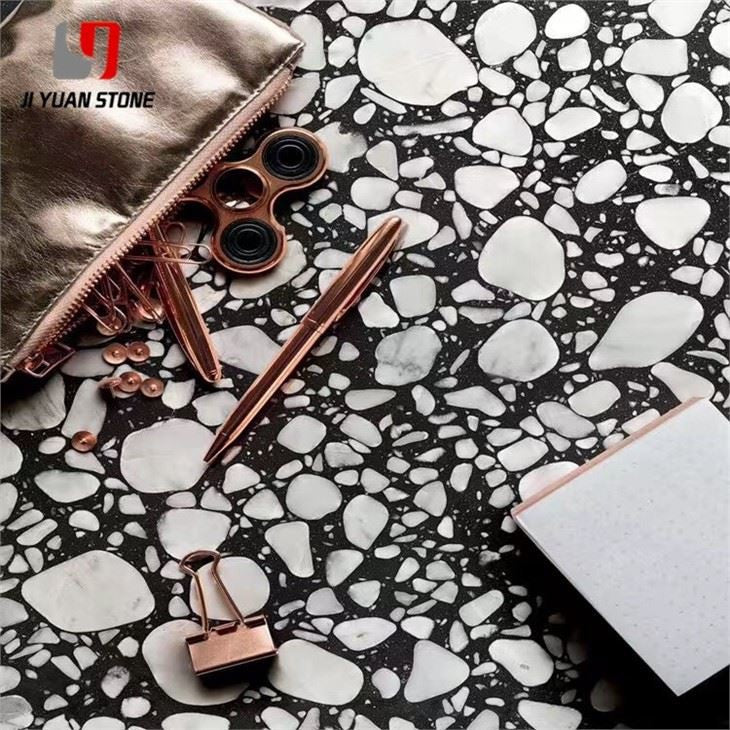
- Customizable colors and grid patterns
- Long-lasting, low-maintenance finish
- Ideal for residential and commercial projects
Bring timeless sophistication and superior performance to your outdoor design with Purchase Stones’ terrazzo outdoor tiles — engineered for enduring beauty and built to last.
Share