Terrazzo Concrete Pavers
Terrazzo Concrete Pavers
Terrazzo Concrete Pavers – Stylish, Durable & Expert Installation Guide | Purchase Stones
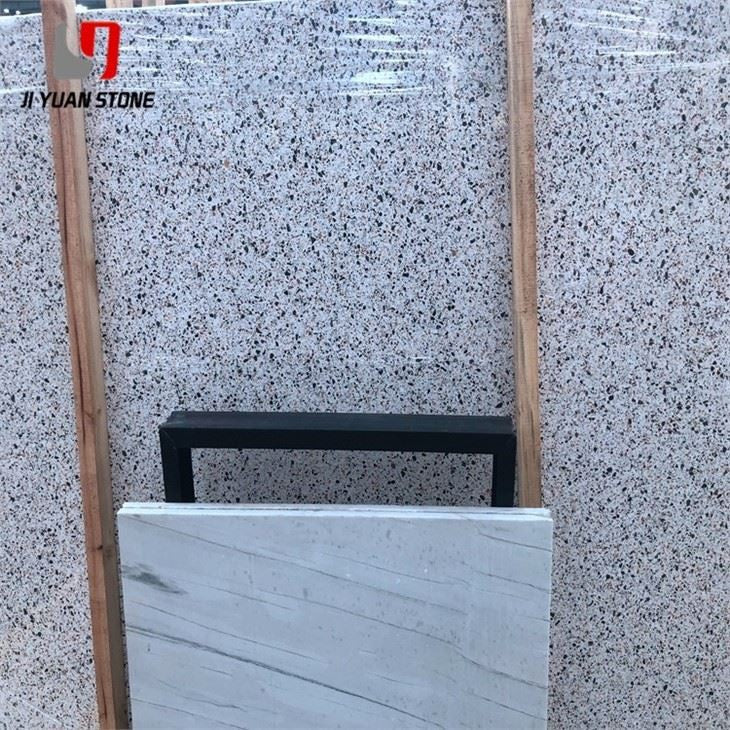
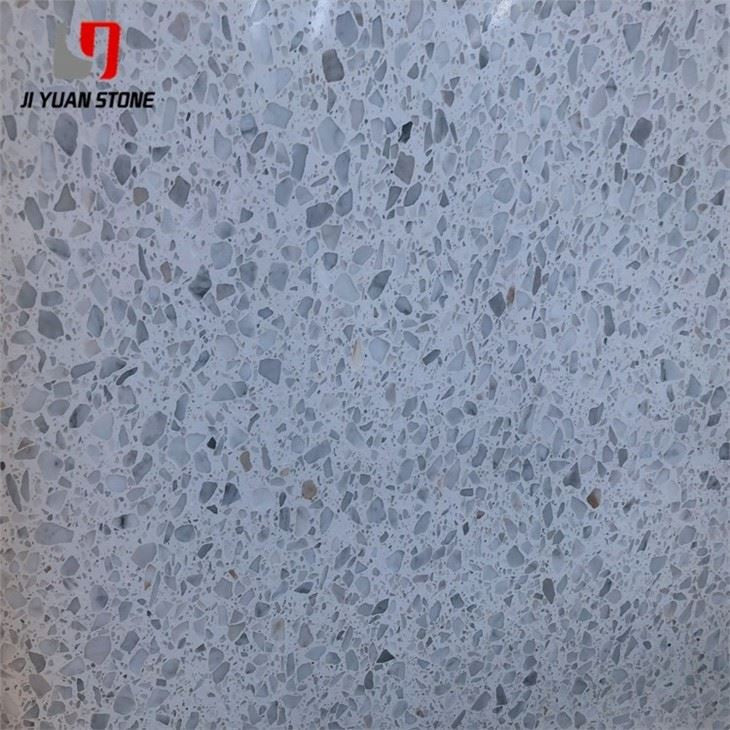
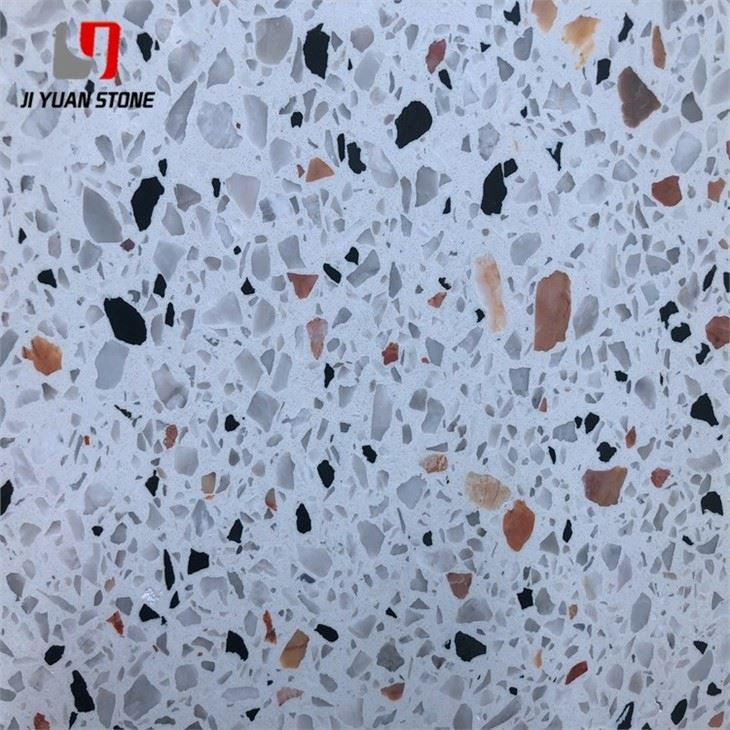
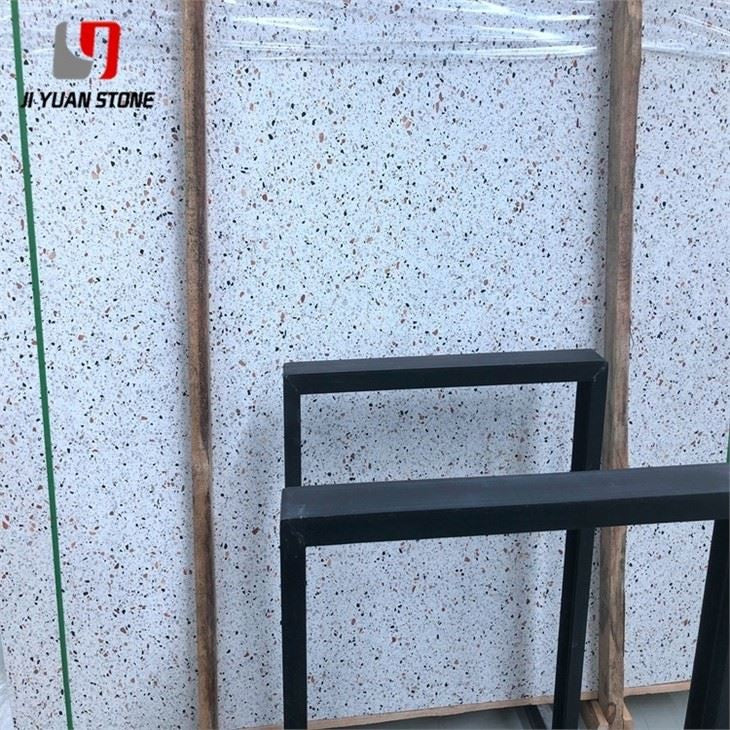
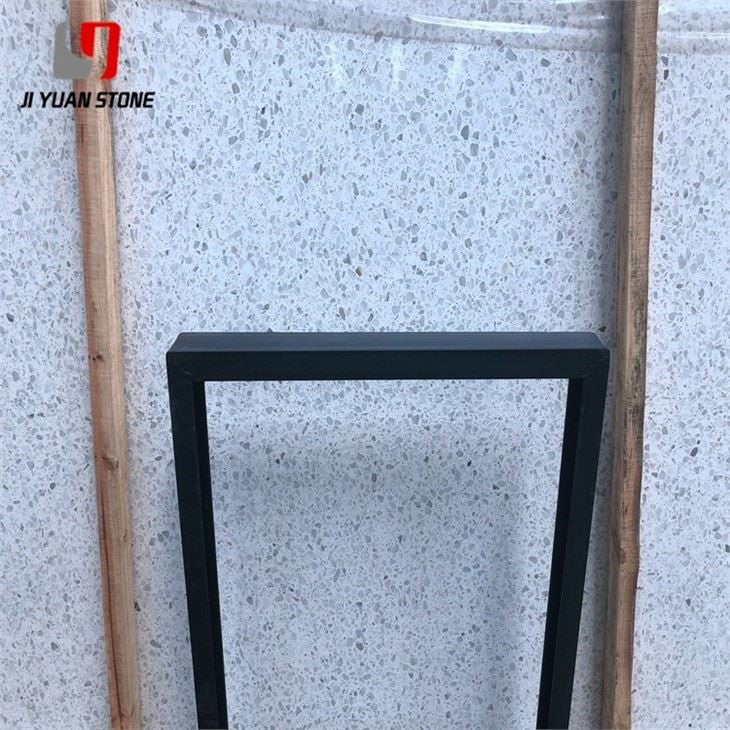
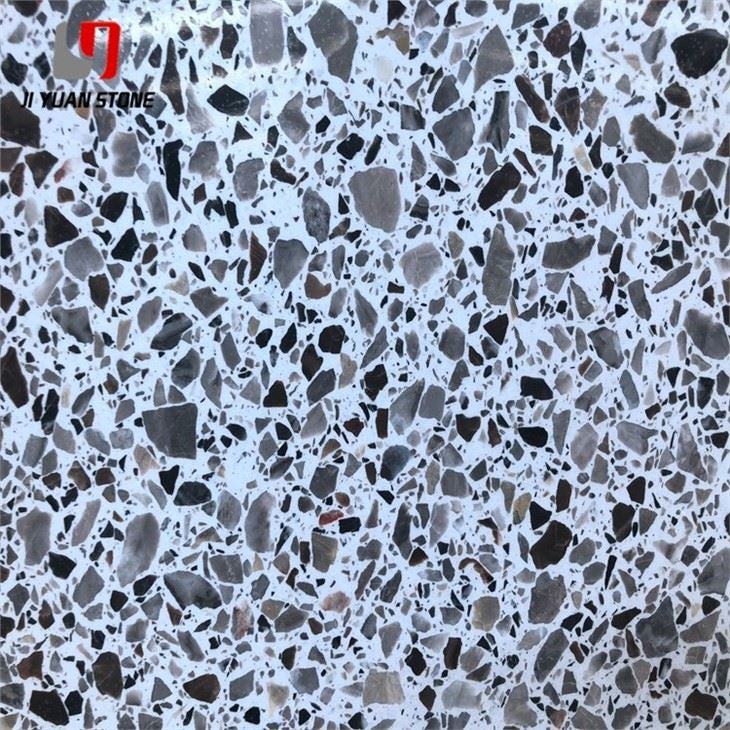
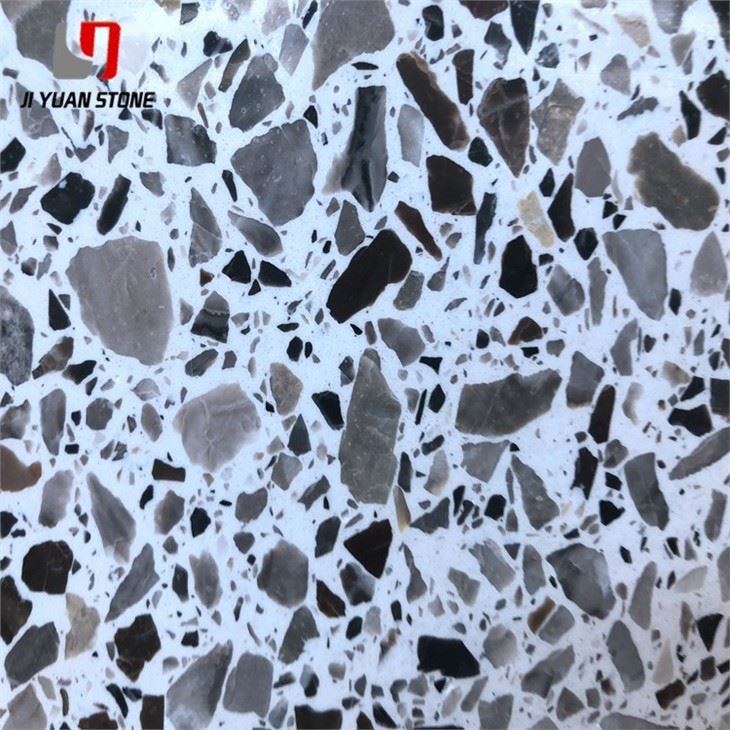
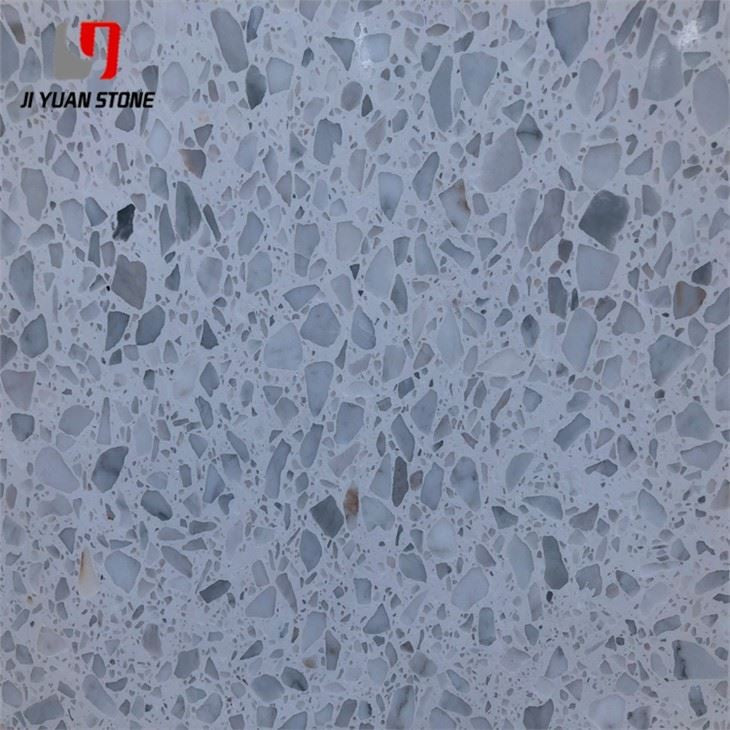
Expertly crafted with durable concrete, our Terrazzo Concrete Pavers add a touch of elegance to any outdoor space. With their unique terrazzo design, these pavers offer both style and functionality. Enjoy their long-lasting and easy-to-maintain surface for years to come. Enhance your outdoor landscape with these top-quality pavers.
| Feature | Details |
|---|---|
| Material | Terrazzo |
| Surface Finish | Polished,Honed |
| Common Slabs sizes |
|
| Common Tile sizes |
|
| Countertops Size |
|
| Vanity Tops Size |
|
| Edge Style | Bull nose, ogee, bevel, eased, polish, etc |
Enhance your outdoor and indoor spaces with the elegance and strength of Terrazzo Concrete Pavers from Purchase Stones. Designed for durability, weather resistance, and visual appeal, our terrazzo pavers are perfect for patios, walkways, driveways, courtyards, and architectural accents. With their unique speckled finish, they offer a timeless style that complements both modern and classic designs.
To ensure maximum performance and flawless results, it’s essential to follow proper installation and grouting techniques.
3.3.6 Grouting
1 . Mixing Mortar: Combine cement mortar at a 1:2.5 ratio, adding water until it reaches a porridge-like consistency (8–12 cm slump). Place the mixture into a half-sized bucket.
2 . Pouring Technique: Slowly pour the grout with an iron dustpan, avoiding contact with marble or prefabricated terrazzo concrete pavers.
3 . Tapping for Exhaust: While filling, gently tap the paver surface with a rubber hammer to release trapped air.
4 . Layered Grouting:
- First Layer: Fill to 15 cm (not exceeding one-third of paver height). This step anchors the copper wire at the base and secures the slab—handle gently to prevent shifting. If any slab moves, dismantle and reinstall immediately.
- Allow 1–2 hours for initial setting before checking alignment.
- Second Layer: Fill to 20–30 cm and allow to set.
- Third Layer: Fill to 5–10 cm below the slab’s top.
3.3.7 Wiping the Seam
Once all slabs are installed, remove any gypsum and slurry residue. Scrub with a linen cloth, prepare a matching color paste for caulking, and fill joints evenly. Ensure gaps are dense, uniform, clean, and consistent in color.
3.3.8 Column Veneer Installation
For cylindrical marble, prefabricated terrazzo concrete pavers, or polished granite columns:
- Follow the same springing, drilling, steel tying, and wall veneer installation process.
- Before grouting, secure the slabs with groove-shaped wooden clips to prevent expansion.
Outdoor Summer Installation Tip
When installing terrazzo pavers or polished granite outdoors in summer, take precautions to protect surfaces from direct sun exposure to avoid rapid drying and potential damage.
Why Choose Purchase Stones Terrazzo Concrete Pavers?
- Exceptional Strength: Designed to withstand heavy foot traffic and outdoor conditions.
- Low Maintenance: Easy to clean and resistant to stains.
- Design Versatility: Available in a variety of patterns and finishes.
- Professional Installation Support: Step-by-step guides for long-lasting results.
By following these expert installation and grouting guidelines, you’ll ensure your terrazzo concrete pavers remain secure, beautiful, and functional for decades.
Order now from Purchase Stones and bring a perfect balance of style, performance, and craftsmanship to your space.
Share