Terrazzo Concrete
Terrazzo Concrete
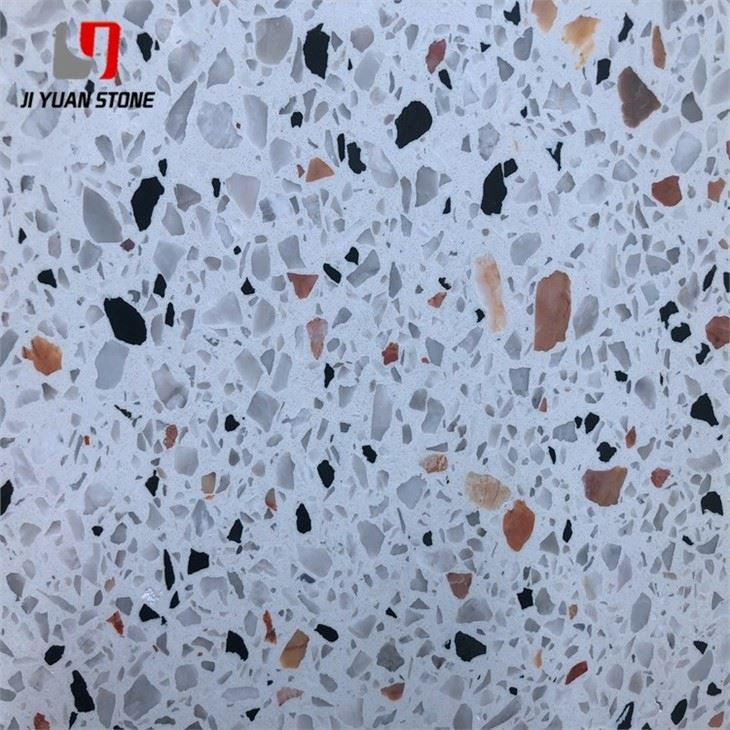
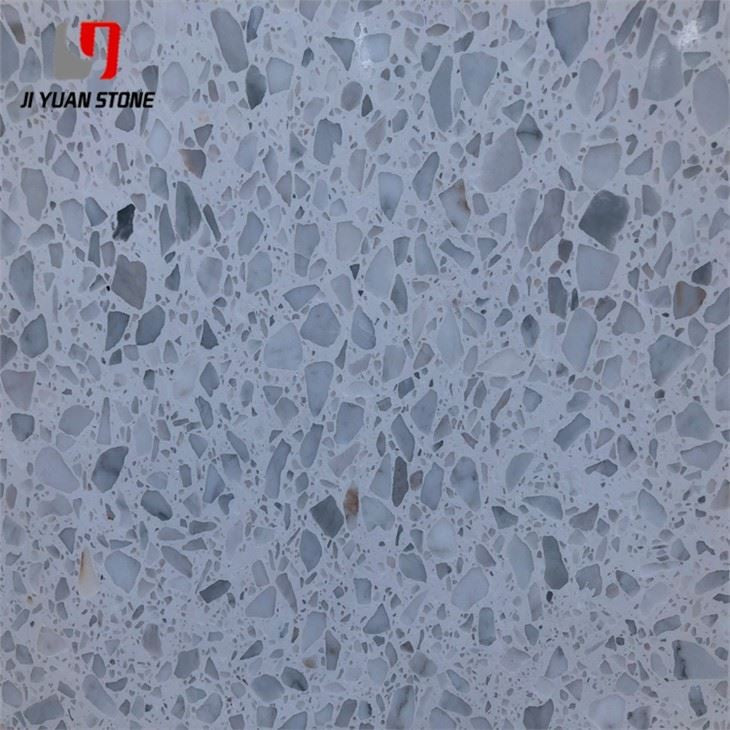
Terrazzo Concrete – Premium Quality, Durable & Expert Installation Guide
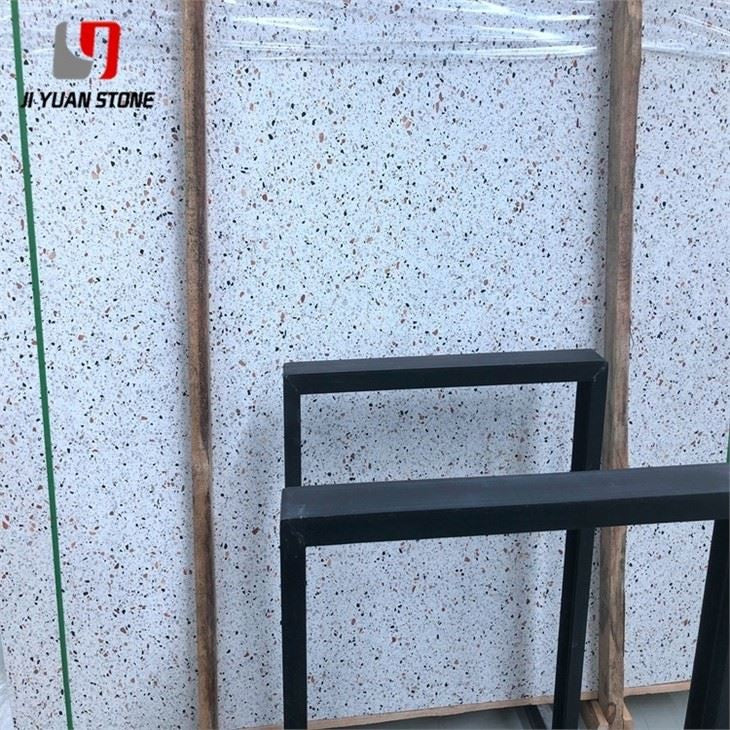
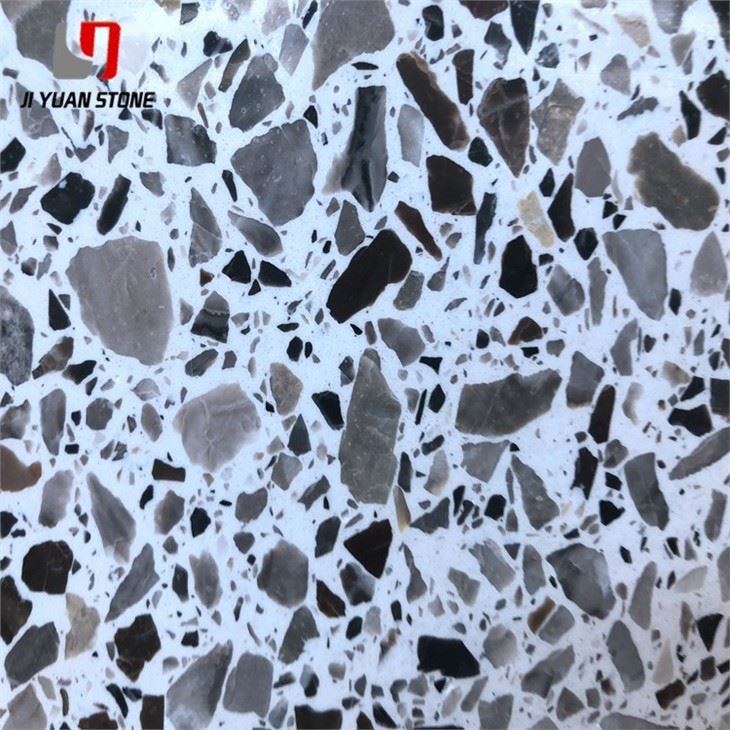
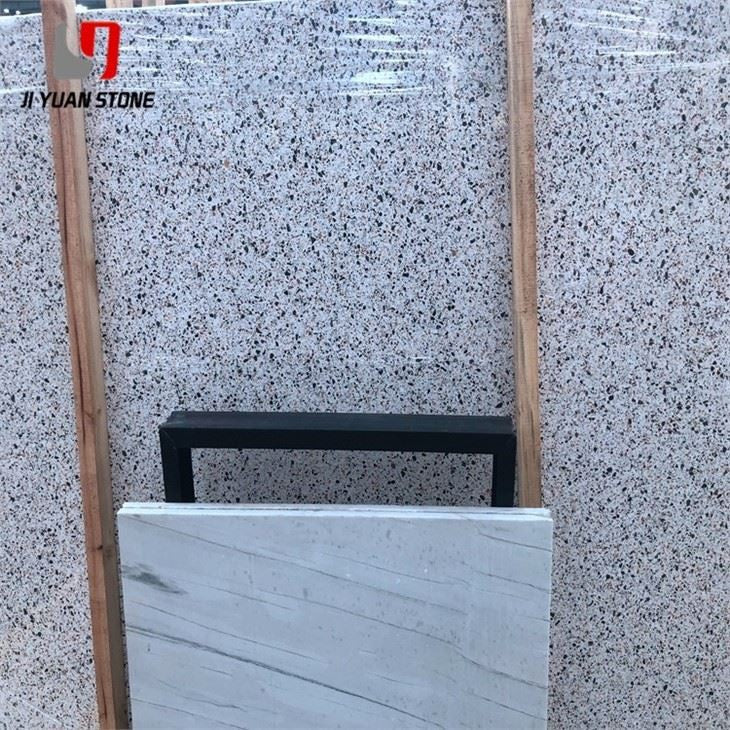
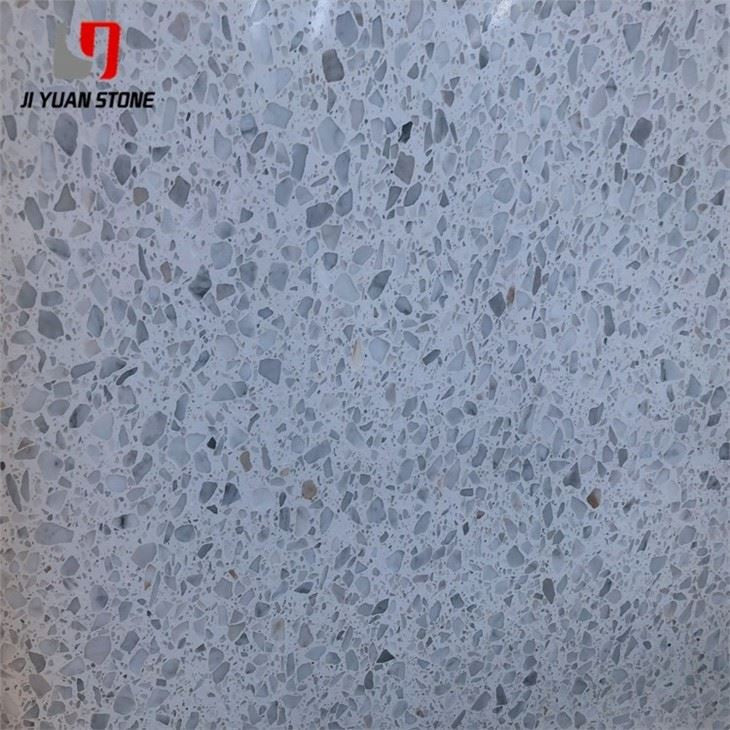
Introducing Terrazzo Concrete, the perfect solution for durable and stylish flooring. Made from high-quality materials, this terrazzo concrete offers superior strength and long-lasting performance. With its unique design, it provides a modern and sophisticated look to any space. Upgrade your flooring today with Terrazzo Concrete.
| Feature | Details |
|---|---|
| Material | Terrazzo |
| Surface Finish | Polished,Honed |
| Common Slabs sizes |
|
| Common Tile sizes |
|
| Countertops Size |
|
| Vanity Tops Size |
|
| Edge Style | Bull nose, ogee, bevel, eased, polish, etc |
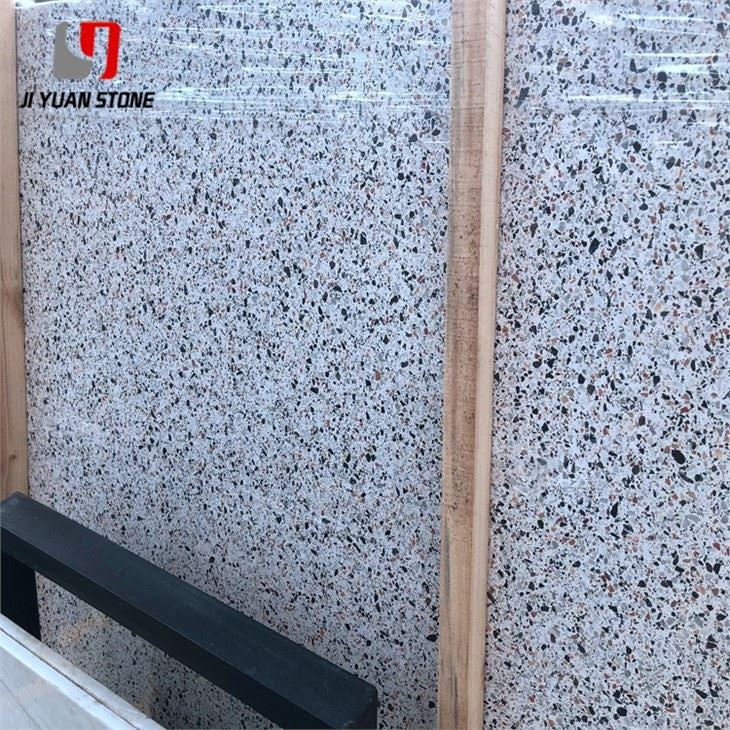
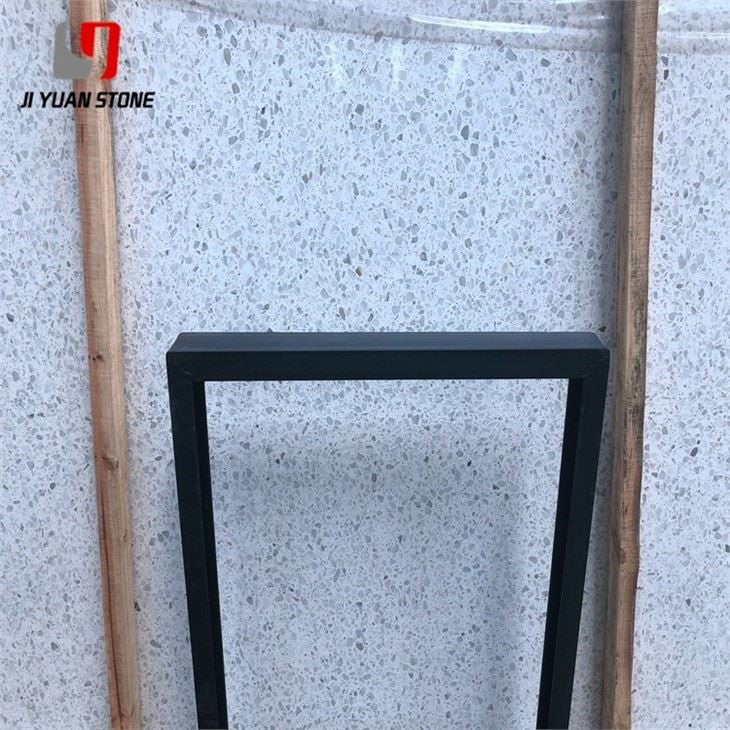
Upgrade your space with Terrazzo Concrete – a premium, versatile, and long-lasting material ideal for both residential and commercial projects. Known for its exceptional durability and timeless elegance, terrazzo concrete offers a seamless blend of style and strength. Whether used for flooring, wall cladding, or decorative surfaces, it delivers unmatched performance and aesthetic appeal.
Our expert guidelines ensure a perfect installation every time, from preparation to final finishing.
2.3 Construction Preparation
2.3.4 Door and Window Frame Installation
- Positioning and Stability: Before installing terrazzo concrete elements, confirm that door and window frames are accurately positioned, perfectly vertical, and securely fixed. This ensures the correct fit during installation.
- Gap Sealing: Use a 1:3 cement mortar mix to seal any gaps around frames. For aluminum alloy frames, select caulking materials that meet design specifications for complete sealing. Apply a protective film beforehand to prevent contamination during construction.
2.3.5 Material Handling and Storage
- Indoor Storage: Store terrazzo concrete, polished granite, and prefabricated terrazzo indoors on square timber supports to prevent contact with the ground.
- Inspection and Sorting: Check the quantity and specifications of all materials. Pre-arrange patterns, assign numbers, and plan the layout for efficient installation.
2.3.6 Mock-Up Creation
- Sample Approval: Create a mock-up before large-scale installation. This sample must be approved by the quality inspection department, design team, client (Party A), and construction unit to ensure it meets all requirements.
2.3.7 Material Verification
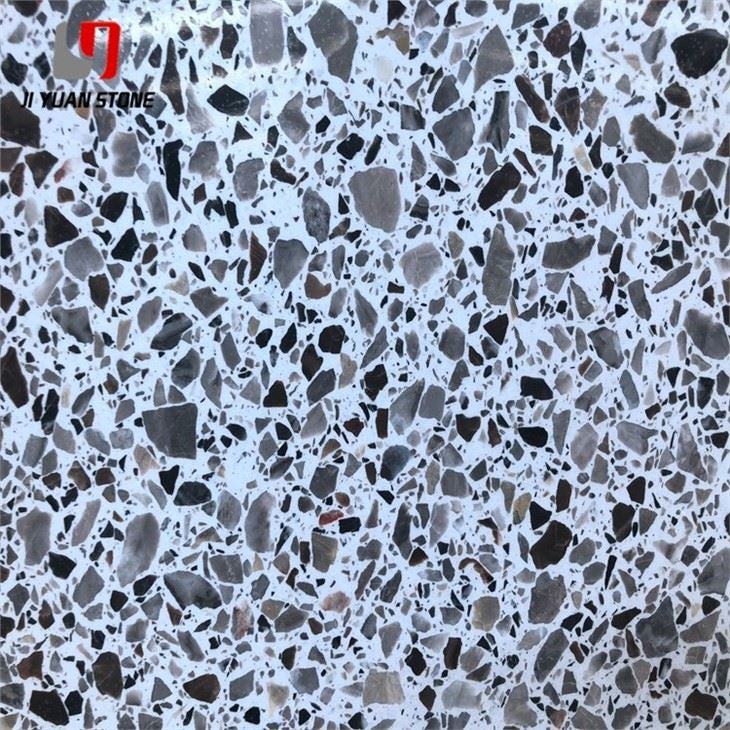
- Quality Check: Inspect incoming terrazzo concrete for consistent color. If variations occur, perform trial assemblies to ensure a uniform appearance across the installation.
3.1 Installation Process
The method depends on the block size:
3.1.1 Thin and Small Block Materials
(Side length less than 40mm)
1 . Substrate Preparation: Clean and prepare the base surface to ensure it is solid and free of debris.
2 . Alignment & Leveling: Mark vertical and horizontal reference lines, set squares, and apply guide marks for accurate placement.
3 . Mortar Application: Apply a base layer of mortar for strong bonding.
4 . Layout Marking: Use chalk lines to outline the installation pattern.
5 . Block Soaking: Soak blocks in water to avoid rapid moisture absorption from the mortar.
6 . Veneer Application: Place soaked blocks carefully, ensuring perfect alignment.
7 . Joint Finishing: Fill and finish joints for a smooth, seamless look.
3.1.2 Large Block Materials
(Side length greater than 40mm)
1 . Pre-Installation Prep: Drill holes and create grooves for anchoring.
2 . Anchoring: Secure blocks with copper or galvanized wire.
3 . Reinforcement: Fix steel mesh to provide additional stability.
4 . Alignment & Layout: Mark vertical and horizontal reference lines.
5 . Block Installation: Position terrazzo concrete, polished granite, or prefabricated terrazzo blocks according to the plan.
6 . Layered Grouting: Apply grout in layers to fill gaps and lock the blocks in place.
7 . Joint Finishing: Smooth the joints for a flawless finish.
Why Choose Our Terrazzo Concrete?
- Exceptional Durability – Withstands heavy use in both residential and commercial environments.
- Elegant Appearance – Timeless design that complements any space.
- Versatile Use – Suitable for floors, walls, countertops, and custom installations.
- Professional Installation Guide – Step-by-step process ensures long-lasting, perfect results.
Enhance your next project with Terrazzo Concrete, combining style, strength, and precision craftsmanship for a surface that stands the test of time.
Share