Send Inquiry
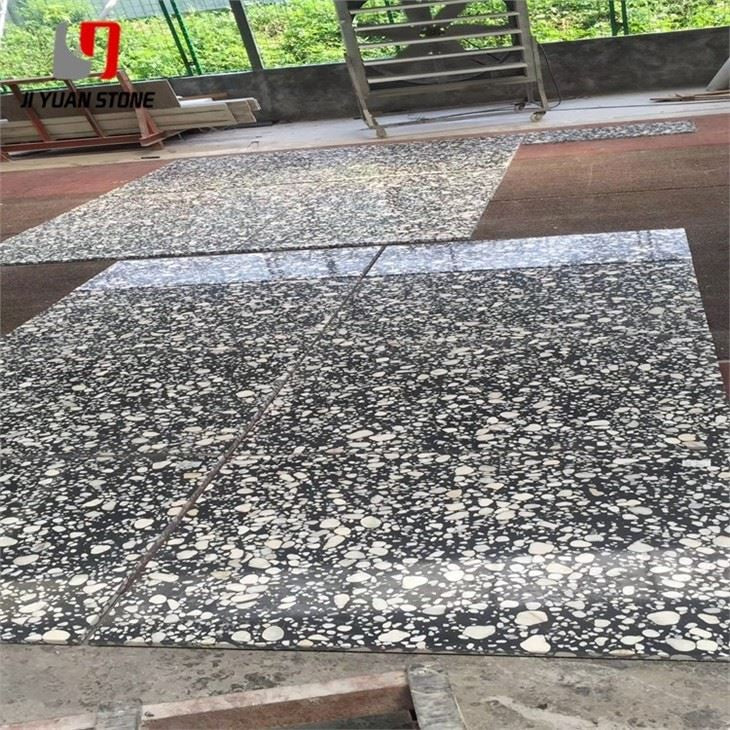
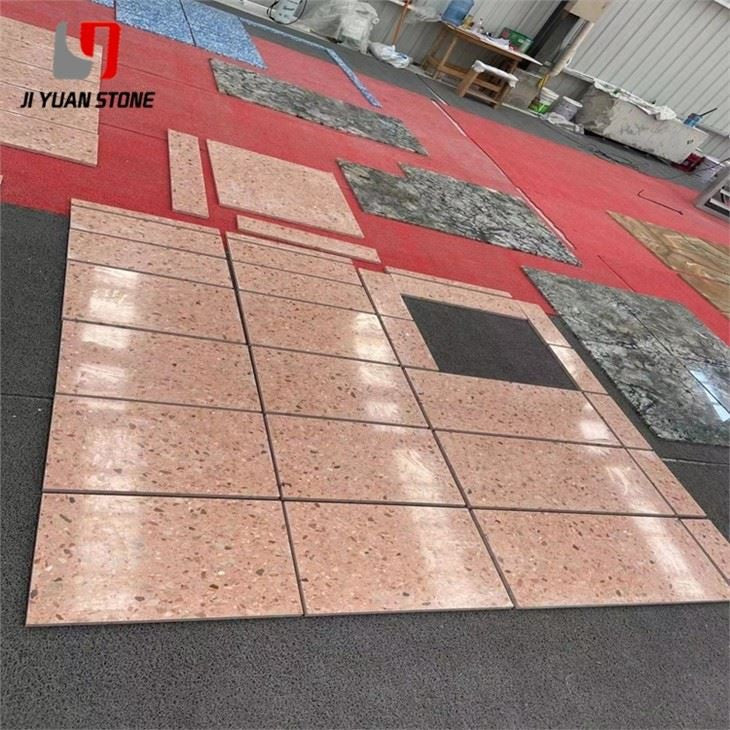
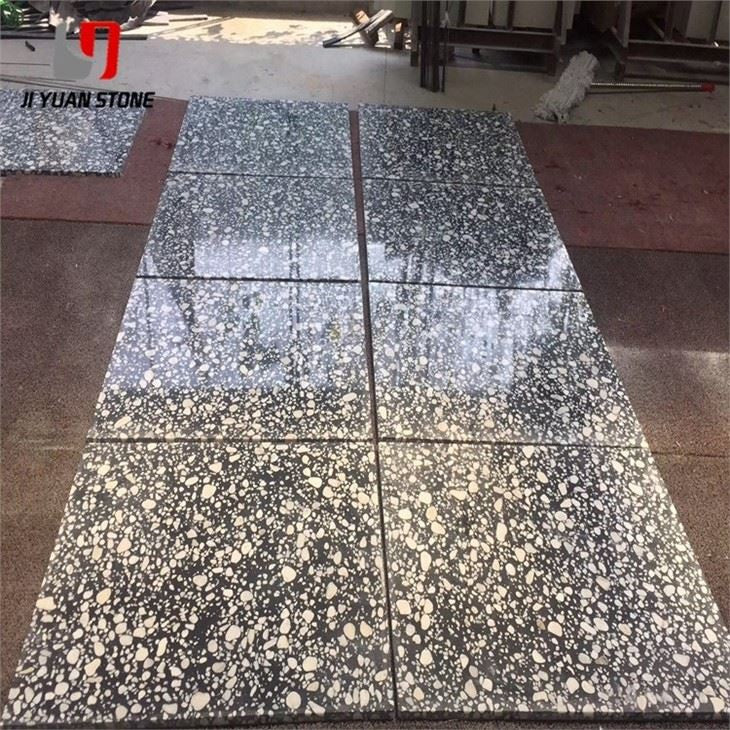
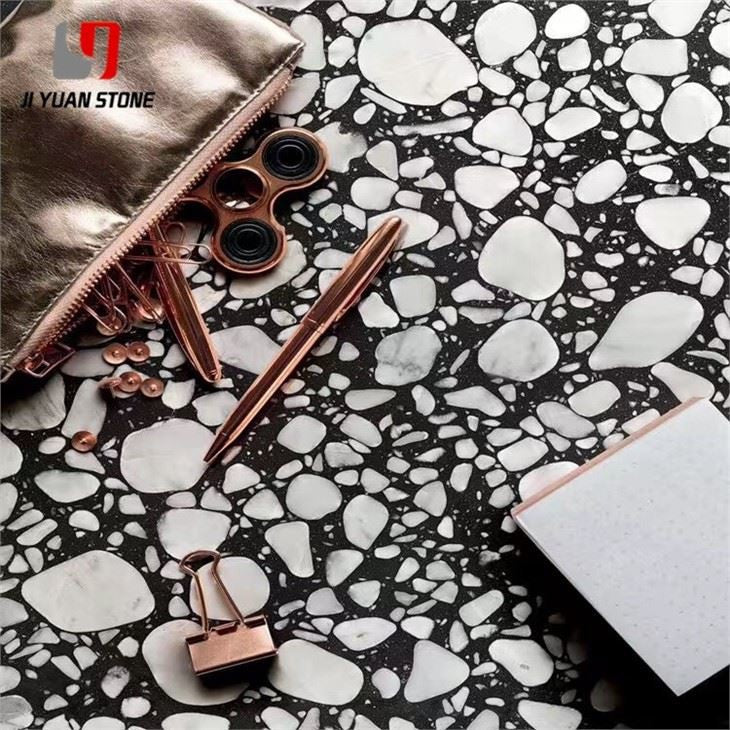
Terrazzo 24x24 Tiles – Precision-Crafted for Durable, Decorative Flooring
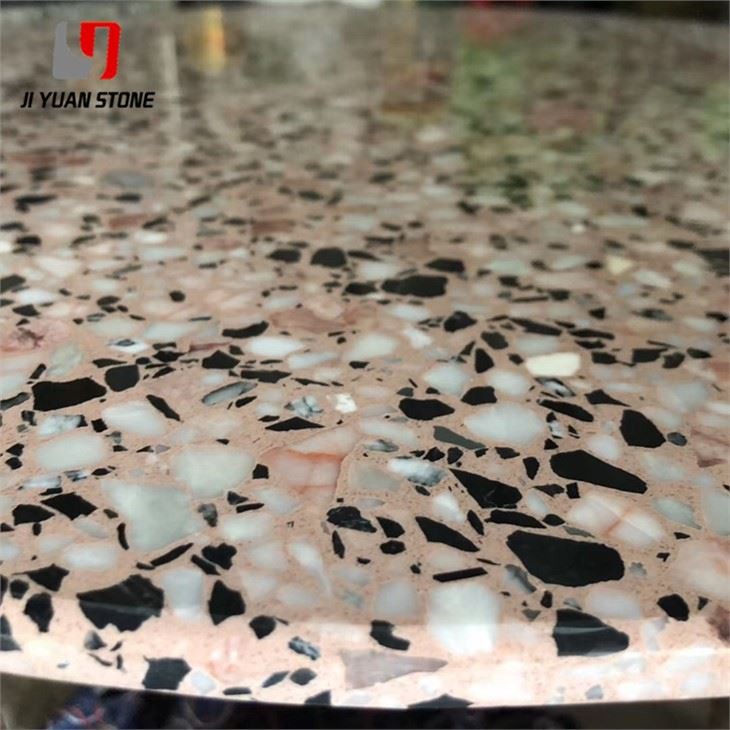
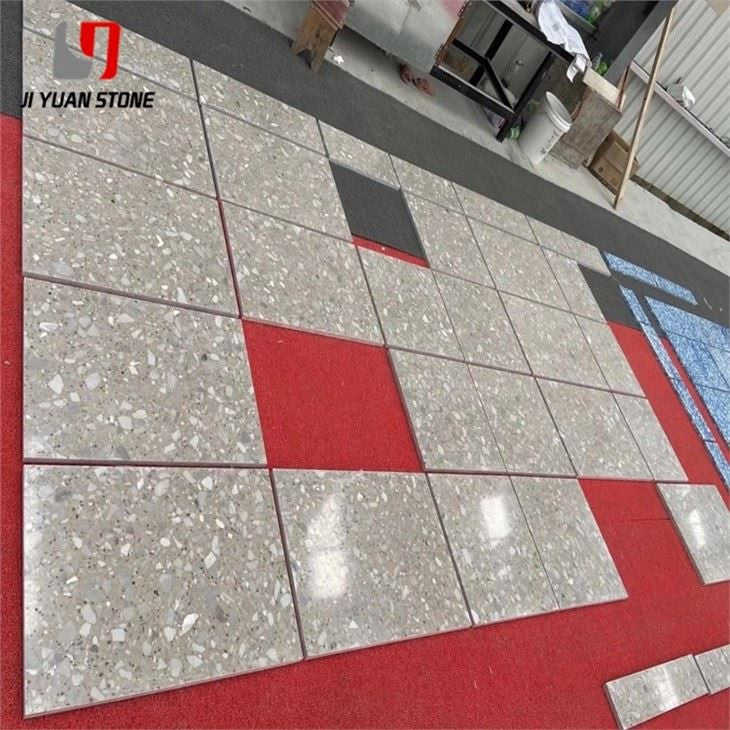
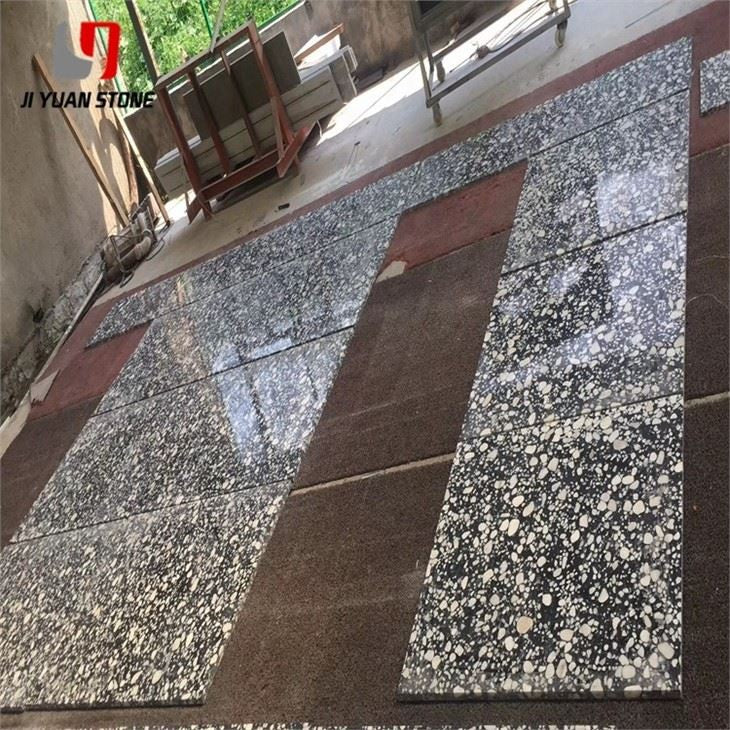
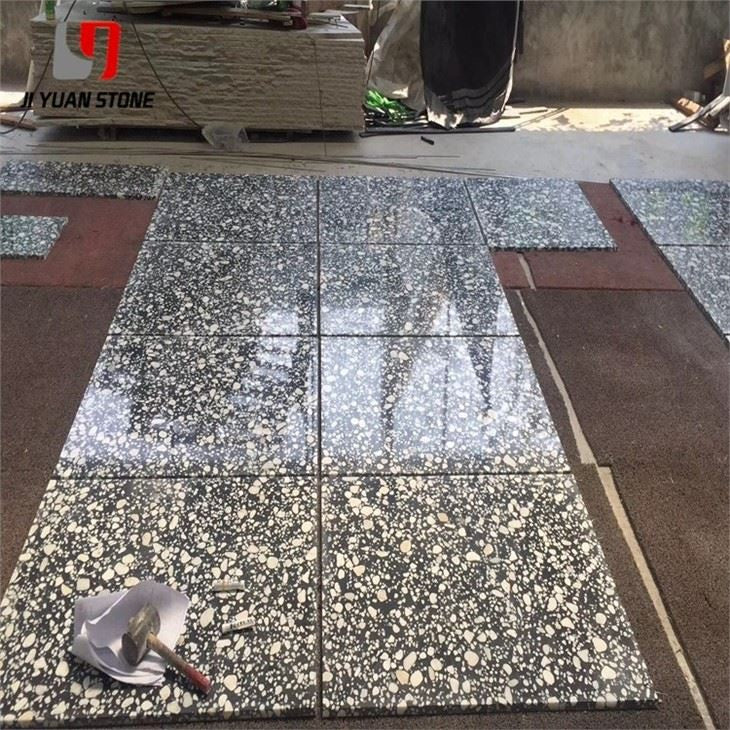
Introducing Terrazzo 24x24, the perfect addition to your flooring needs. Made from high-quality materials, this durable and stylish tile offers a sophisticated and modern touch to any space. Its 24x24 size allows for easy installation and maintenance. Upgrade your floors with Terrazzo.
Feature
Details
Material
Terrazzo
Surface Finish
Polished,Honed
Terrazzo Available Thickness
2cm/2.5cm/3cm or other thickness as customization.
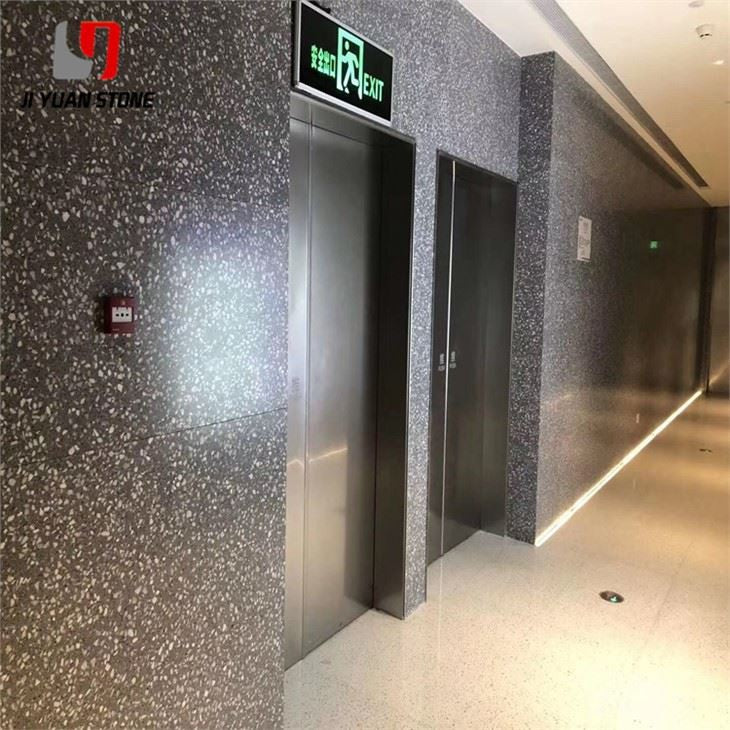
Upgrade your floors with Terrazzo 24x24 tiles – a perfect combination of timeless design, high strength, and excellent wear resistance. Ideal for both commercial and residential environments, these terrazzo tiles are known for their consistent quality, elegant appearance, and ease of maintenance.
Our Advantages: Why Choose Our Terrazzo 24x24 Tiles?
🏭 Owner of Professional Factories – In-house manufacturing ensures quality and reliability.
🎨 Experienced Craftsmanship – Sophisticated tile production backed by years of expertise.
🔍 Strict Quality Control – Every stage is quality-inspected by professionals.
🚚 Large Stock & Fast Delivery – Always ready to ship with strong industry reputation.
Quality Control Assurance
Each terrazzo tile undergoes a comprehensive inspection process, including:
Block Cutting to Container Loading – Verified at every step.
Thickness Tolerance – Maintained within +/- 0.5mm or +/- 1mm.
Double Checks – Each stage is reviewed by two independent inspectors.
Visual Confirmation – High-resolution images provided to customers before shipment.
Operating Procedures for Terrazzo 24x24 Installation
Achieving the perfect terrazzo floor requires attention to detail and adherence to structured steps. Below is the recommended installation process:
1. Operating Procedures
Middle Layer Ash Acceptance Elastic Threading and Pasting Inlaid Strips Surface Layer Cement Gravel Slurry Application Water Mill Surface Layer (Two Slurries and Three Grindings) Grass Pickling and Washing Waxing for a Glossy Finish
2. Key Operation Points
A. Elastic Threading and Pasting Inlaid Strips
1 . Preparing the Inlaid Strips
Use straightened copper, aluminum , or plastic strips for design precision.
Clearly mark ink lines based on the pattern or grid requirements.
2 . Attaching the Strips
Align with guide lines using a leaning ruler.
Fix strips using an “8”-shaped cement ash ridge for a secure base.
Ensure a 3mm lower ash ridge height than the molding surface to avoid bald patches.
3 . Optimizing Adhesion
Brush inlaid strips with water to create a rough texture for improved bonding.
4 . Curing Process
After laying, water the terrazzo surface for 12 hours and maintain it for 2–3 days for optimal durability.
Why Terrazzo 24x24?
✅ Smooth & Polished Finish – Achieved through a two-slurry, three-grinding process.Customizable Aesthetics – Inlaid strips allow intricate patterns and sectioning.Durable & Long-Lasting – Resistant to wear, cracking, and moisture.Easy Maintenance – Waxed finish repels stains and simplifies cleaning.
Perfect for use in:
Commercial Entrances
Office Lobbies
Educational Facilities
Healthcare Spaces
Retail Showrooms
High-Traffic Residential Areas
Bring long-lasting beauty and structure to your space with Terrazzo 24x24 – engineered for elegance, built for durability.
View full details