1
/
of
10
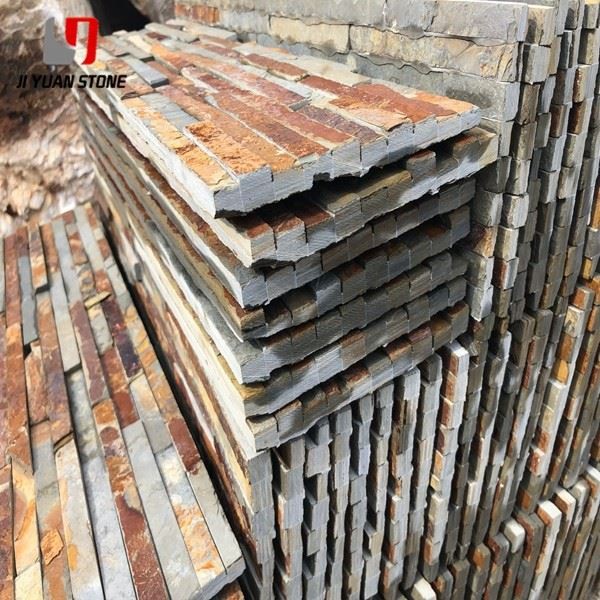
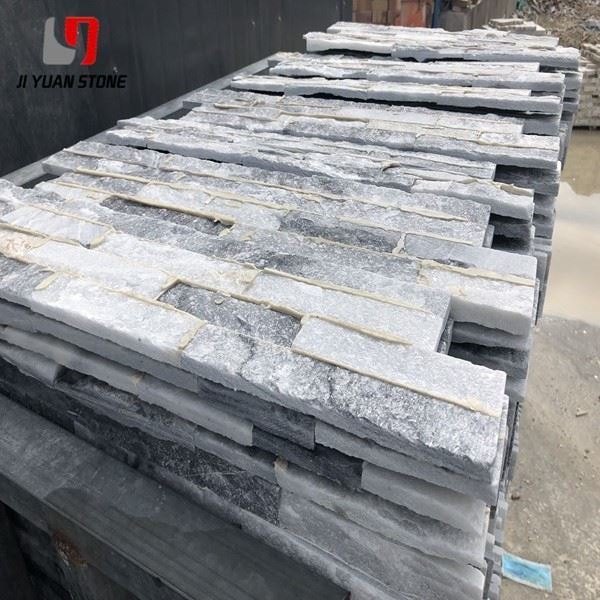
Stacked Stone Wall Tile
Stacked Stone Wall Tile
Introducing our Stacked Stone Wall Tile, the perfect addition to any home or business. Made with high-quality materials and precision-cut for a seamless fit, this tile will elevate the look of any space. With its unique stacked stone design, it adds texture and depth to any wall. Upgrade your decor today with Stacked Stone Wall Tile.
| Feature | Details |
|---|---|
| Product | Stacked Stone Wall Tile |
| Surface | Split face |
| Thickness | 0.8-1.2cm,1-1.5cm,1-2cm,1.5-2.5cm,2.5-3.5cm etc |
| Finished Products | Floor tiles, Wall cladding, Countertops, Windowsills, Special-shaped tiles, Small slabs, Swimming pool, stairs, steps, wall panel, flooring, veneers, slabs, coping tiles, bathtub etc |
| Colour |
Many colors for choice |
| Material | Quartzite,natural stone |
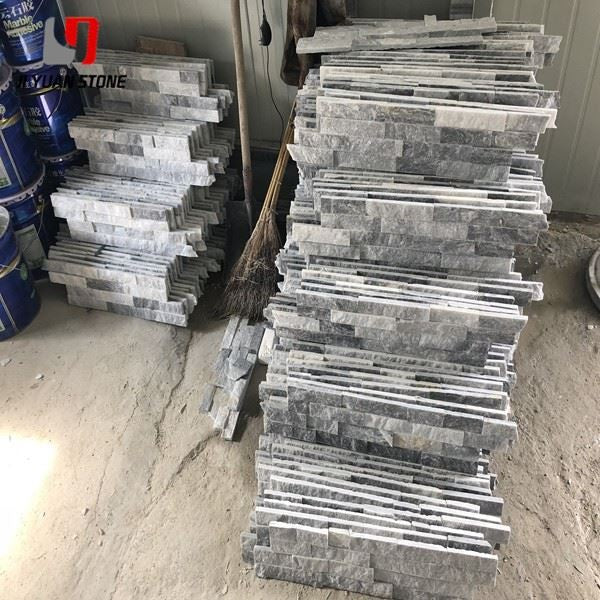
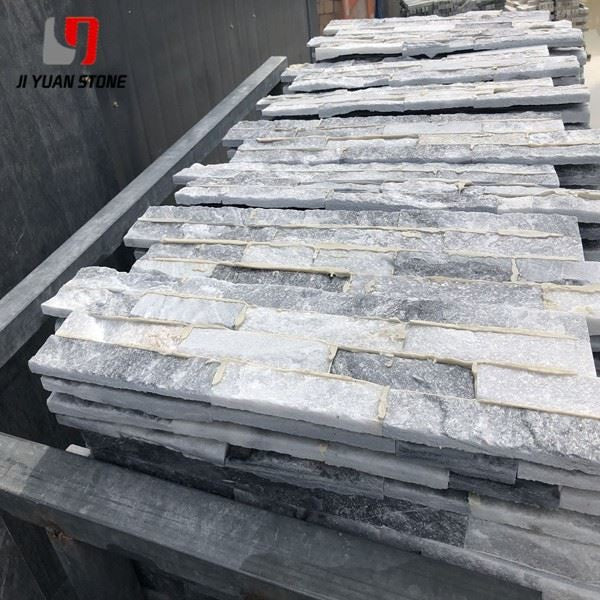
| Feature | Equal width of stripes |
| Size | 60 x 15 x 1.0-3.0cm |
| Package | 7pcs/box, 60boxes/package, 20packages/20' container |
| Economic Order Quantity | 1 x 20' container, mix order is accepted |
| Production Ability | 4 x 20' container/month |
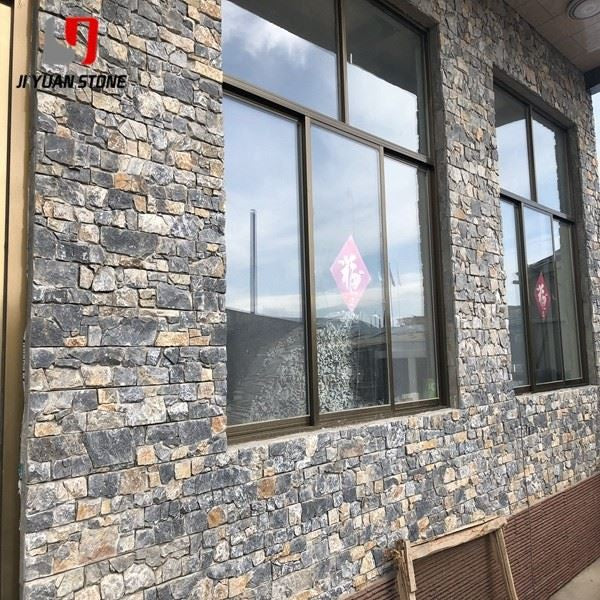
| Application | House, villa, garden, public building, hotel, courtyard, etc. |
| Origin | Hebei, China |
| Loading Port | Tianjin, China |
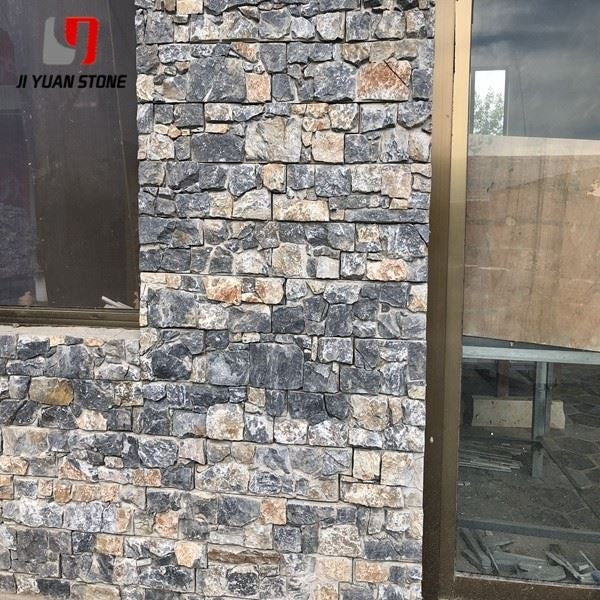
Cultural Stacked Stone Wall Tile: A Guide to Types and Installation
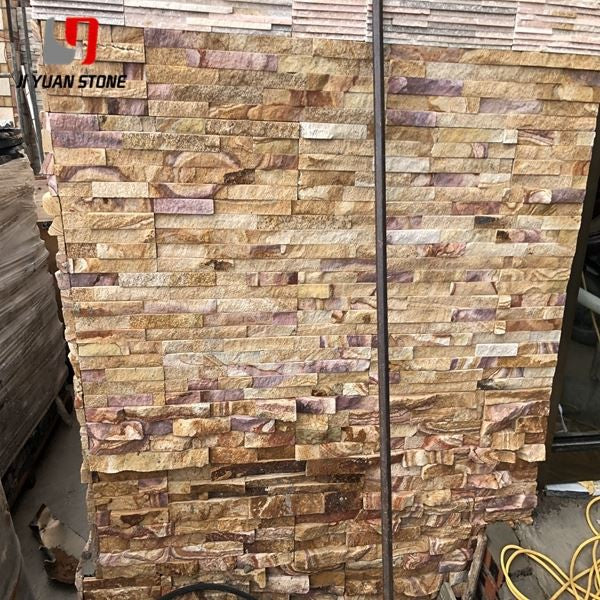
Cultural stacked stone wall tiles are available in two types: natural and artificial. While they boast hard texture, vibrant color, rich patterns, and varied styles, they are not entirely flat, making them best suited for outdoor applications or partial indoor decorations.
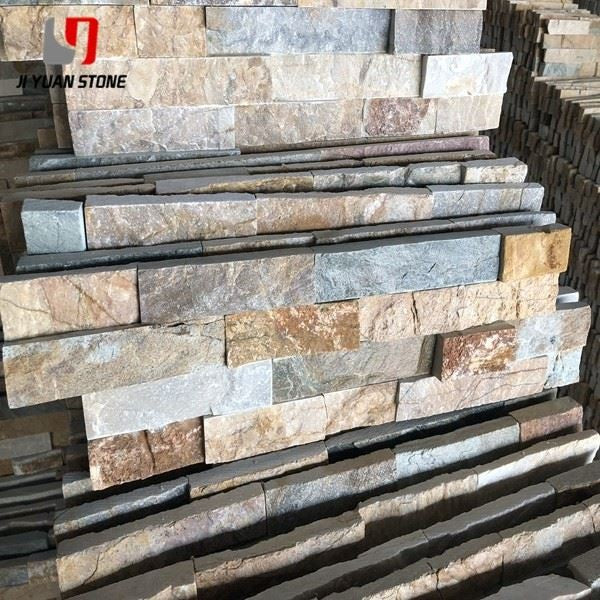
Types of Cultural Stacked Stone Wall Tiles
1. Natural Cultural Stacked Stone Wall Tile
- Derived from natural stone ores like slate, sandstone, and quartz
- Known for durability, compression resistance, fire resistance, and low water absorption
- Offers authentic texture and a timeless aesthetic
2. Artificial Cultural Stacked Stone Wall Tile
- Made from calcium silicate, gypsum, and other materials
- Imitates the appearance of natural stone but is lighter in texture
- Resistant to mildew, fire, and moisture, and easy to install
Installation Methods for Cultural Stacked Stone Wall Tiles
The installation process varies for natural and artificial stones:
- Natural cultural stone: Applied directly to the wall. The wall must first be roughened, dampened with water, and then pasted using cement.
- Artificial cultural stone: Can be glued in addition to cementing. A 9 PCT or 12 PCT board is used as a base, and the tile is directly fixed using glass glue.
Step-by-Step Installation Guide
1. Wall Preparation
- Clean the wall surface thoroughly.
- If the surface is smooth (e.g., plastic, wood, etc.), install a barbed wire mesh for better adhesion.
2. Layout Planning
- Arrange the stone tiles on the ground first to create an aesthetically pleasing pattern.
- Avoid placing stones of similar size, shape, or color adjacent to each other.
3. Cement Layering & Adhesion
- Apply a cement base layer to increase bonding strength.
- Recommended cement mix:
- White cement (No. 425 or above)
- Ordinary cement (Ratio: Cement: Sand: 801 Glue = 1:2:0.03)
- Ceramic adhesive or high-performance special adhesives can also be used.
4. Stone Application
- Apply adhesive at the center of the stone’s bottom, forming a mountain-like shape.
- Press the stone firmly to ensure adhesive extrusion is visible around the edges.
- Install corners first, if applicable.
5. Cutting & Adjustments
- If necessary, cut the stones to fit the construction design.
6. Grouting & Sealing
- Fill gaps using plastic bags, ensuring an appropriate depth to enhance the three-dimensional effect.
- Once the caulking agent sets, remove excess material with bamboo chips and refine the surface with a damp brush.
- Some products do not require grouting.
7. Final Sealing & Protection (For Outdoor Use)
- After installation, allow one week for curing before applying a protective sealant.
-
Sealant benefits:
- Waterproofing
- Freeze resistance
- UV protection
- Prevention of efflorescence (alkali build-up)
Seam Retention Requirements
- For irregular (random-shaped) stones: Minimum gap 10mm, adjusted using caulking agent.
- For antique bricks: Standard gap is 10mm, adjusted with caulking agent.
- Cement slurry should be applied using a comb-type spatula to enhance bonding.
Important Considerations for Cultural Stone Installation
1. Indoor Usage Guidelines
- Do not overuse cultural stone indoors.
- Ideally, wall coverage should not exceed 1/3 of the space’s total wall area.
- Avoid multiple cultural stone walls within the same room.
2. Outdoor Installation Precautions
- Avoid sandstone outdoors, as it absorbs moisture and deteriorates over time.
- Even with waterproof treatment, exposure to sun and rain can cause aging of the waterproof layer.
3. Color Coordination for Interior Use
- Choose similar or complementary colors for harmonious aesthetics.
- Avoid extreme contrasts between warm and cool tones.
Share