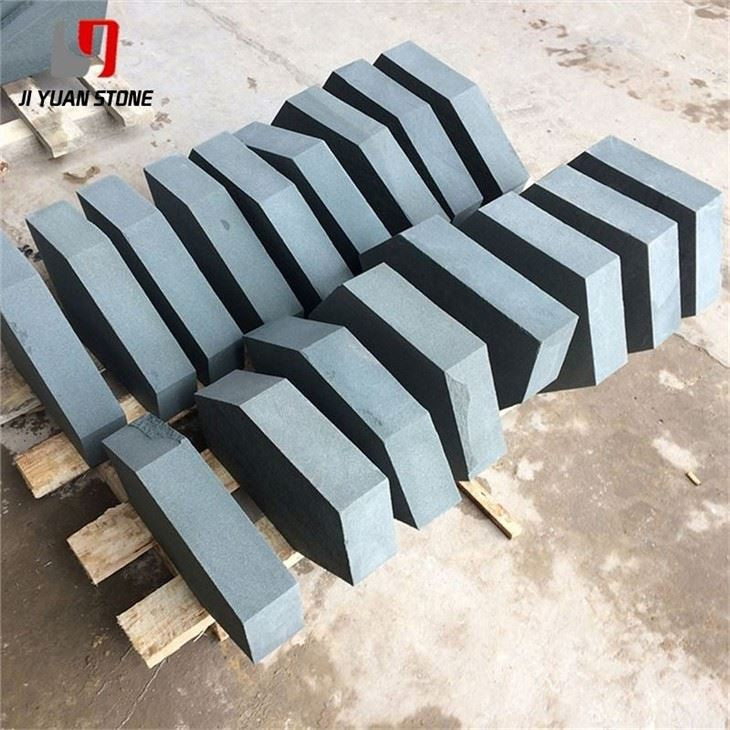
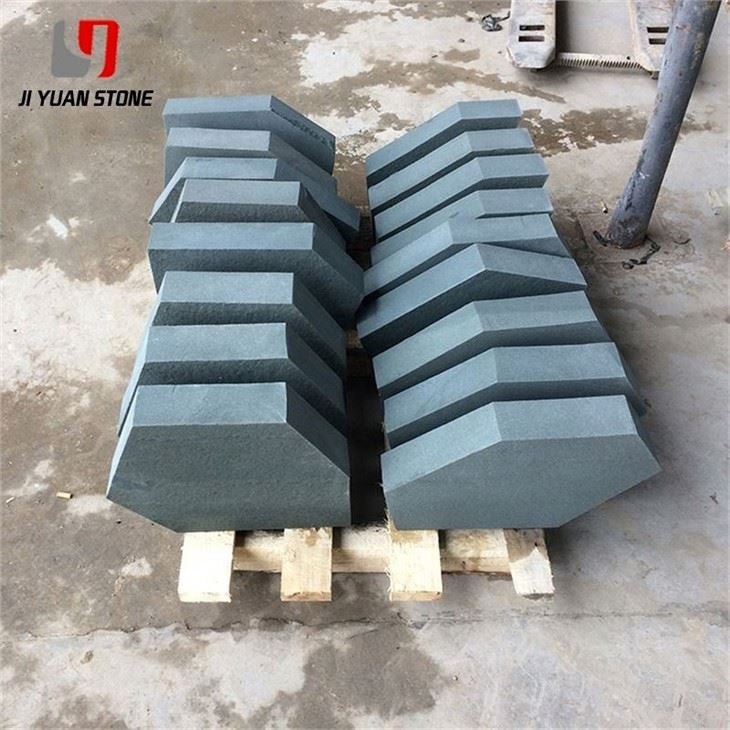
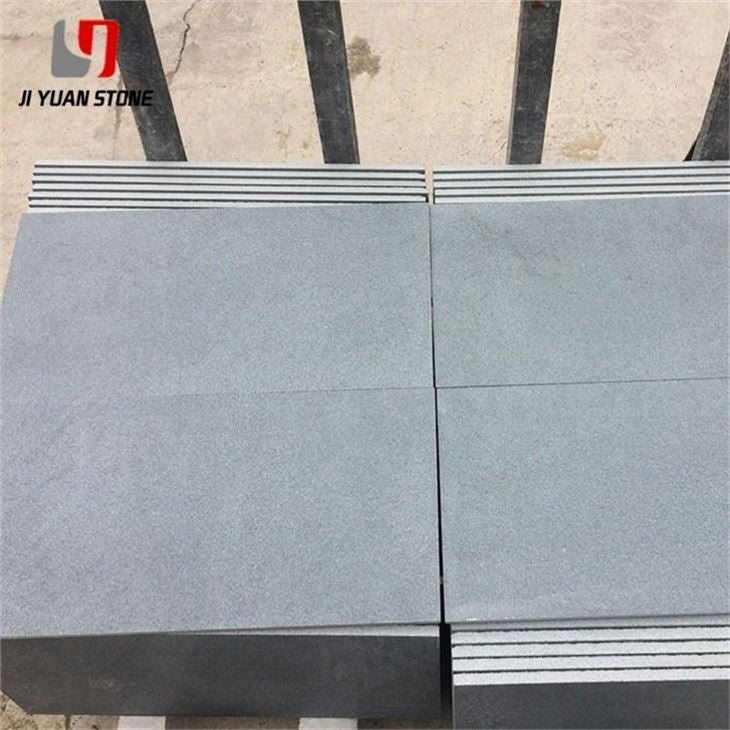
Sandstone Exterior Steps
Sandstone Exterior Steps
Sandstone Exterior Steps – Precision-Cut Stone for Elegant and Durable Outdoor Stairs
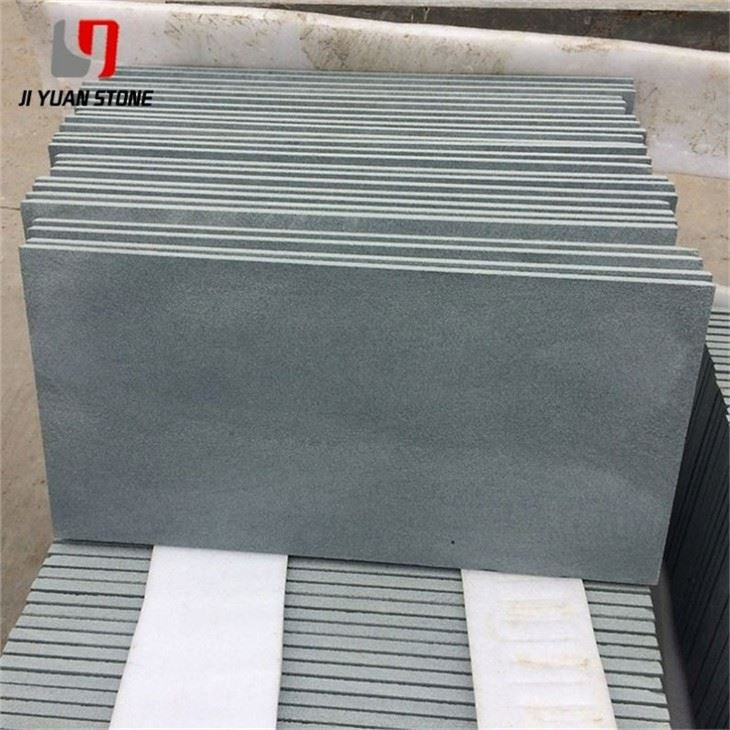
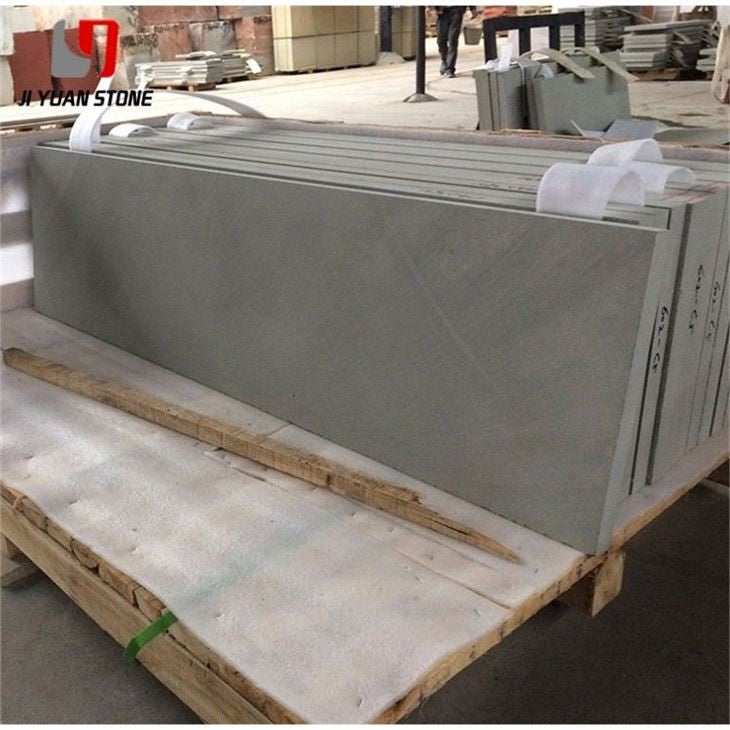
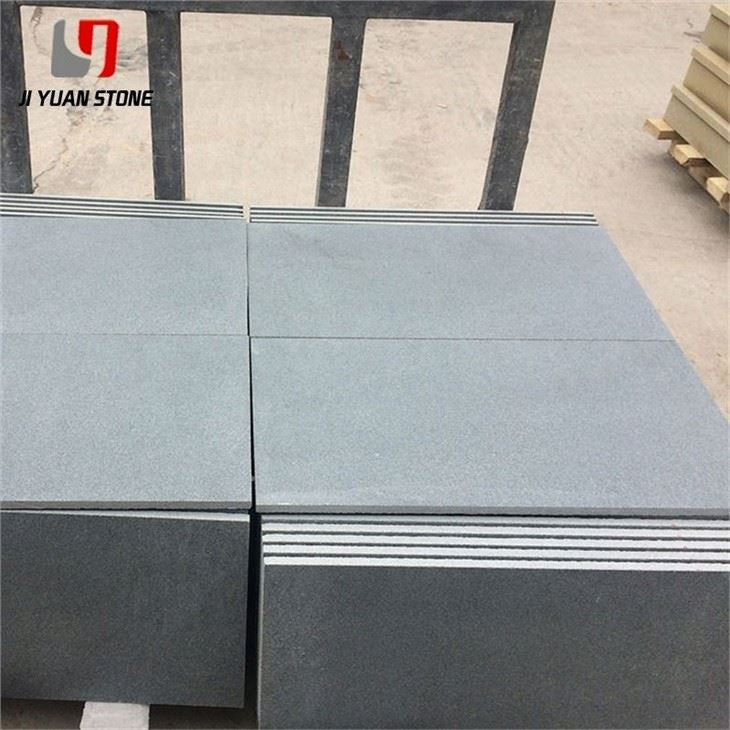
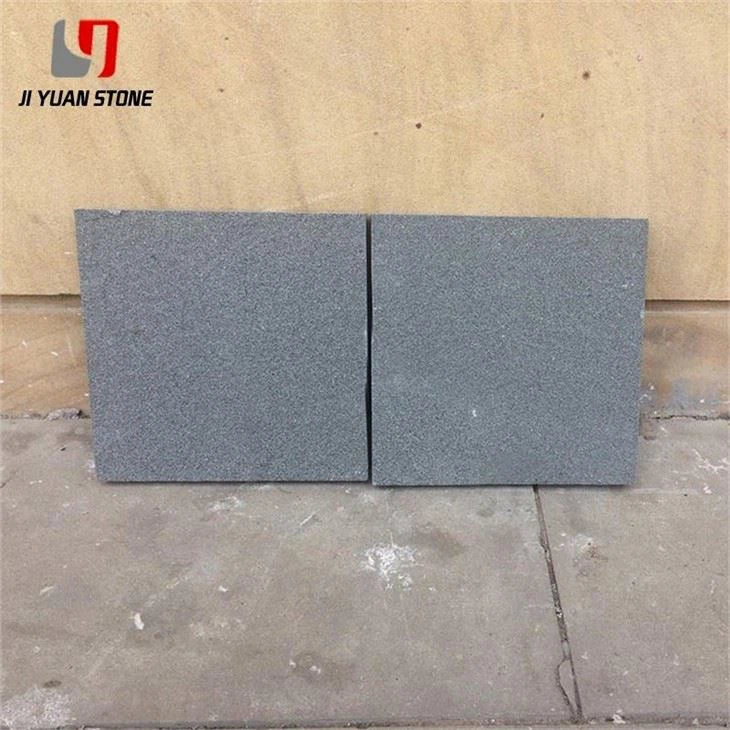
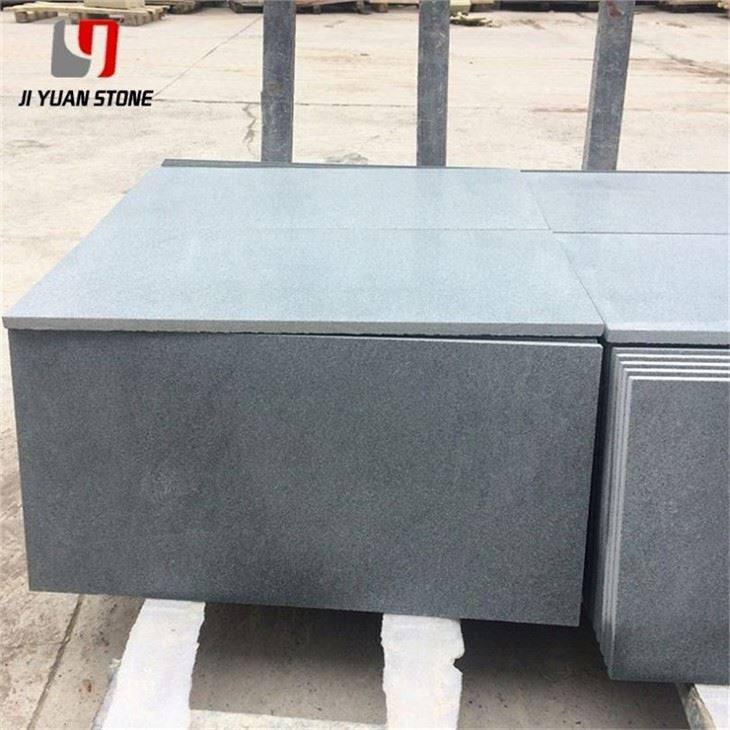
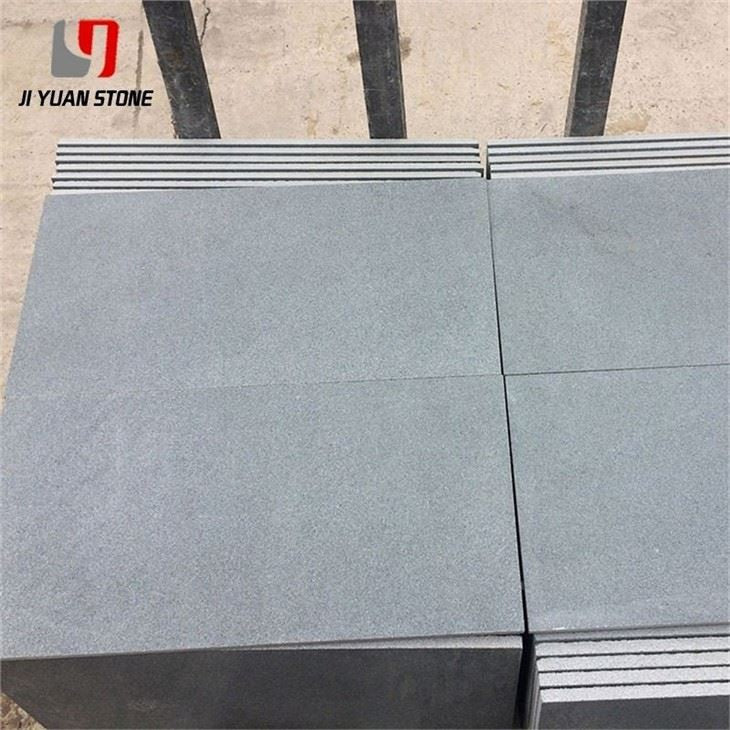
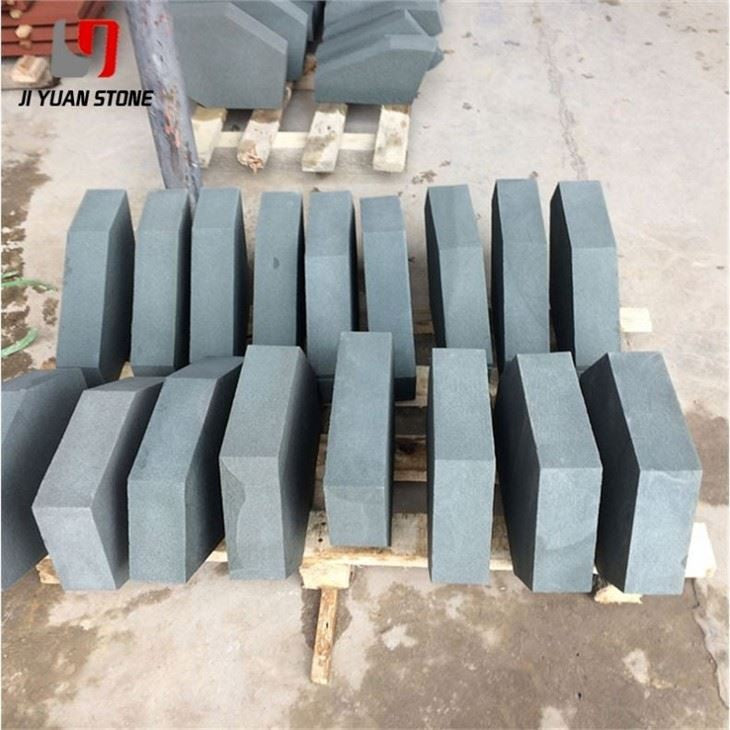
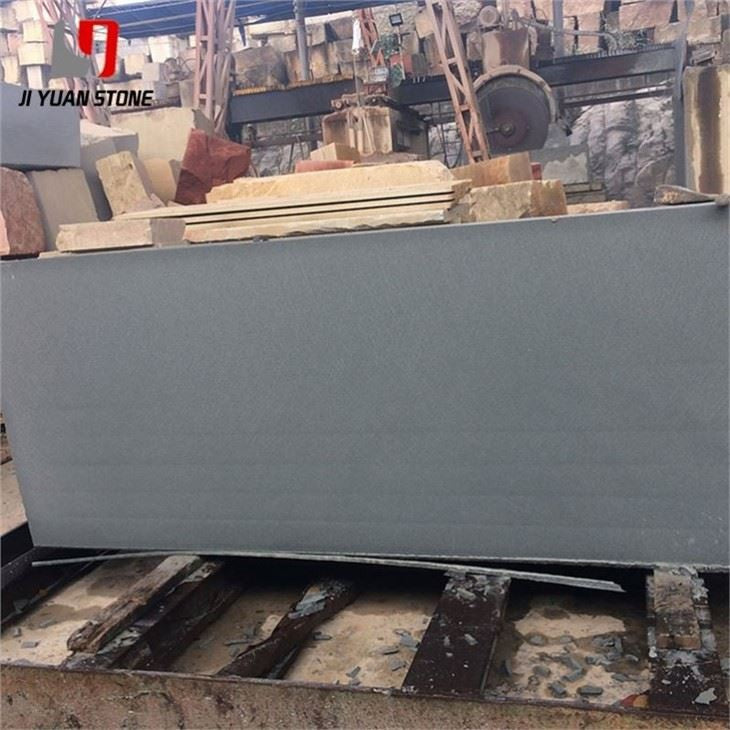
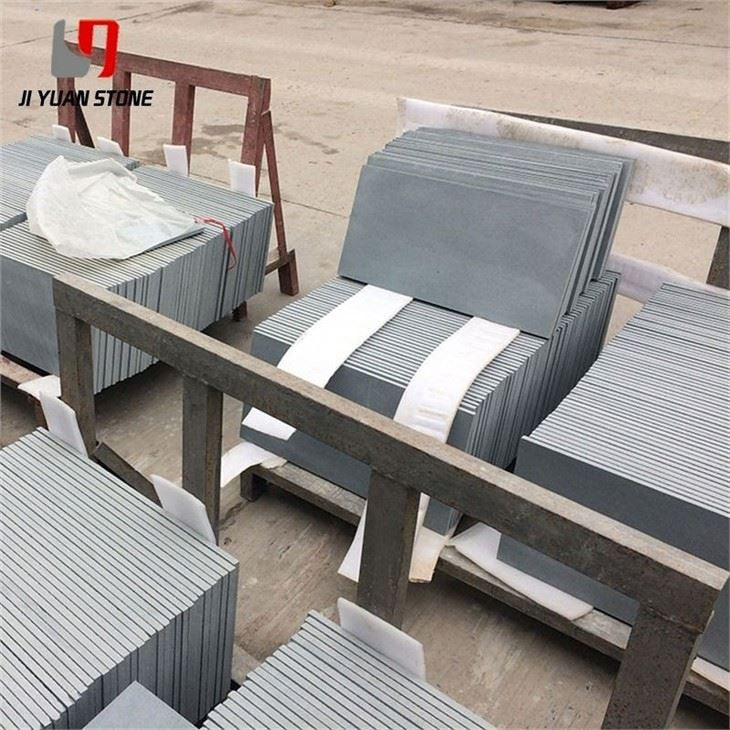
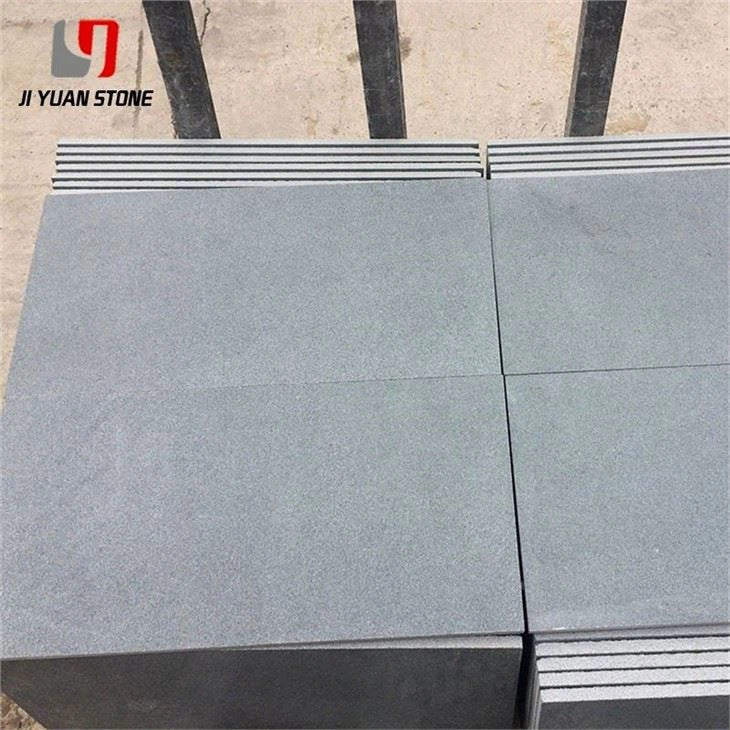
As an expert in the building materials industry, I can confidently attest to the durability and aesthetic appeal of our Sandstone Exterior Steps. Made from high-quality sandstone, these steps are built to withstand the elements and add a touch of elegance to any outdoor space. With a smooth surface and natural color variations, they are sure to make a statement.
| Feature | Details |
|---|---|
| Material | Natural Sandstone |
| Surface Finished | Honed,Flamed,Bush-hammered,Brushed,Nature,Mushroom,Sawn etc |
| Finished Products | Floor tiles, Wall cladding, Countertops, Windowsills, Special-shaped tiles, Small slabs, Swimming pool, steps, wall panel, flooring, veneers, slabs, coping tiles, etc |
| Color | Yellow,black,white,red,purple wood,green,grey,rainbow etc |
| Finished | Honed, Split, Sandblasted, Sawn, Antiqued, Pineapple, etc. |
| Dimension |
|
| Usage | Interior & Exterior Decoration |
| Quality Control |
Thickness Tolerance:+/-0.5mm,+/-1mm; All Products Checked by Experienced QC |
| MOQ | Welcome Small Trail Orders |
| Size | Customized Pls contact us for the newest catalog of sandstone,marble,granite,quartz,mosaic,limestone,travertine etc |
| Sample | Contact Us For Free Samples |
| Package | Standard Exporting Seaworthy Package ( Inner: Plastic Film and Foam; Outer: strong seaworthy wood Crates or Pallets.)Payment |
| Payment | T/T, L/C, Escrow, Western Union |
| Delivery | Within 2 Weeks After Deposit |
Upgrade your outdoor architecture with sandstone exterior steps—a perfect blend of aesthetic appeal, weather resistance, and structural durability. Ideal for residential entrances, garden staircases, or commercial outdoor walkways, our sandstone steps are expertly cut to size, ensuring a refined look that withstands the test of time.
From material selection to final installation, every stage of this stone solution is managed with strict quality control and technical precision. Below is a detailed checklist to ensure successful installation and long-term performance.
🔧 Installation Checklist for Sandstone Exterior Steps
A seamless and durable stone stair installation requires proper planning, materials, and tools. Here are the critical steps to guide your project:
1. Preparation of Accessories and Fasteners
Ensure the availability and quality of essential accessories and hardware:
- Expansion bolts
- Connecting iron parts
- Stainless steel needles
- Supporting iron pads, washers, and nuts
✅ Verify that all fasteners meet strength and quality standards. Proper connections between the sandstone steps and structural skeleton are vital for long-term stability and safety.
2. Tool Preparation
Gather and inspect all necessary tools before starting the installation:
- Bench drills
- Toothless cutting saws
- Impact drills and pistol drills
- Tape measures, rulers, and other measuring tools
✅ Ensure that all equipment is in good working condition to prevent construction delays or inaccurate installations.
3. Material and Pre-Installation Inspection
Prior to installation, check the performance and specifications of the sandstone material to ensure compliance with design requirements.
- Inspect the iron shelf structure for proper build and stability
- Complete all hidden inspections of utilities and internal structures
- Confirm that plumbing, electrical systems, and door/window installations are finished
- Provide technical disclosures and safety briefings to construction teams to prevent issues during installation
4. Installation Procedure
Follow this step-by-step guide for installing sandstone exterior steps:
1 . Clean the surface of the mounting structure
2 . Mark vertical reference lines on the structure
3 . Hang two vertical steel guide wires at the main angle points
4 . Drill the sandstone material according to design measurements
5 . Apply adhesive glue to the back of the stone panels
6 . Attach flexible reinforcement materials as needed
7 . Hang and align the horizontal guide line
8 . Support and position the bottom plate bracket
9 . Place and temporarily fix the bottom sandstone step
10 . Pour M20 cement and install drainage piping
11 . Drill structural mounting holes and insert expansion bolts
12 . Install stainless steel mounting fasteners securely
13 . Fill lower wall openings with appropriate adhesives
14 . Insert connecting steel pins between wall layers
15 . Pour adhesive into the upper panel connection areas
16 . Secure the upper wall panel to the lower panel using structural holes
17 . Complete top wall panel installation following bolt alignment and support
🧱 Why Choose Our Sandstone Exterior Steps?
- ✅ Weather-resistant and non-slip surface ideal for outdoor use
- ✅ Durable under high traffic and heavy weight
- ✅ Natural aesthetic matches modern and traditional designs
- ✅ Professionally cut to size for quick and precise installation
- ✅ Comprehensive technical guidance and support available
📐 Applications
Perfect for:
- Garden staircases
- Building entrances
- Poolside step transitions
- Commercial landscape design
-
Public walkways and parks
📦 Packaging & Delivery
All sandstone steps are:
- Cut to project specifications
- Packaged on reinforced wooden pallets
- Shipped with a detailed material list and installation guide
✅ Final Thoughts
Our sandstone exterior steps are more than just functional—they enhance the look and feel of any outdoor environment while providing safe and durable access. With detailed installation procedures and strict quality control, Purchasestones ensures you receive a high-performance product every time.
Share