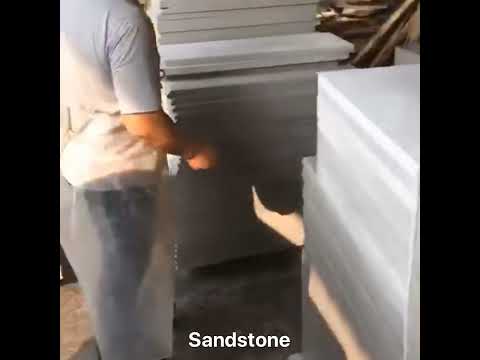
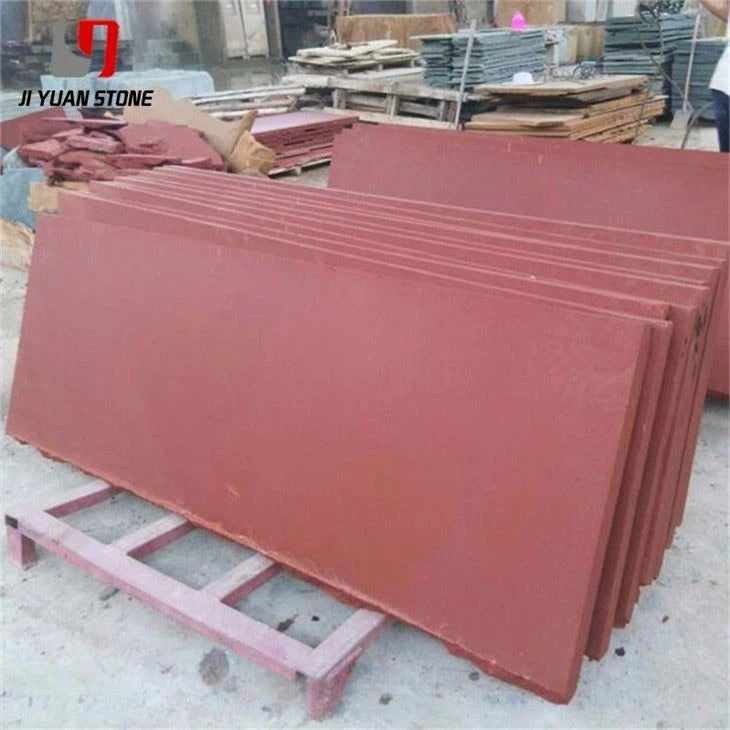
| Material |
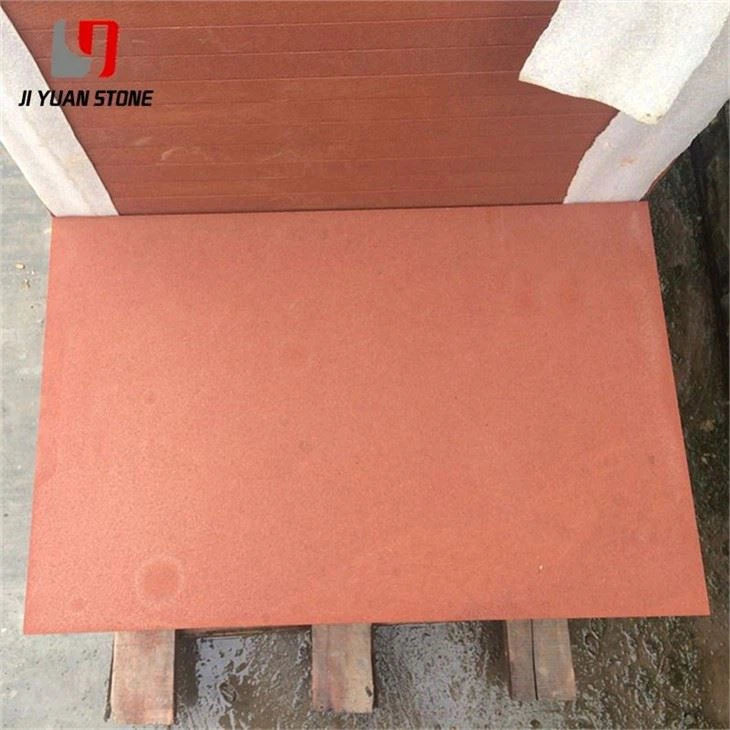
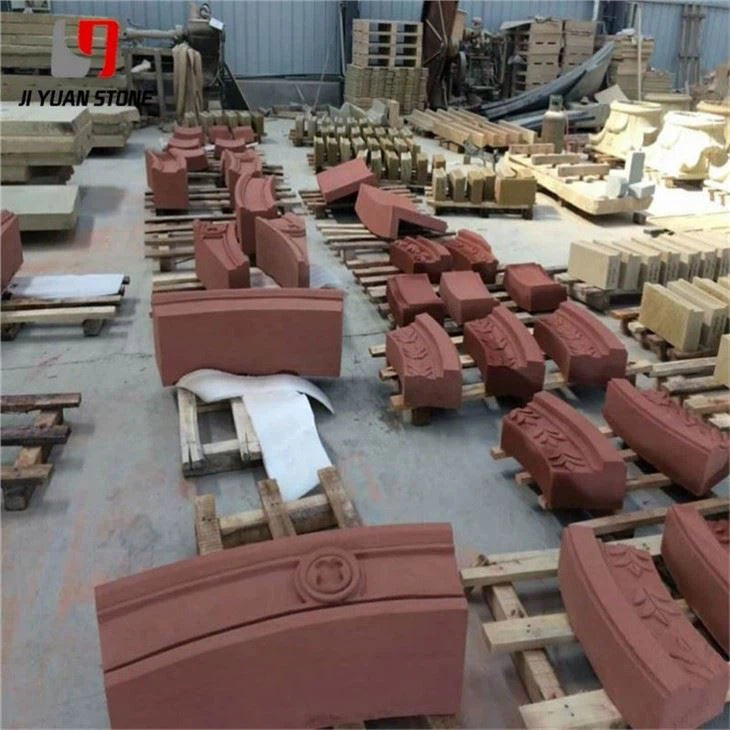
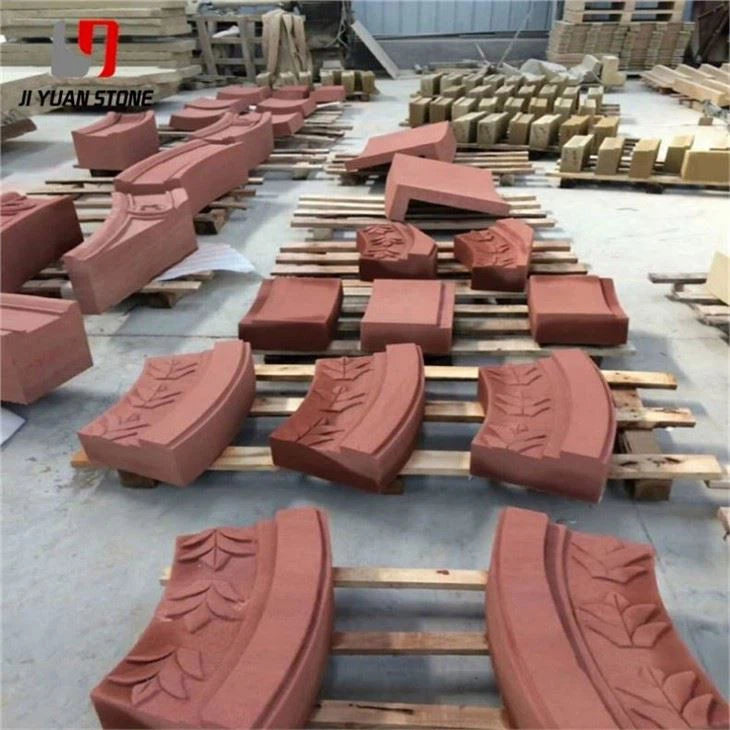
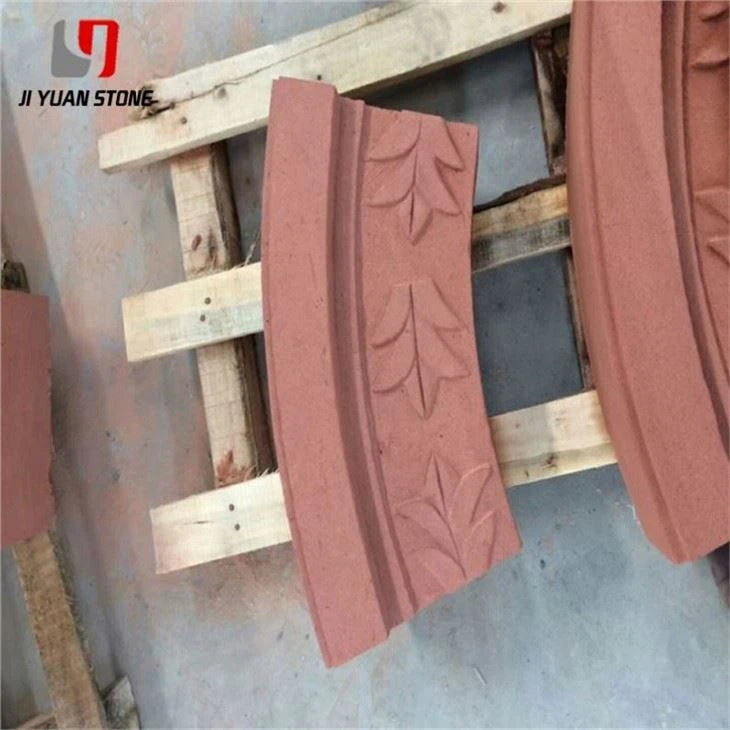
Natural Sandstone |
| Surface Finished |
Honed, Flamed, Bush-hammered, Nature, Mushroom, Swan etc |
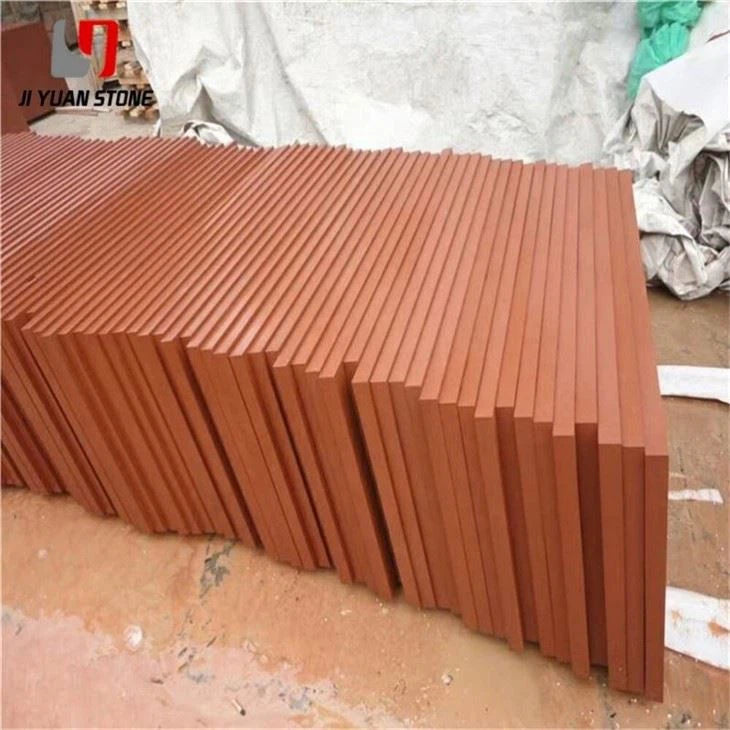
| Finished Products |
Floor tiles, Wall cladding, Countertops, Windowsills, Special-shaped tiles, Small slabs, Swimming pool, Steps, Wall panel, Flooring, Veneers, Slabs, Coping tiles, etc |
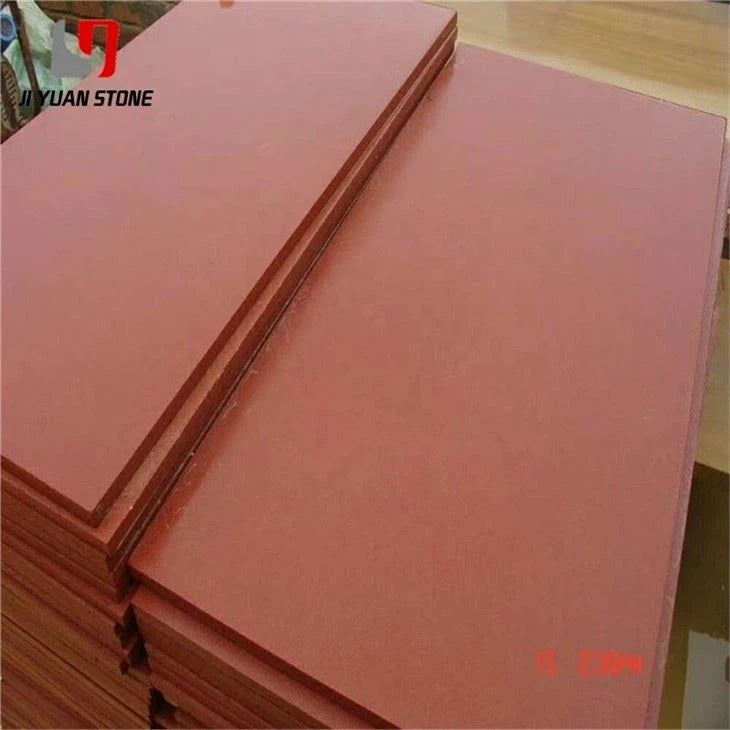
| Color |
Yellow, Black, WWhite, Red,Purple Wood, green,Grey,Rainbow etc |
| Surface Finished |
Polished, Honed, Glossy, Water jet, Tumbled, Dry-hang,etc |
| Advantage |
- Rich experience to promise the stone quality.
- Professional inspector to control the quality.
- Wholesale price with timely delivery to meet your purchase plans.
|
| Conventional Size |
- 600 x 600mm
- 600 x 400mm
- 600 x 300mm
- 457 x 457mm
- 305 x 305mm
- 300 x 300mm
|
| Small Slab Size |
- 60/65 x 180 up x 2
- 70 x 240up x 2
- 60/65 x 180up x 3
- 70 x 240up x 3
|
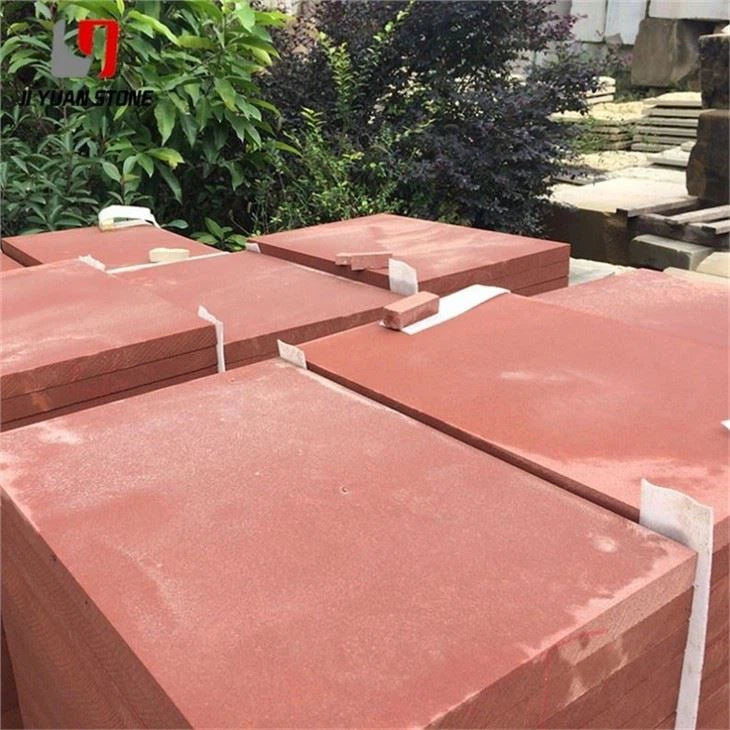
| Product Choice |
Countertop, Table top, Varity top, Fireplace, Tombstone, Memorial, Gravestone, Monument, Slabs, Sanitary, Blocks, Stair Steps, Paving, Columns, Pillars, Sculptures, Fountains, Lanterns, Pots,Lines, Mosaics, Cultural Marbles etc. |
| Thickness Tolerance |
+/-0.5mm, +/-1mm, +1/-2mm, +1/-3mm, according to different standard |
| Trade term |
FOB, CNF, CIF, etc. |