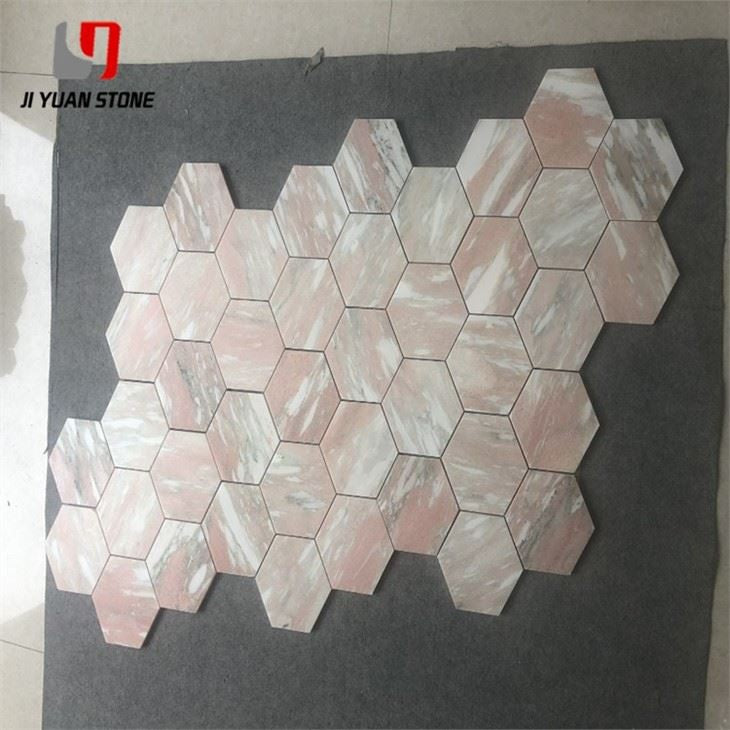
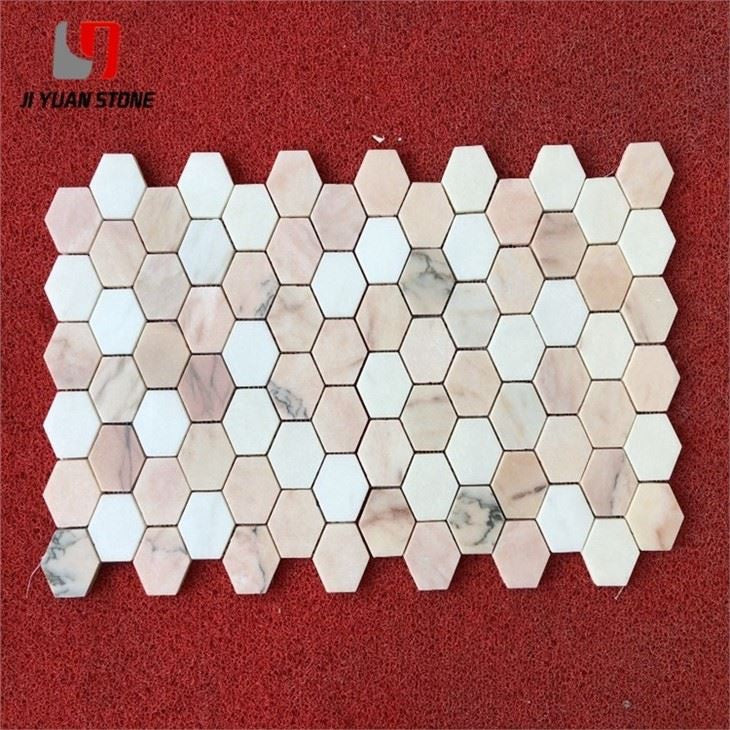
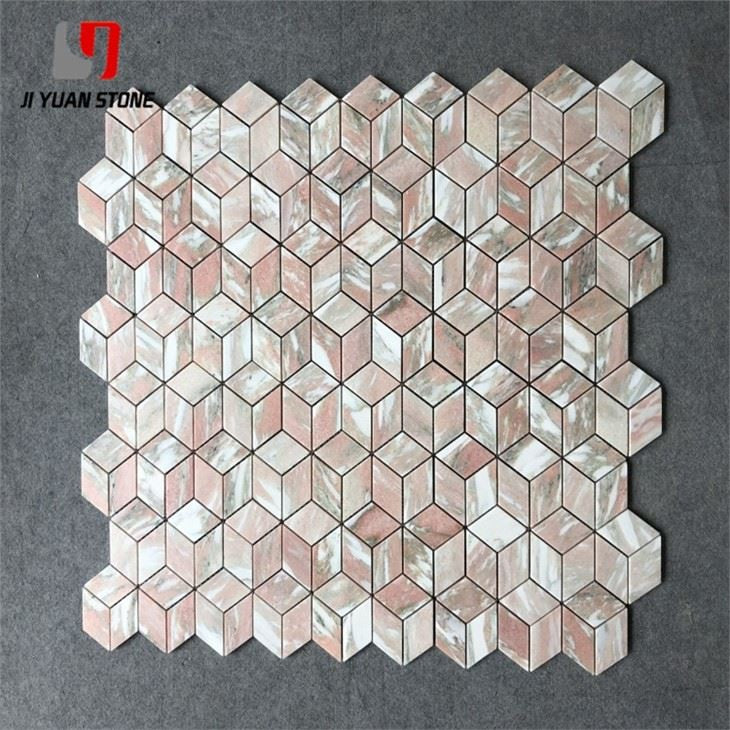
Pink Marble Mosaic Tiles Bathroom
Pink Marble Mosaic Tiles Bathroom
Enhance your bathroom with our Pink Marble Mosaic Tiles. Made from genuine marble, these tiles add a touch of elegance to any bathroom. With their durable and moisture-resistant properties, they are the perfect choice for long-lasting beauty and functionality. Transform your space with these stunning tiles today.
| Feature | Details |
|---|---|
| Material | Natural Marble Stone,Travertine,Limestone |
| Colour | As pictures show or customized |
| Shape | Square, Basketweave, Mini brick, Modern brick, Herringbone, Subway, Hexagon, Octagon, Mixed, Grand fan, Penny round, Hand clipped, Tesserae, Random strip, River rocks, 3D cambered, Pinwheel, Rhomboid, Bubble round, Circle bubble, Stacked, etc... |
| MOQ | Unrestricted |
1. Selection Raw Material: According to different designs and customer requests, we select blocks and slabs with suitable colors and veins to increase the yield and avoid waste.
2. Monitoring the whole process: From cutting to mounting the workers are all well aware of the standards and kick out the unqualified chips on sight to avoid wasting more sources and our QC crews make sure of that.
3. Checking pc by PC: Checking pc by pc of finished products according to customer's requirements. Any defective ones will be revised before being packed.
Pink Marble Mosaic Tiles Bathroom Construction Process
1. Preparation Before Construction
1.1 Technical Preparation
- Carefully review the construction drawings and ensure accuracy.
- Create various models and finalize the construction plan.
- Develop a detailed process for mosaic inlay and organize the necessary manpower and materials.
1.2 Material Requirements
1. Pink Marble Mosaic Tiles:
- Select each tile carefully to ensure straight seams.
- Avoid using tiles with missing edges, large size deviations, or inconsistent colors.
2. Adhesive:
- Use a special mosaic adhesive (cement should not be used).
- Mix the adhesive with water to form a paste (always add water first, then powder).
2. Base Surface Treatment
- Ensure the installation surface is flat and that the reserved installation position exceeds the required tile thickness by 3-5MM.
- Thoroughly clean the surface before tiling.
- The surface must be strong, clean, and free from grease, dirt, or loose materials.
- Smooth or painted surfaces should be roughened for better adhesion.
- If the substrate is loose, highly absorbent, or difficult to clean, apply an interface treatment agent to improve adhesion.
3. Construction Process
1. Construction Preparation
2. Cleaning and Scrubbing the Base Layer
3. Scraping Putty Powder
4. Elastic Horizontal and Vertical Split Seams
5. Wet the Wall with Water
6. Apply the Bonding Layer
7. Secondary Elastic Line Application
8. Mosaic Squeegee Application
9. Laying and Pasting the Mosaic
10. Clap the Seams
11. Close the Seams Using a Squeegee
12. Sprinkle Wet Paper
13. Tear the Paper
14. Close the Seams Again and Scrape
15. Final Cleaning
This structure ensures clarity and logical flow, making it easy to follow for construction purposes. Let me know if you need any modifications!
Share