Send Inquiry
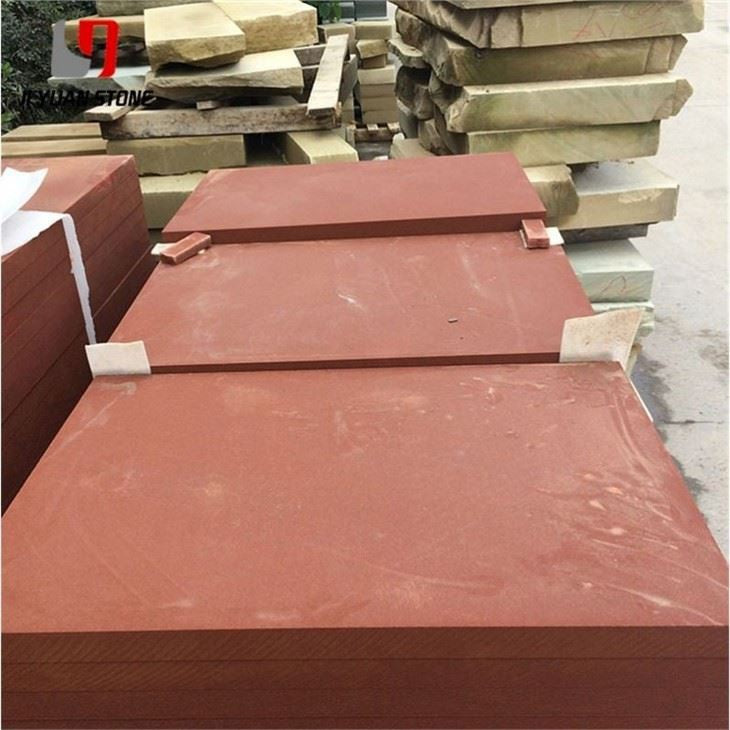
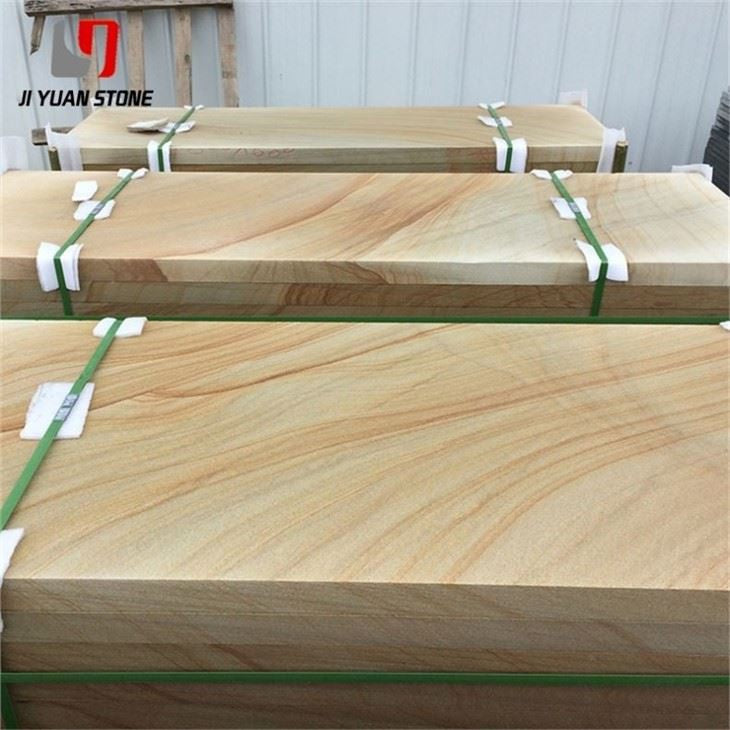
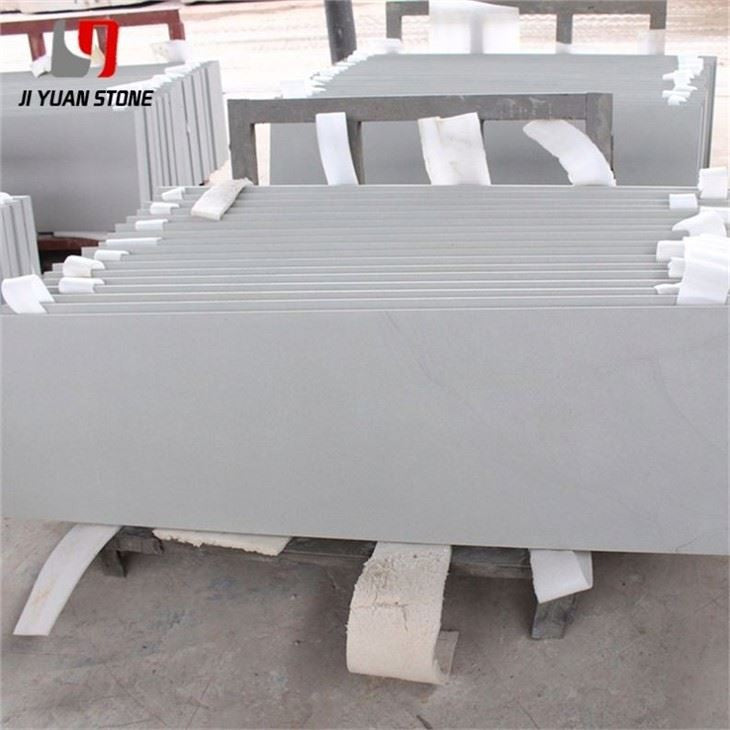
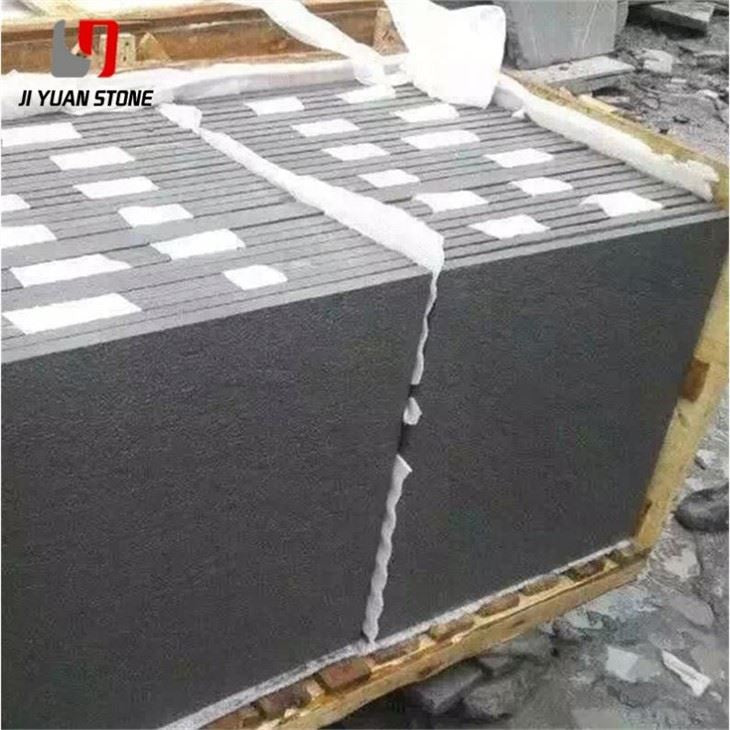
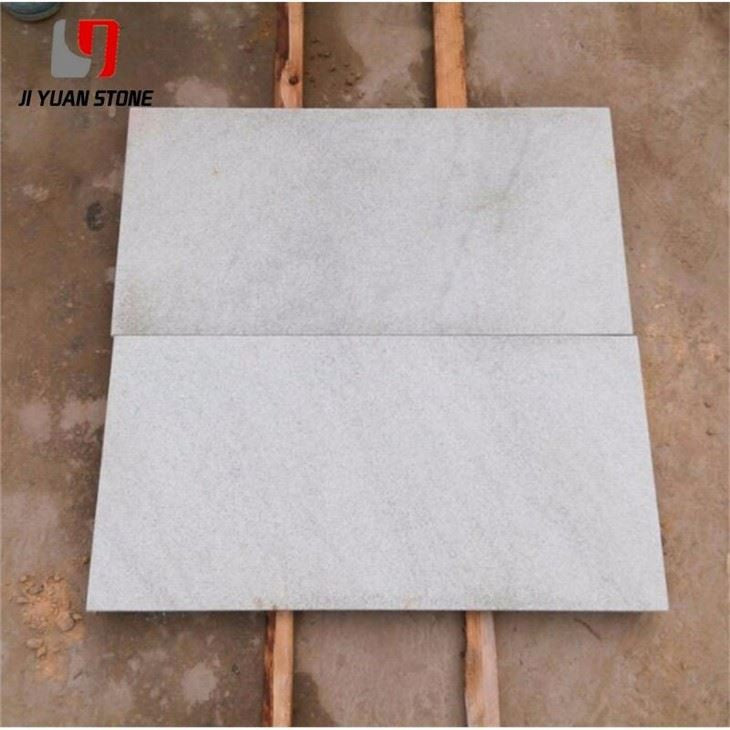
Enhance your outdoor space with our durable and stylish Outdoor Sandstone Stone. Made from high quality sandstone, it provides long-lasting beauty and adds a natural element to your landscaping. Its non-slip surface is perfect for walkways, patios, and more. Upgrade your outdoor living with this versatile and reliable stone.
Feature
Details
Materia
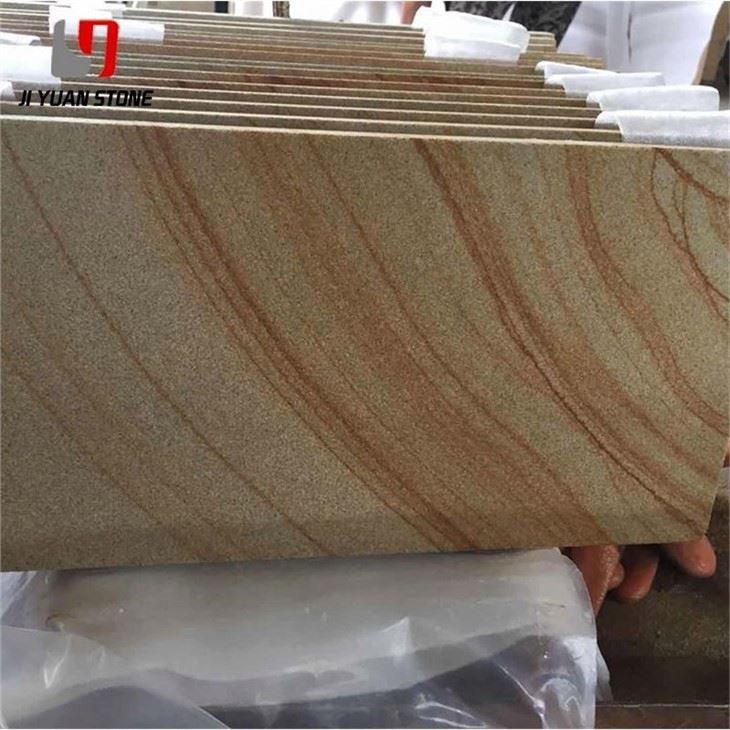
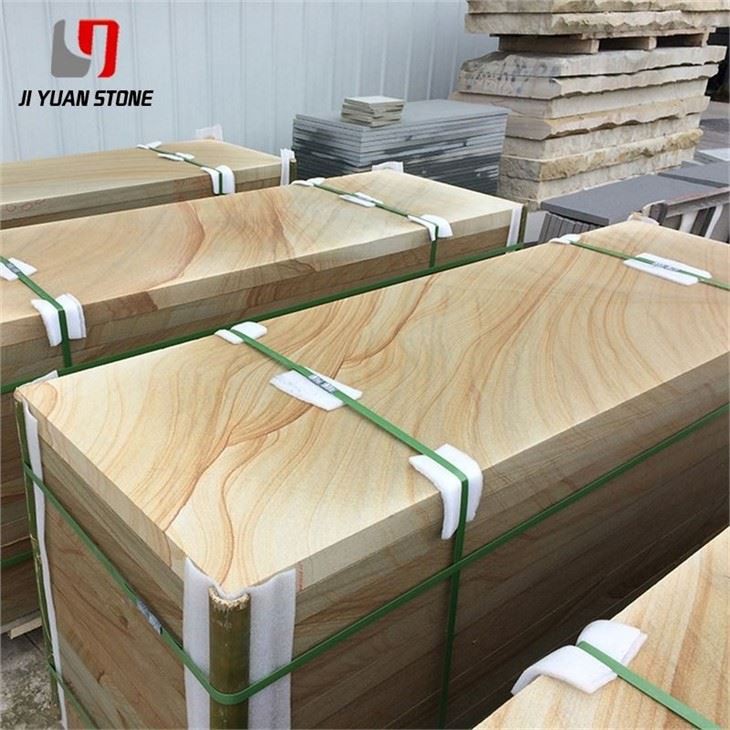
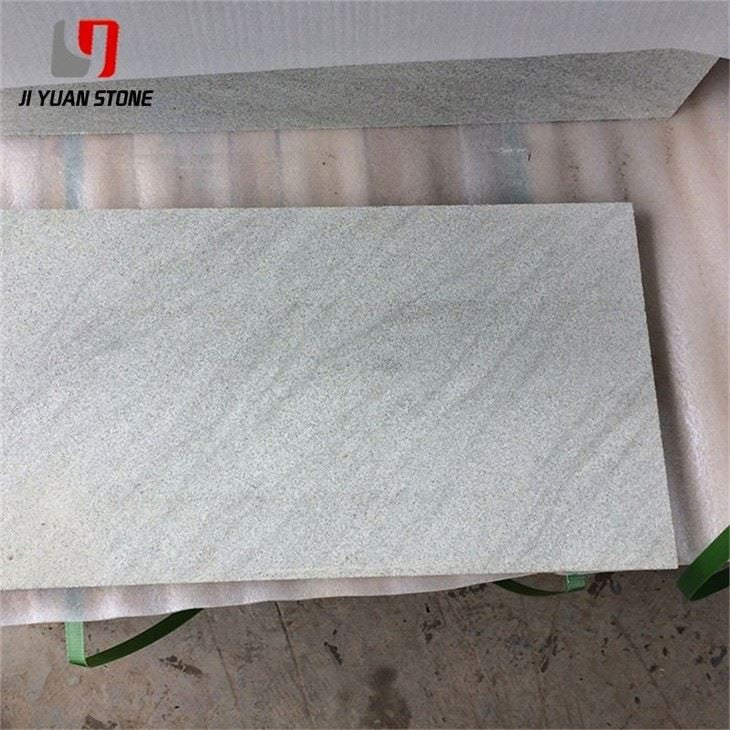
Natural Sandstone
Surface Finished
Honed,Flamed,Bush-hammered,Brushed,Nature,Mushroom,Sawn etc
Finished Products
Floor tiles, Wall cladding, Countertops, Windowsills, Special-shaped tiles, Small slabs, Swimming pool, steps, wall panel, flooring, veneers, slabs, coping tiles, etc
Color
Yellow,black,white,red,purple wood,green,grey,rainbow etc
Applications
Slabs, tiles including walling tiles, and flooring tiles, kitchen countertops, vanity tops, work tops, window sills, skirting, steps & riser stairs.
Available Sizes
Tile size in 12“x12”(305x305mm), 18”x18”(457x457), 24”x24”(610x610mm), 36”x36”(914x914mm) etc.
Slab size in 2400upx1200up, 2400upx1600up etc.
Available Thickness
3/8”(10mm), 12mm, 15mm, 3/4”(20mm), 30mm or other thickness as customization.
Our advantages:
a) Owner of professional factories and quarries.
b) Experienced and have sophisticated craftsmanship.
c) With strict control of every process and quality-inspected.
d) Have big stock, prompt delivery and good fame in stone industry.
Installation Method for Small Outdoor Sandstone Stone Mosaic This method is suitable for cement base walls and wood layouts using bonding techniques.
Preparation Steps 1. Wall Surface Preparation
The wall must be free of surface white-gray before bonding.
If white-gray is present, shovel off the cement matrix before bonding.
If installing outdoor sandstone stone on a wall with external insulation , the dry hanging method must be used.
2. Required Tools
Level, tape measure, electric drill, impact drill, utility knife, Phillips screwdriver, putty knife, pencil.
3. Adhesive Materials
Use an oily adhesive such as:
Marble glue Outdoor sandstone stone glue Other high-quality oily adhesives
Installation Process 1. Check and Match Tile Sizes
Handmade products have slight variations in size .
Choose the most complementary edges for stitching to achieve a perfect fit .
2. Pre-Assemble on the Ground
Lay out all pieces before installation.
Ensure the best pattern alignment and determine the final dimensions .
3. Mark the Installation Position
Determine the exact position of the first tile on the wall.
Make a mark below the first tile position.
Start installation from the lower left or lower right corner and ensure it is level.
4. Install in Sequence
Use the first block as a reference and install in order .
Adjust each row to be level before moving to the next row.
This prevents cumulative misalignment errors .
View full details