| Material |
Natural Marble Stone,Travertine,Limestone |
| Colour |
As pictures show or customized |
| Shape |
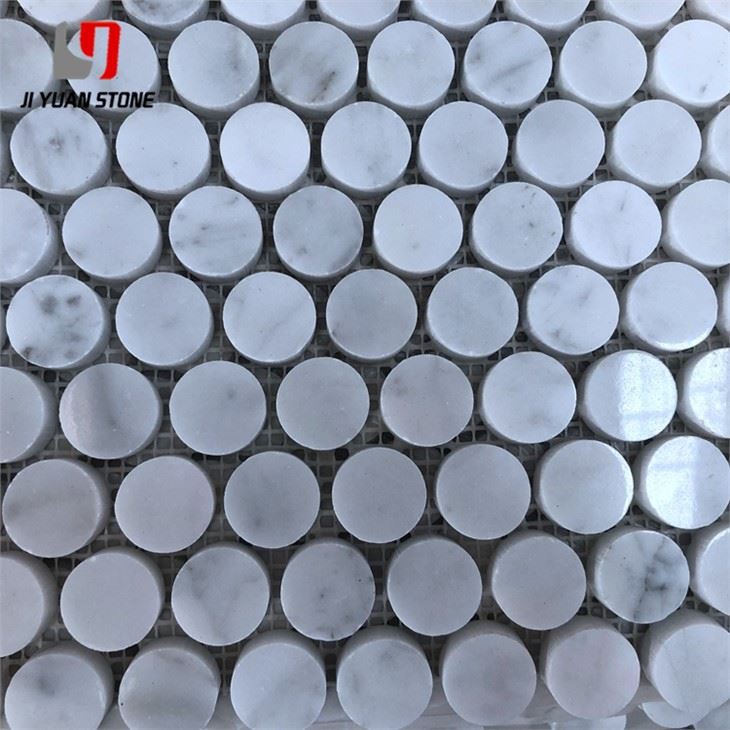
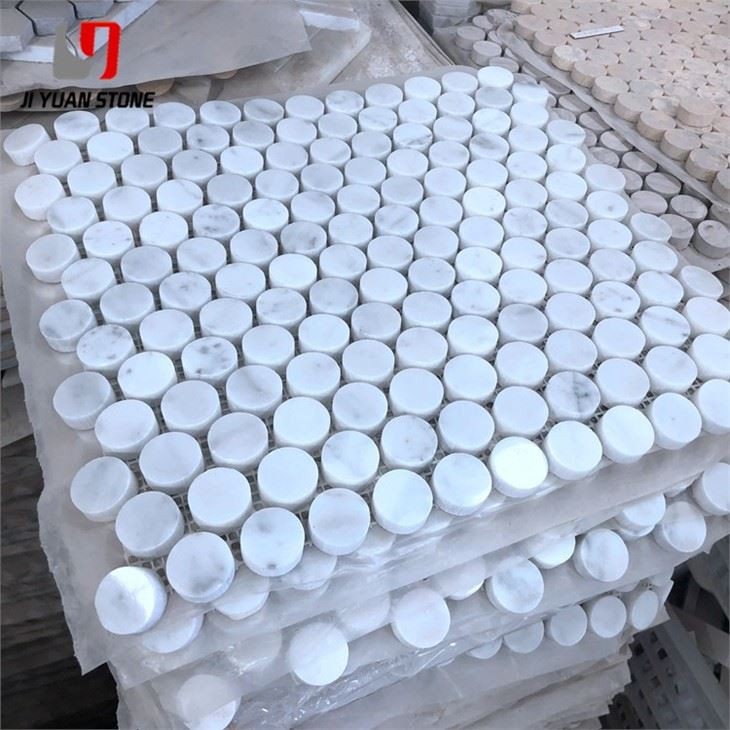
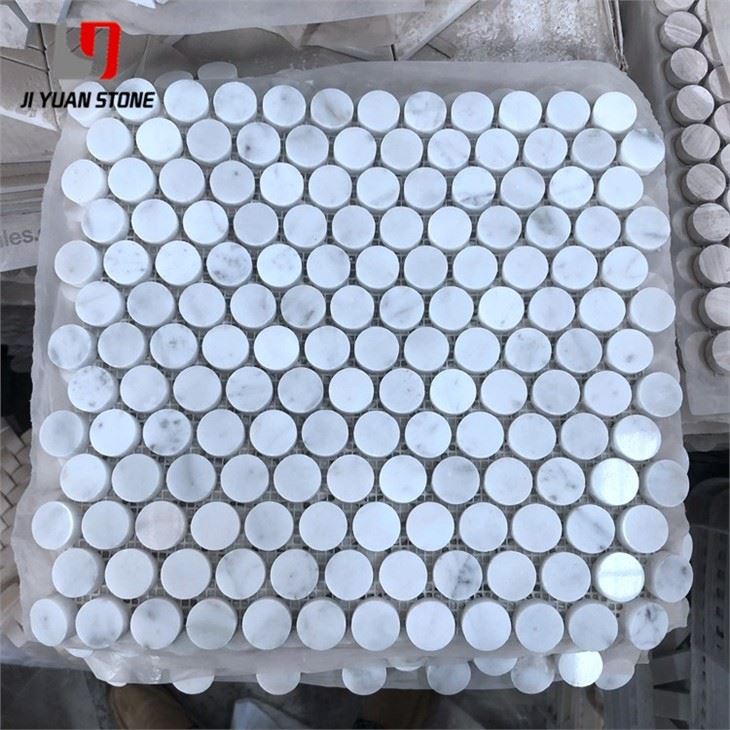
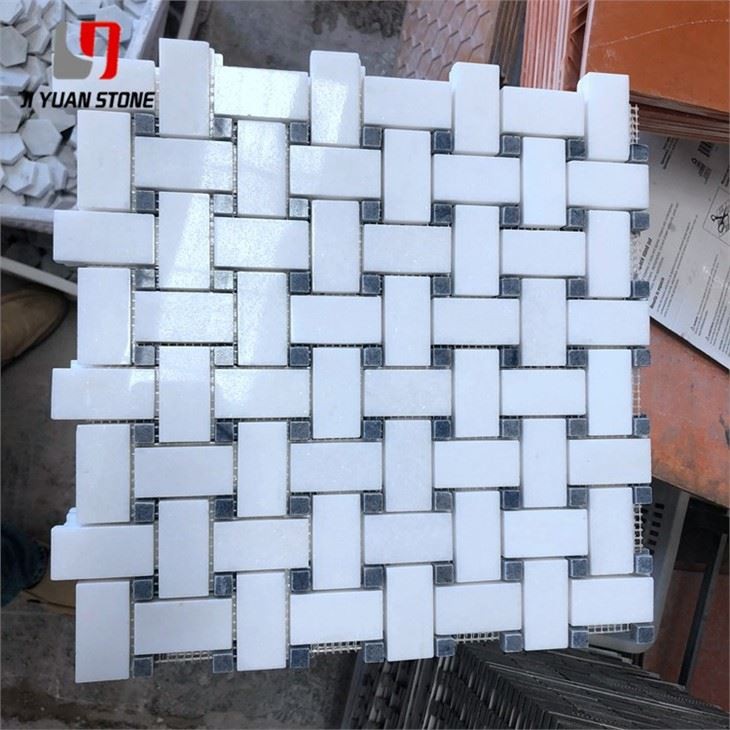
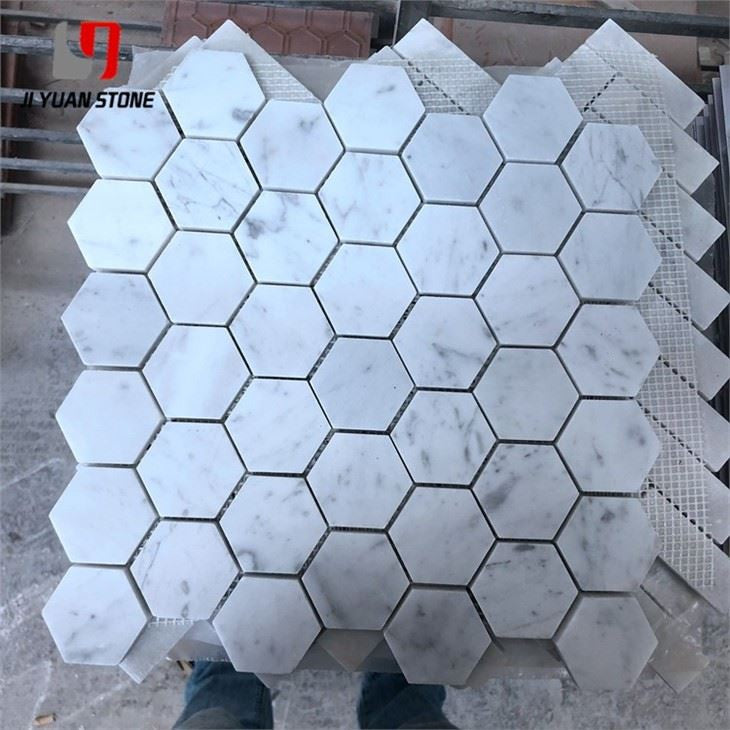
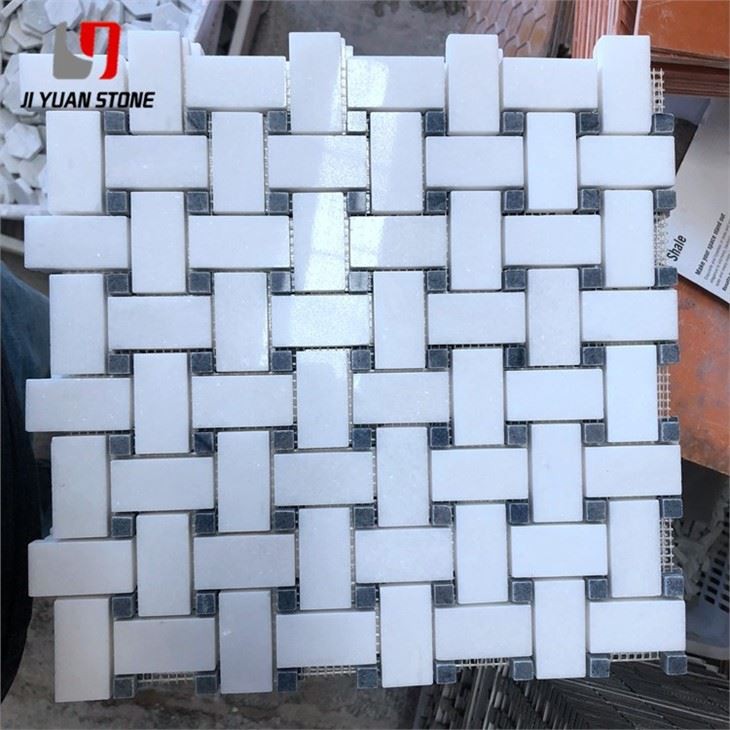
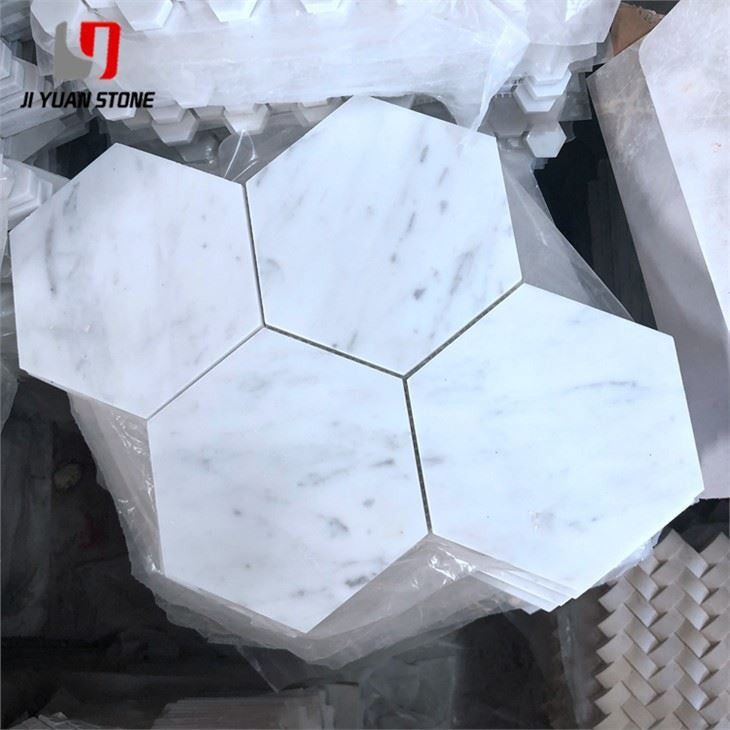
Square, Basketweave, Mini brick, Modern brick, Herringbone, Subway, Hexagon, Octagon, Mixed, Grand fan, Penny round, Hand clipped, Tesserae, Random strip, River rocks, 3D cambered, Pinwheel, Rhomboid, Bubble round, Circle bubble, Stacked, etc... |
| MOQ |
Unrestricted |
| Material |
Marble stone |
| Sheet size |
- Sheet size: 305*305mm or 12"x12"
- Thickness: 6mm (5/16"), 8mm(0.3125"), 10mm(3/8"), 12mm(1/2"), 20mm(3/4")
- Cut-to-size or any other customized sizes
|
| Chip size |
- 10x10mm(3/8"x3/8"),15x15mm(5/8"x5/8"),20x20mm(3/4"x3/4"),
- 25x25mm(1"x1"),
- 30x30mm(1 1/4"x1 1/4") and etc ,Thickness 7mm(5/16") to 15mm(5/8")
|
| Surface finished |
- Polished, Honed, Flamed, Split faced, Picked, Bush hammered, Chiseled, Sawn cut,
- Sand blasted, Mushroom, Tumbled, Acid washing surface.
|
| Top material |
- Italy Bianco carrara white, Calacatta gold, Calaeatta, Dark emperador, Light emperador,
- Cream Marfil, Crystal white, Thassos white, Nero margiua, Honey onyx stone
|
| Mosaic pattern |
- Square, Basketweave, Mini brick, Modern brick, Herringbone, Subway, Hexagon,
- Octagon, Mixed, Grand fan, Penny round, Hand clipped, Tesserae, Random strip,
- River rocks, 3D cambered, Pinwheel, Rhomboid, Bubble round, Circle bubble, Stacked, etc
|
| Application |
Wall & Floor, Interior/Exterior projects, Kitchen backsplash, Bathroom flooring, Shower surround, Countertop, Dining room, Entryway, Corridor, Balcony, Spa, Pool, Fountain, etc. |
| Packing |
- Paper bag + Film protection + Wooden crate
- 5pcs/paper bag, 72 paper bags /wooden crate
|
| Capacity |
1000m2 per week |