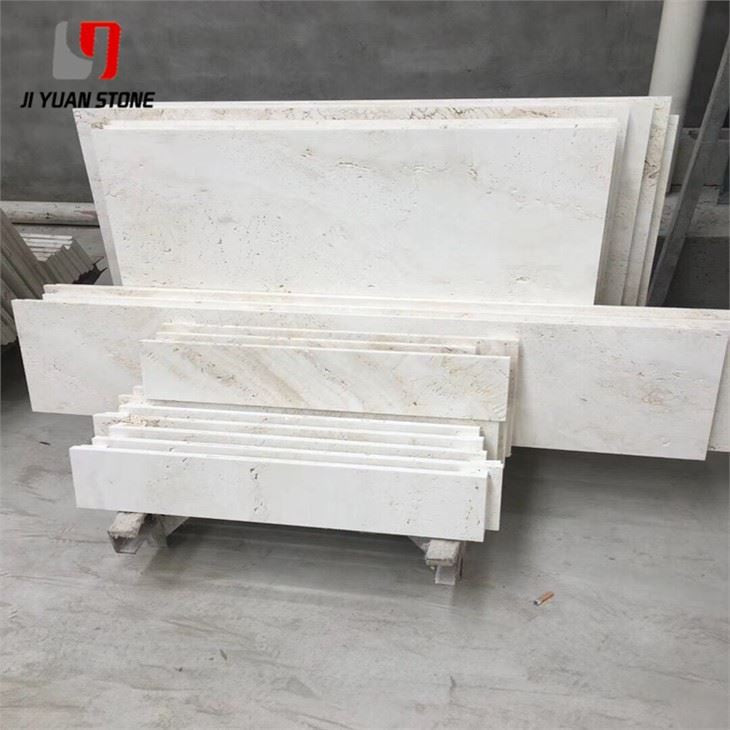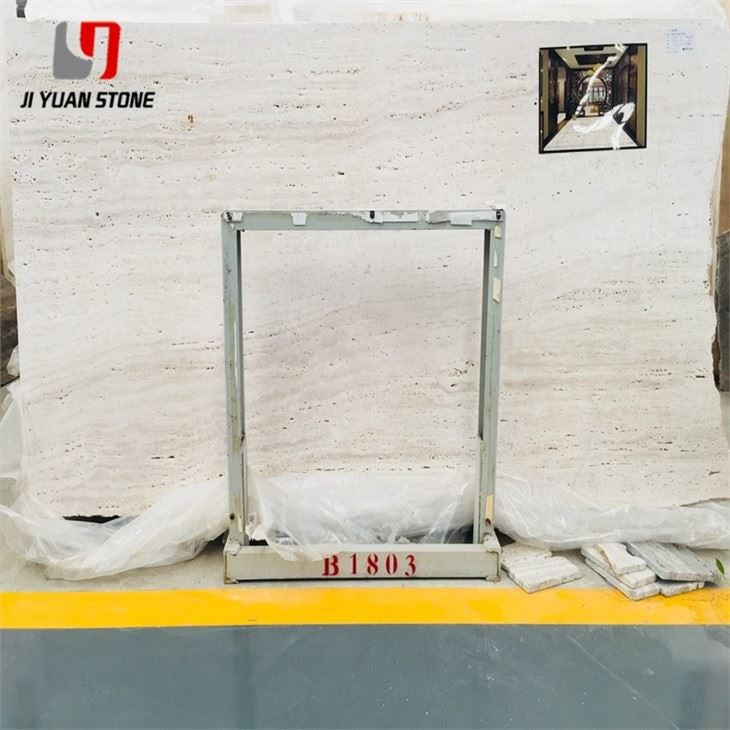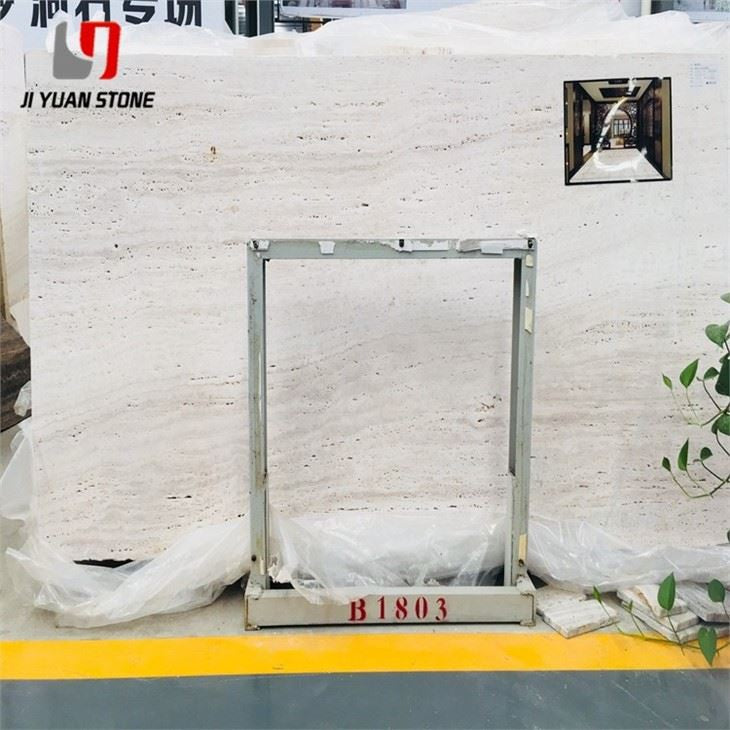


Ivory Travertine Pool Coping
Ivory Travertine Pool Coping
Ivory Travertine Pool Coping – Elegant, Durable & Professionally Treated Stone for Poolside Perfection
Increase the value and beauty of your pool with our Ivory Travertine Pool Coping. This durable natural stone provides a classic, elegant look while also offering excellent slip-resistance. Crafted from high-quality travertine, our pool coping will elevate your pool to new levels of sophistication and practicality.
| Feature | Details |
|---|---|
| Stone Type | Natural Travertine |
| Surface | Honed |
| Available Size |
|
| Packing | Strong Export Fumigated Wooden Crates. |
| Usage | Indoor Wall/Floor Decoration, Bathroom, Kitchen, Living Room. |
| Quality Control | Thickness tolerance(length, width, thickness): +/-1mm(+/-0.5mm for thin tiles) QC check pieces by pieces strictly before packing |
| MOQ | Small trial orders are welcome. |
| Delivery Time | 1-2 weeks after payment received |
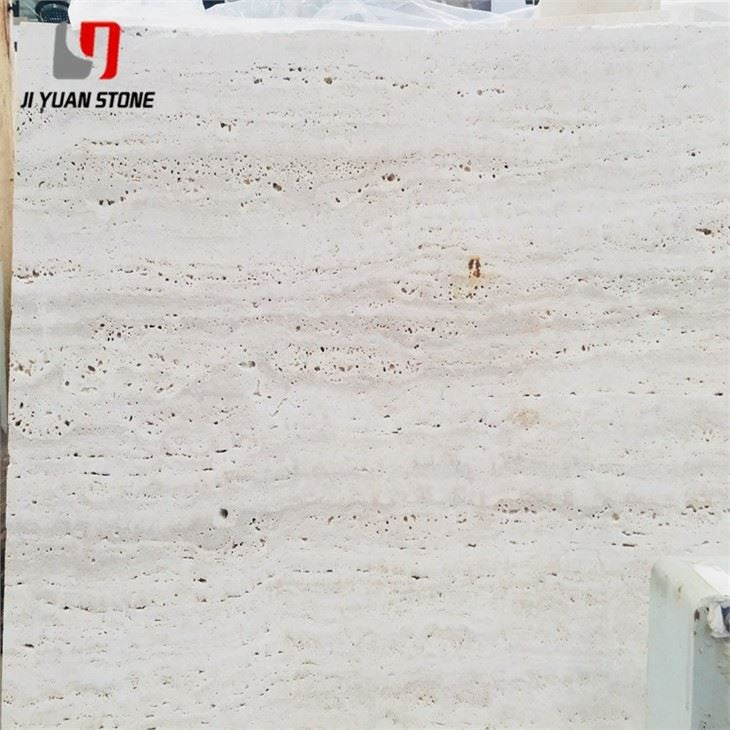
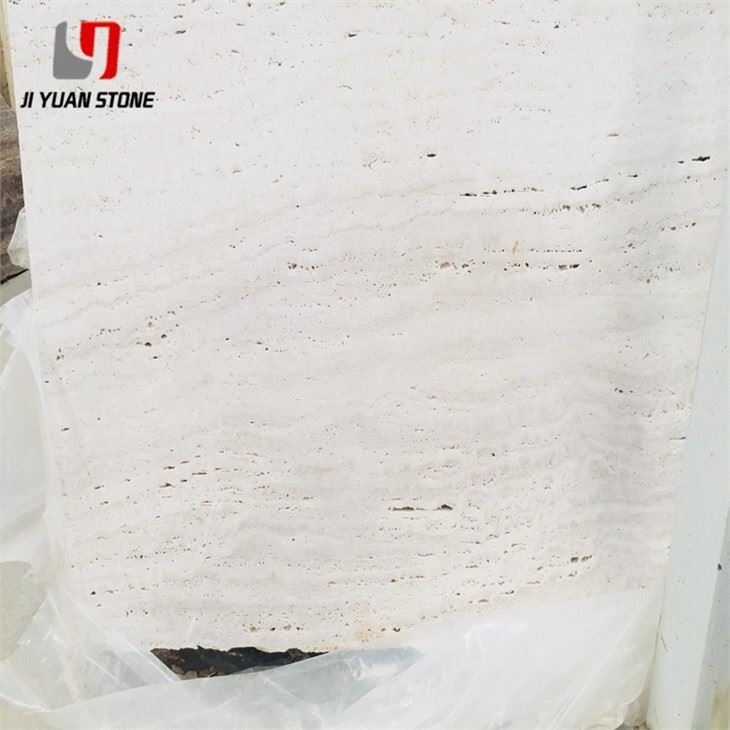
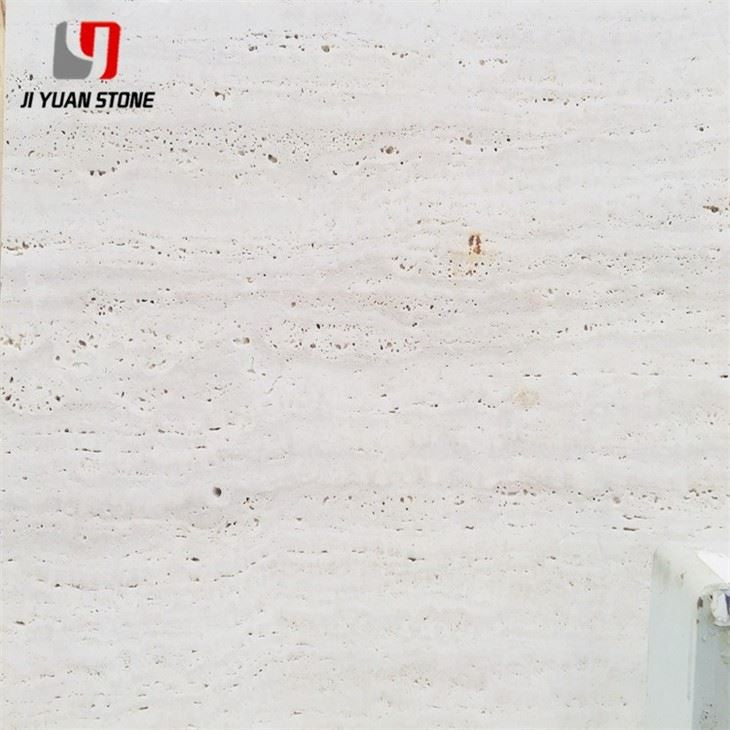
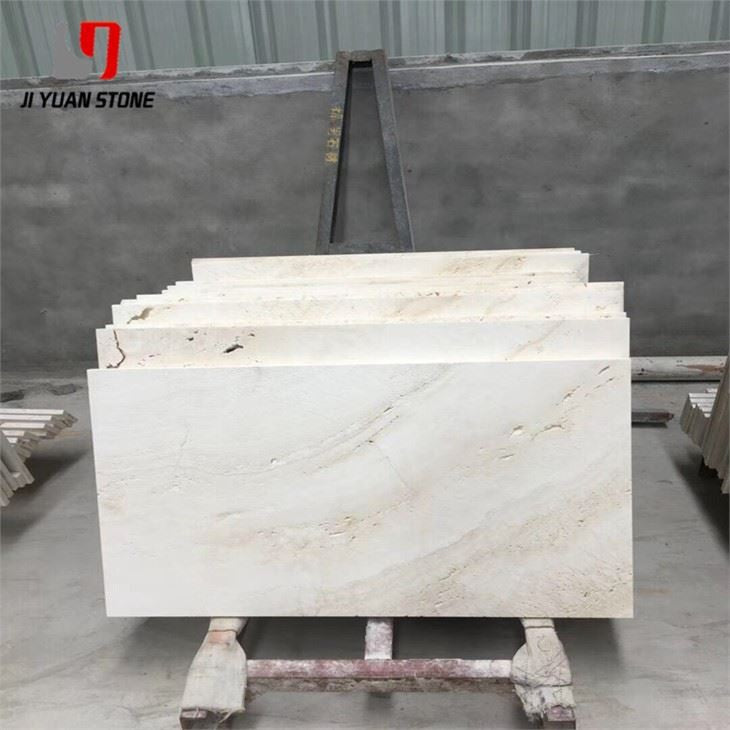
Enhance your outdoor oasis with Ivory Travertine Pool Coping—a naturally beautiful and highly functional stone ideal for pool edges, spa borders, and landscape transitions. Known for its soft beige color, porous texture, and timeless appeal, ivory travertine offers both aesthetic charm and practical durability.
To ensure long-term performance and a flawless polished surface, every piece of ivory travertine coping undergoes a meticulous renovation and crystallization process, providing a smooth, slip-resistant finish perfect for wet environments.
🔧 Work Process for Ivory Travertine Pool Coping
Each stone undergoes a detailed multi-step restoration and finishing treatment, ensuring it meets our high-quality standards for poolside installations.
🧼 A. Cleaning and Decontamination
Specialized tools and stone-safe cleaning agents are used to thoroughly remove contaminants, ensuring a clean, prepared surface.
🔧 B. Travertine Renovation & Crystallization Process
1. Scraping and Filling Holes
Travertine's natural pores and holes are filled using specially formulated marble glue, creating a uniform and smooth surface.
2. Rough Polishing (50#–150#)
Initial sanding with coarse grits (starting at 50#) removes excess glue and flattens the surface while smoothing joint lines.
3. Drying the Ground
A combination of air drying and natural drying ensures an even surface tone without moisture marks.
4. Secondary Scraping and Filling
A second round of hole filling is performed to catch and seal any remaining hidden voids.
5. Fine Polishing (300#–3000#)
The stone is gradually polished using finer grits, from 300# up to 3000#, to achieve a rich, natural shine.
6. Final Drying
Advanced drying equipment and natural techniques ensure a vibrant, dry surface before final sealing.
7. Leveling, Grinding & Polishing
Residual glue is removed and the surface is re-polished using high-grade polishing pads for maximum smoothness.
8. Crystal Hard Treatment
A crystallization agent is applied using stone-weighting machines to strengthen the surface and enhance gloss.
9. High-Speed Polishing
Two phases of machine polishing complete the process—one applies polishing material, the other refines the finish to a flawless high-gloss.
10. Final Dust Removal
Dust pushers are used to clean all remaining residue, leaving the surface crystal-clear and installation-ready.
🧱 Why Choose Ivory Travertine for Your Pool Coping?
- ✅ Non-slip texture perfect for wet areas like pools and spas
- ✅ Naturally cool surface even under direct sunlight
- ✅ Beautiful beige tone with timeless appeal
- ✅ Professionally processed for enhanced durability
- ✅ Perfect for both modern and classical designs
🌍 Why Choose Us?
- ✔️ Over 15 years of experience in stone production and export
- ⚙️ Advanced machines and skilled workers ensure precision and consistency
- 🧪 Strict quality control, including automated inspection and manual review
- 📦 Carefully packaged and inspected before shipping to ensure safe delivery
- 🪨 Large variety of natural stones: travertine, marble, granite, basalt, and more
💡 Care Tips for Ivory Travertine Coping
- Avoid exposure to harsh chemical cleaners or soaps
- Clean with a soft, damp cloth and mild stone-safe detergent
- Seal periodically to maintain water resistance and reduce staining
- Avoid dropping heavy objects on the surface, as travertine is naturally porous
📞 Contact Us Today
Looking for long-lasting, naturally elegant pool coping? Choose our Ivory Travertine Pool Coping, professionally finished for both beauty and durability.
Contact our team now for custom sizes, pricing, and shipping options.
Share