Grey Quartz Stone
Grey Quartz Stone
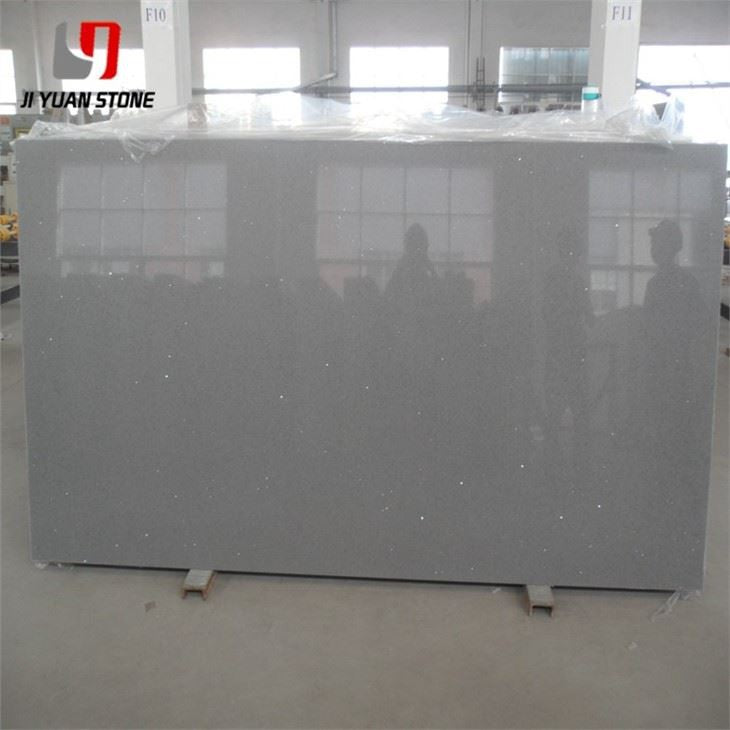
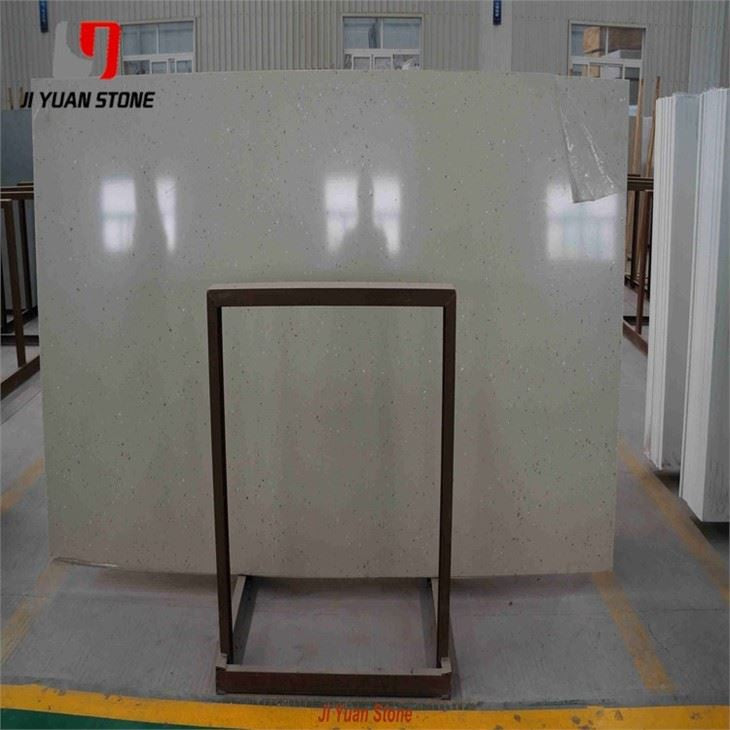
Grey Quartz Stone Flooring – Elegant Strength with Expert Craftsmanship
Discover the beauty and durability of Grey Quartz Stone. With its sophisticated grey color, this stone is perfect for any modern or traditional design. Made from high-quality quartz, it offers a 100% stain and scratch resistance, making it the ideal choice for countertops, flooring, and more. Elevate your space with Grey Quartz Stone.
| Feature | Details |
|---|---|
| Kitchen countertop Size: | 96"x26", 108''x26'' |
| Island size: | 72"x36",78"x36",83"x42",98"x39" |
| Width for back splashes: | 2'',4'',6'', according to your requirement. |
| Vanity top Size: |
|
| Finish: | Polished |
| Slab sizes: |
|
| Tile sizes: |
|
| Edge | 3/4"eased, 3/4" full bullnose, 3/4"ogee, 3/4"threhold, 3/4"demi bullnose, 3/4" dupont edge |
| Kitchen top sizes: | 25"×96", 25½"×96", 26"×96", 25½"×108", 26"×108", 28"×96", 28"×108", or custom sizes |
| Edges | 1/4bullnose, waterfall, ogee, scotia, half bullnose ,top bullnose, double scotia,Flat, Double bullnose, double dupont, double dupont full etc. |
| Thickness | 3/4", 1½", or customsizes |
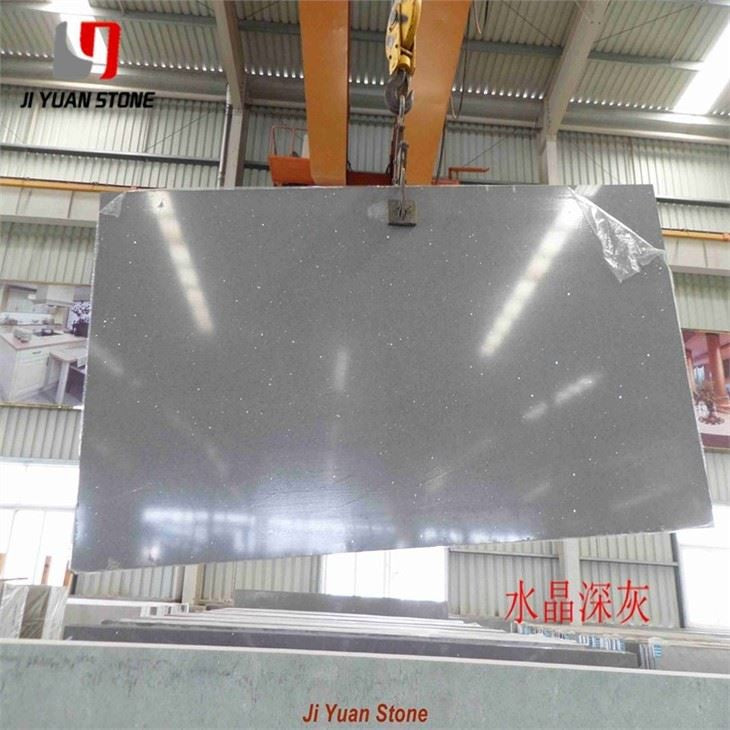
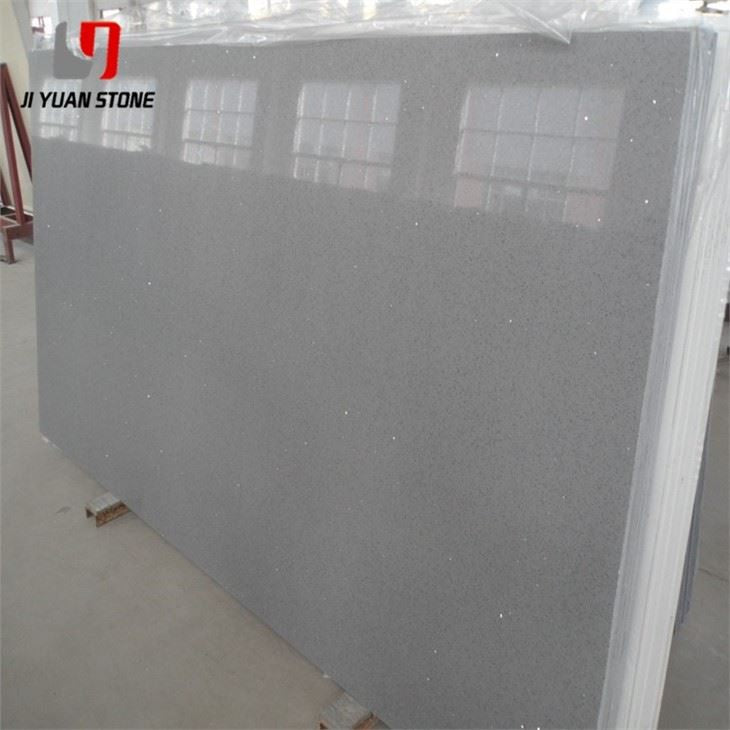
Grey Quartz Stone is a premium flooring solution that combines sleek aesthetics with industrial-grade strength. Perfect for modern residential and commercial interiors, it delivers a timeless look with outstanding durability and minimal maintenance. Whether you're revamping your home or designing a professional space, this stone offers both elegance and performance.
🛠️ Grey Quartz Stone Floor Paving: Requirements & Craftsmanship
To ensure lasting results and flawless aesthetics, correct installation techniques and specialized materials are essential. Below are professional guidelines to help you achieve a strong and stable quartz stone floor.
✅ 1. Key Considerations for Grey Quartz Stone Flooring
Thickness Matters:
Ensure a minimum slab thickness of 20mm for long-term durability and resistance to daily wear.
Usage Specification:
Always inform the manufacturer that the quartz will be used for flooring. Flooring-grade quartz differs in formulation from countertop quartz and is optimized for foot traffic and structural demands.
Adhesive Selection:
- Do NOT use traditional cement paste—it lacks adhesion strength for quartz.
- Use special glue powder and an adhesive primer to promote bonding and prevent delamination over time.
✅ 2. Grey Quartz Stone Floor Paving Requirements
Step 1: Preparing the Adhesive
- Mix rubber powder and water in a 2:1 ratio.
- Stir thoroughly, let sit for 3–5 minutes, then stir again before applying.
- Use the adhesive within 2 hours of mixing for best bonding results.
Step 2: Prepping the Tiles
- Apply the adhesive to the back of quartz tiles at least 2 hours before paving.
- Wait until the adhesive becomes completely transparent before installation begins.
Step 3: Paving Process
Make sure the floor base is clean, dry, and free from dust.
Apply quartz stone adhesive using one of the following techniques:
- Strip Application: Adhesive applied in evenly spaced strips.
- Full Batch Scraping: Adhesive spread evenly across the entire floor.
Adhesive Thickness:
- Floor surface: ≥7mm
- Back of tile: 2–3mm
- Tap gently with a rubber mallet to ensure strong bonding and alignment.
Tile Spacing:
- Leave a minimum 3mm gap between tiles to allow for thermal expansion and contraction.
✅ 3. Post-Installation Precautions
- Avoid walking on the newly installed floor for at least 48 hours.
- Premature use may cause surface unevenness, misalignment, or bonding failure.
🌟 Why Choose Grey Quartz Stone for Flooring?
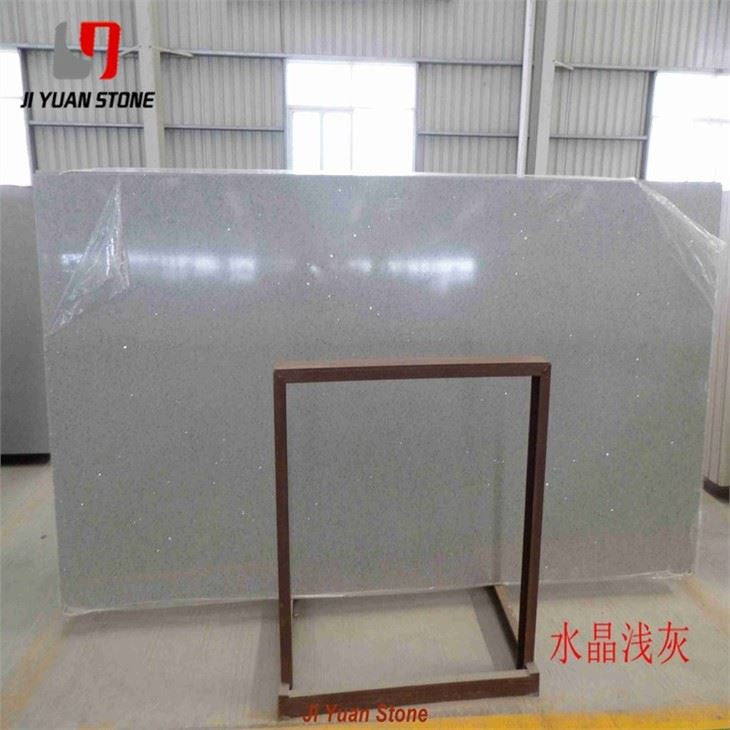
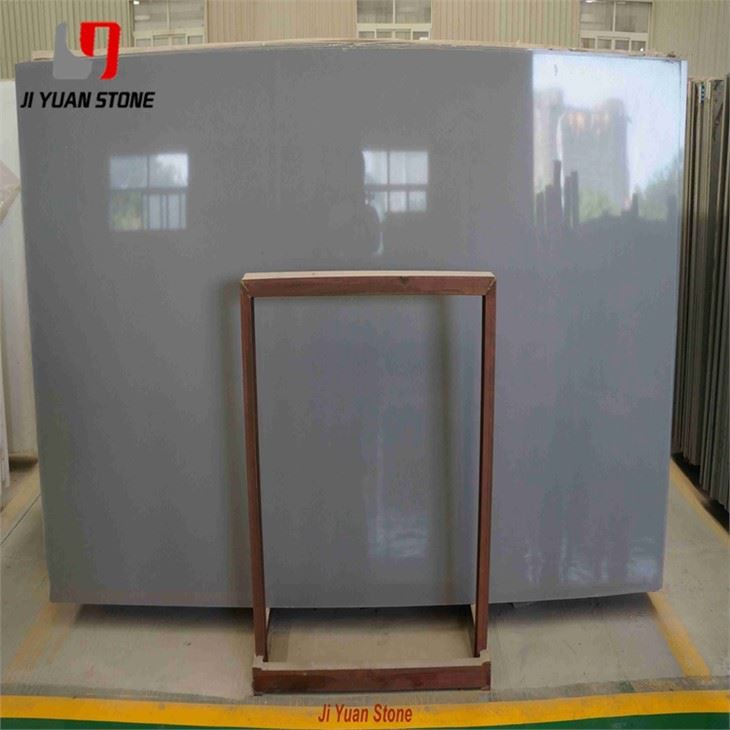
- Modern Aesthetic: Neutral grey complements any interior design style—minimalist, industrial, or contemporary.
- High Durability: Engineered to withstand heavy foot traffic and resist wear.
- Easy Maintenance: Non-porous surface resists stains, dirt, and bacteria.
- Safe & Eco-Friendly: Quartz stone is non-toxic, non-radiative, and contains no harmful emissions.
🏡 Perfect for These Applications:
- Living rooms, kitchens, and bathrooms
- Office lobbies and conference rooms
- Retail stores, hotels, and restaurants
- Hallways, elevators, and public spaces
Transform your interior with the timeless sophistication and long-lasting strength of Grey Quartz Stone Flooring. Engineered for performance, designed for style—it's the smart choice for high-traffic, high-design spaces.
Share