Engineered Terrazzo
Engineered Terrazzo
Engineered Terrazzo – Expert Installation Guide & Winter Construction Considerations
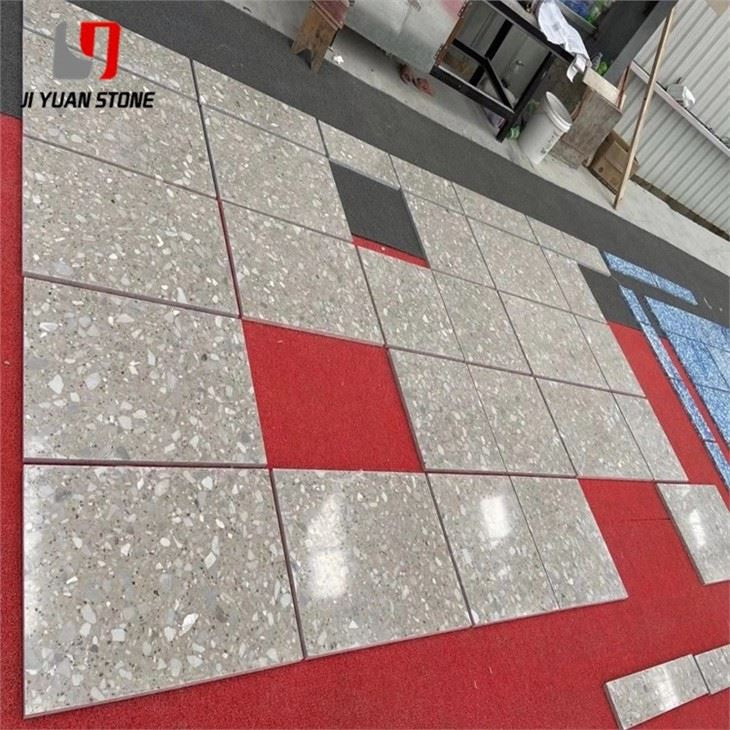
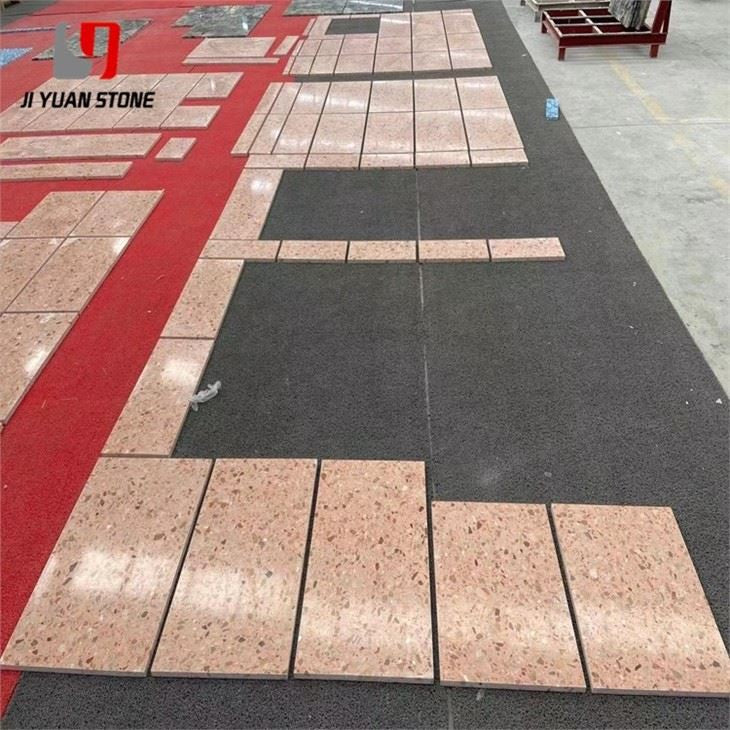
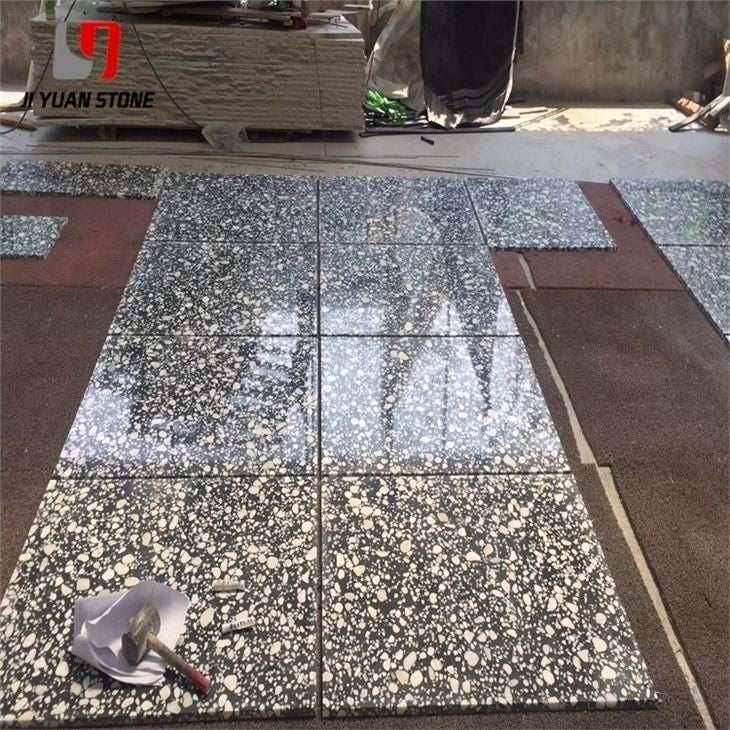
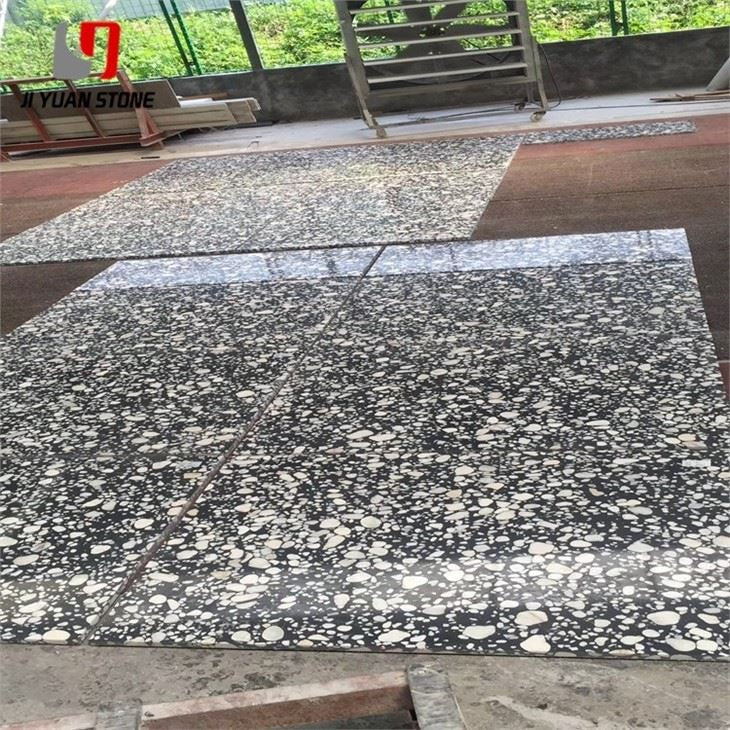
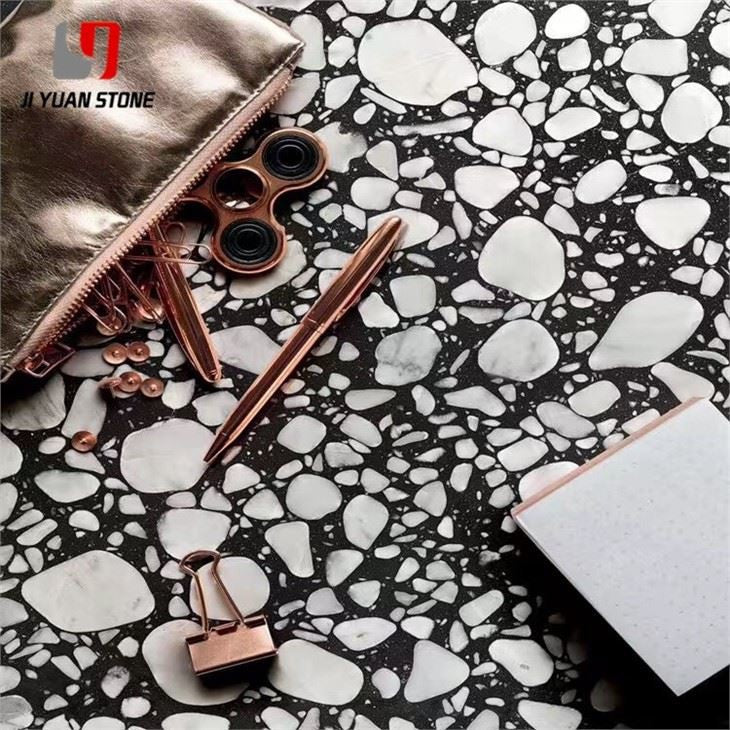
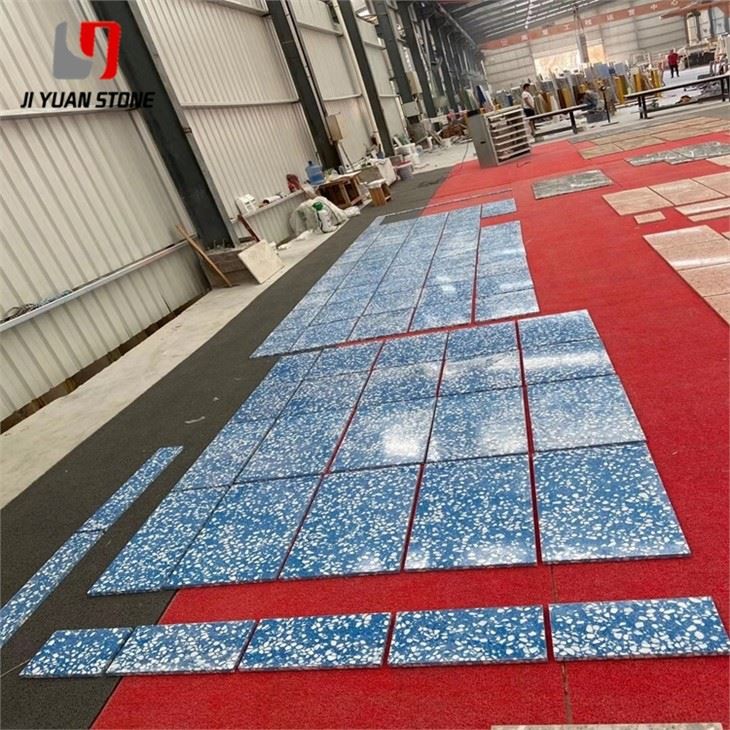
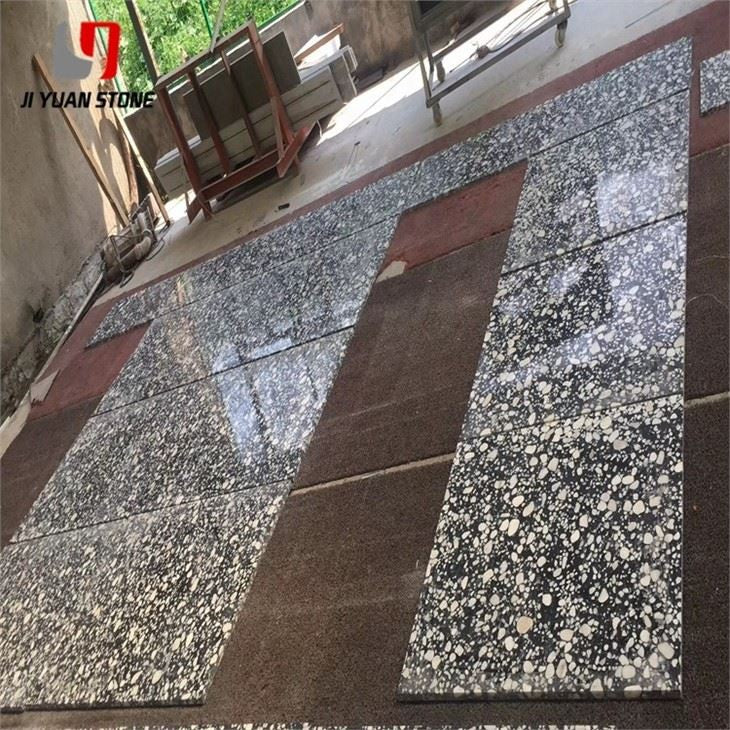
Engineered Terrazzo is a high-quality, durable flooring option that combines the beauty of traditional terrazzo with modern engineering. With its strong and long-lasting composition, it offers a cost-effective solution for any space. Made with precision and expertise, it provides a beautiful and functional flooring choice for any project.
| Feature | Details |
|---|---|
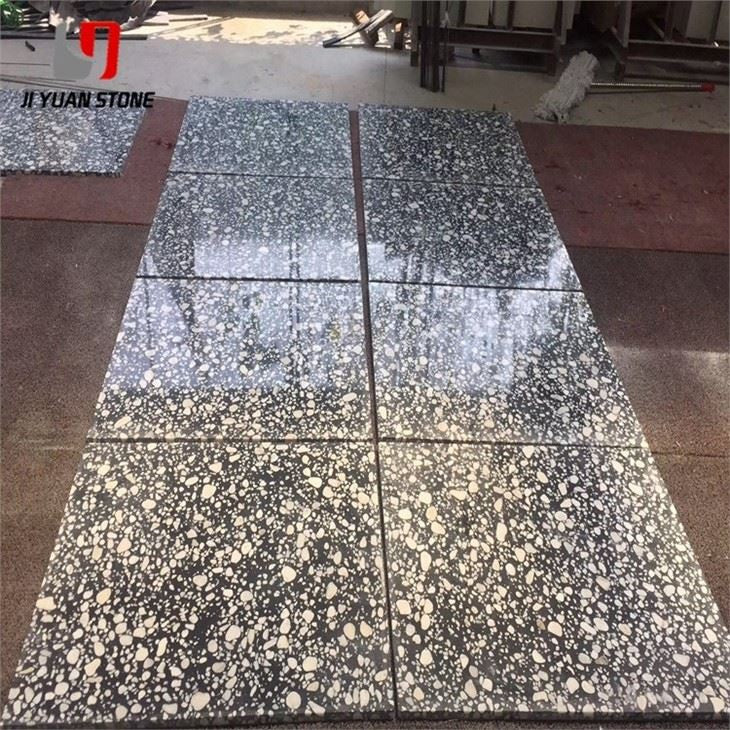
| Material | Terrazzo |
| Surface Finish | Polished,Honed |
| Slab standard size | 3200*1600mm/2700*1800mm/2400*1600mm/2400*1200mm |
| Tile standard size | 800*800mm/900*900mm |
| Available Thickness | 2cm/2.5cm/3cm or other thickness as customization. |
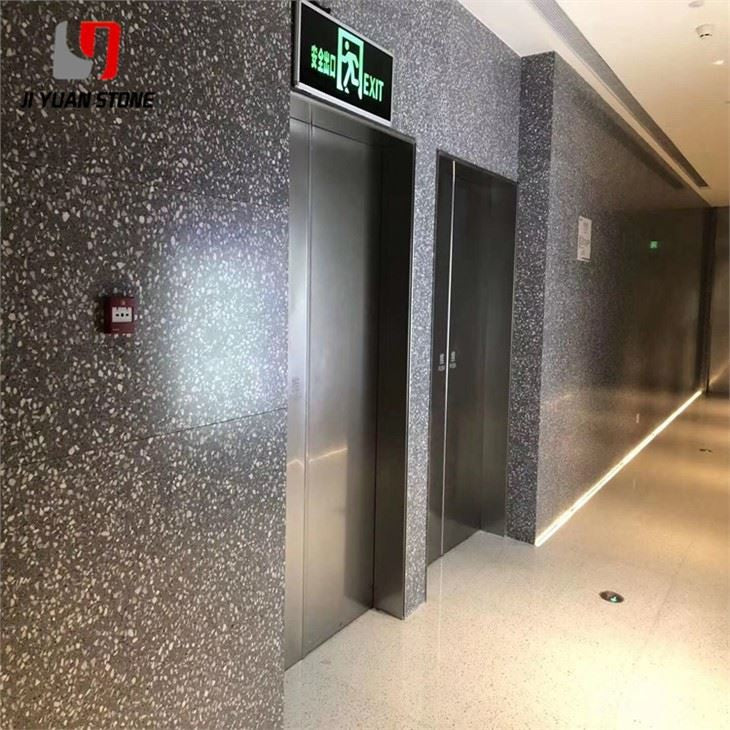
Our engineered terrazzo products combine strength, beauty, and modern design versatility—making them ideal for both residential and commercial applications. Whether you're installing engineered terrazzo in a warm climate or tackling a winter project, proper installation is key to long-term durability and flawless results.
Here’s a complete guide to the construction process and winter considerations for stone installation, ensuring your terrazzo slabs are professionally laid and built to last.
Construction Process and Winter Considerations for Stone Installation1. Grouting Process: Layer-by-Layer Installation
First Layer of Grouting:
Begin with an initial injection of 15cm of grouting. Allow it to set for 1–2 hours to enable the mortar’s initial setting. During this phase, monitor the slabs for any movement or displacement.
Second Layer of Grouting:
Once the first layer has settled, proceed with a 20–30cm second layer. Wait for the setting to begin before continuing with additional grouting.
Third Layer of Grouting:
The final grouting layer should stop 5cm below the top of the slab. Ensure a consistent application across all layers for optimal bond strength and slab stability.
After laying all engineered terrazzo slabs:
Remove gypsum residue or slurry with a soft linen cloth.
Apply color-matching paste caulk to all seams to ensure they are:
- Dense
- Smooth and clean
- Uniform in color
This step guarantees a seamless, high-end finish across the entire surface.
For vertical applications such as columns, use cylindrical marble, engineered terrazzo, or polished granite. Follow the wall inlay method, including:
- Elastic threading
- Drilling for anchor holes
- Tying steel bars for reinforcement
Wooden Square Nails:
Before applying grout, use wooden nails and convex clamps to secure each slab in place. Position them on both sides of the slab to prevent swelling or shifting during the curing phase.
Winter installations demand extra care to prevent mortar damage and ensure proper curing:
- Mortar Insulation: Maintain a mortar temperature above 5°C during application. Insulate as needed.
- Freeze Protection: Prevent freezing during the initial set time by adding antifreeze agents. The amount should be tested for accuracy based on conditions.
- Wall Thawing: Do not proceed with installation on frozen walls until they are fully thawed to avoid structural issues.
- Heating Methods: Use hot air systems or stove heating with chimney exhausts to speed drying time.
- Ventilation: When using heated air, ensure good ventilation to remove moisture buildup.
- Temperature Monitoring: Assign a dedicated technician to manage temperature control throughout the project to maintain stable conditions.
Our engineered terrazzo slabs are built with precision for modern design demands. Whether used for walls, floors, or column veneers, they offer:
- ✅ Superior strength and consistency
- ✅ Easier handling compared to natural stone
- ✅ Resistance to moisture, stains, and wear
- ✅ A polished look with seamless installation potential
With expert guidance and careful construction—even in winter—engineered terrazzo becomes an incredibly reliable, stylish, and practical stone solution.
Order engineered terrazzo slabs today and ensure your next project is built with long-lasting performance and timeless visual appeal, regardless of the season.Share