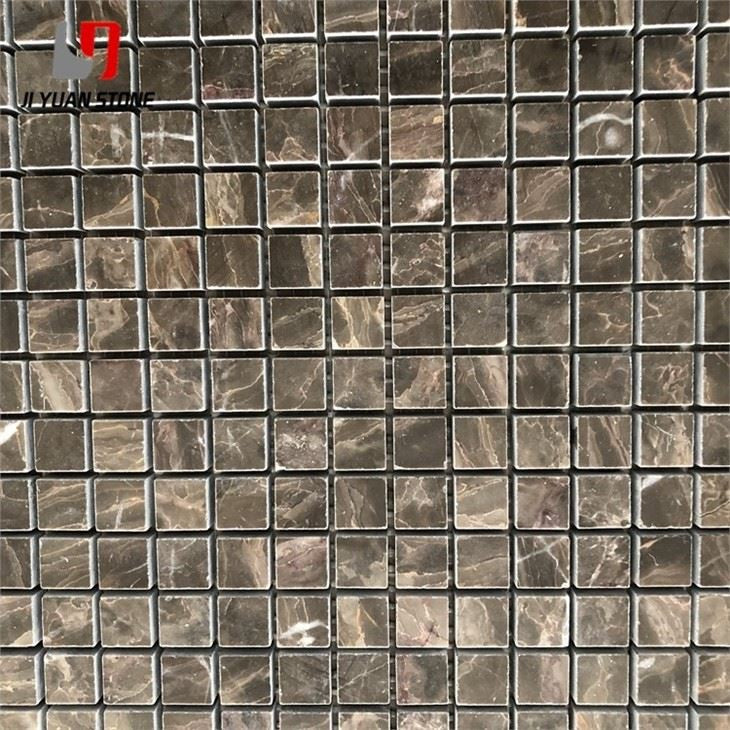
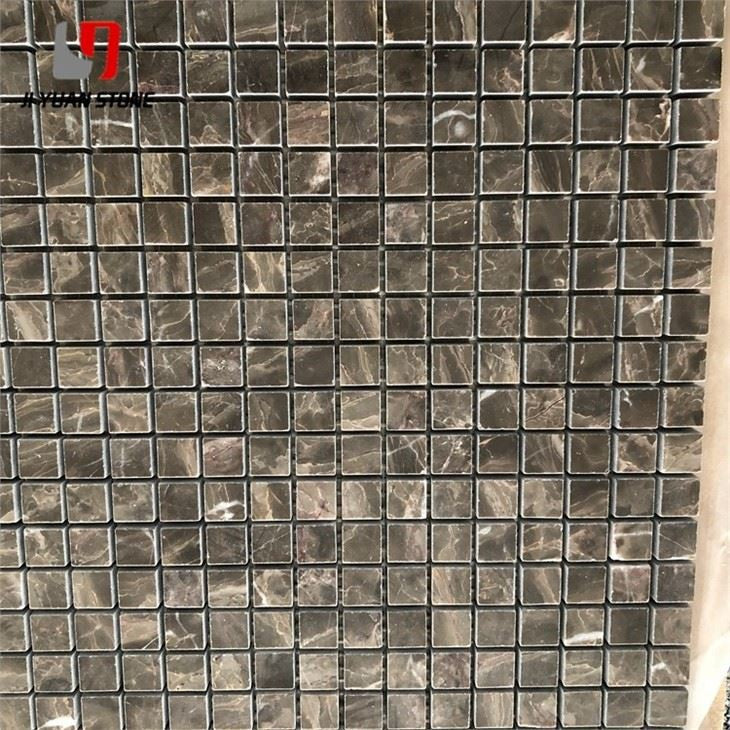
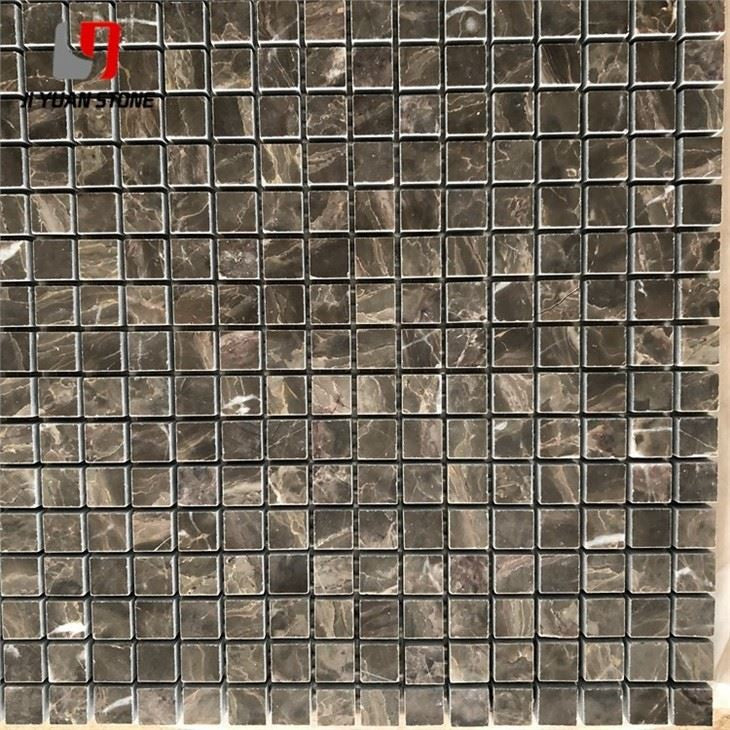
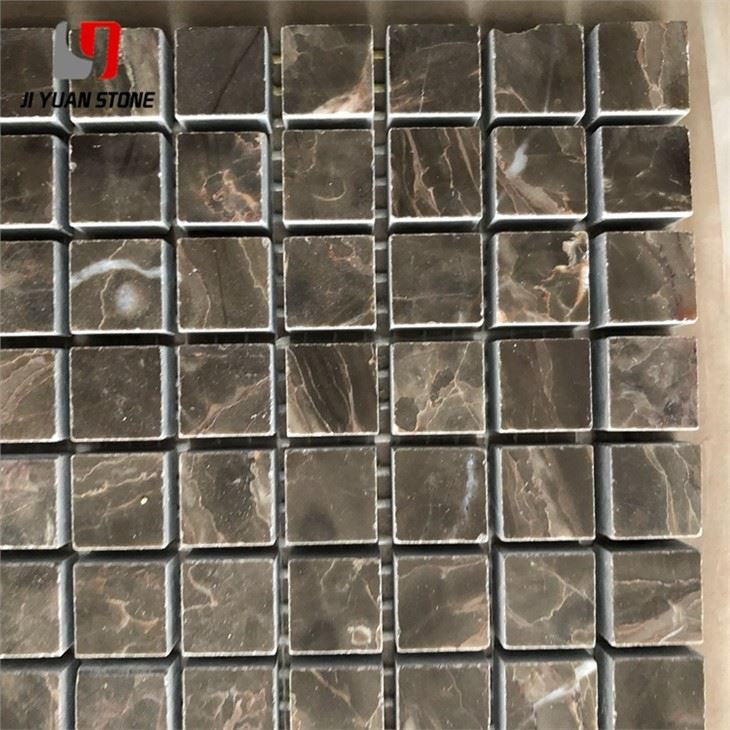
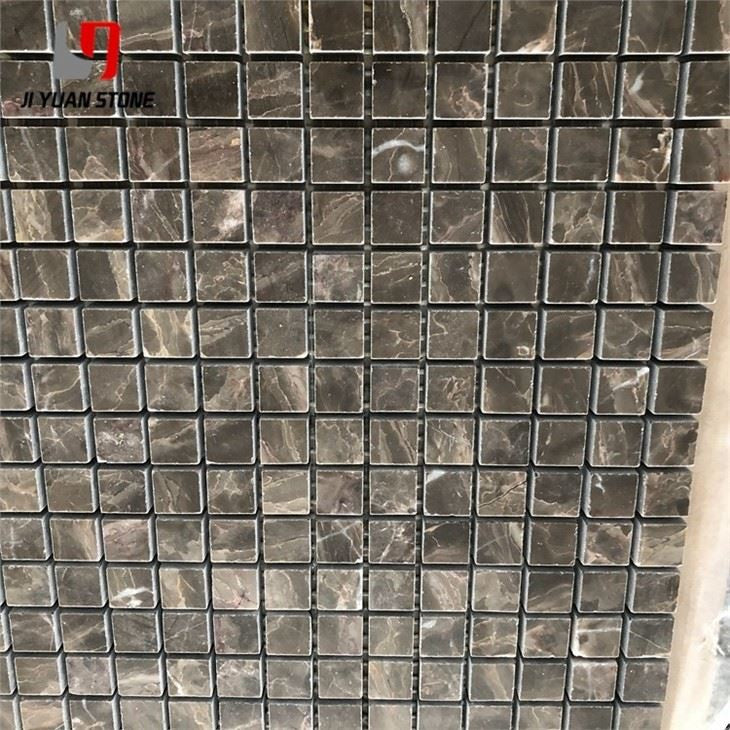
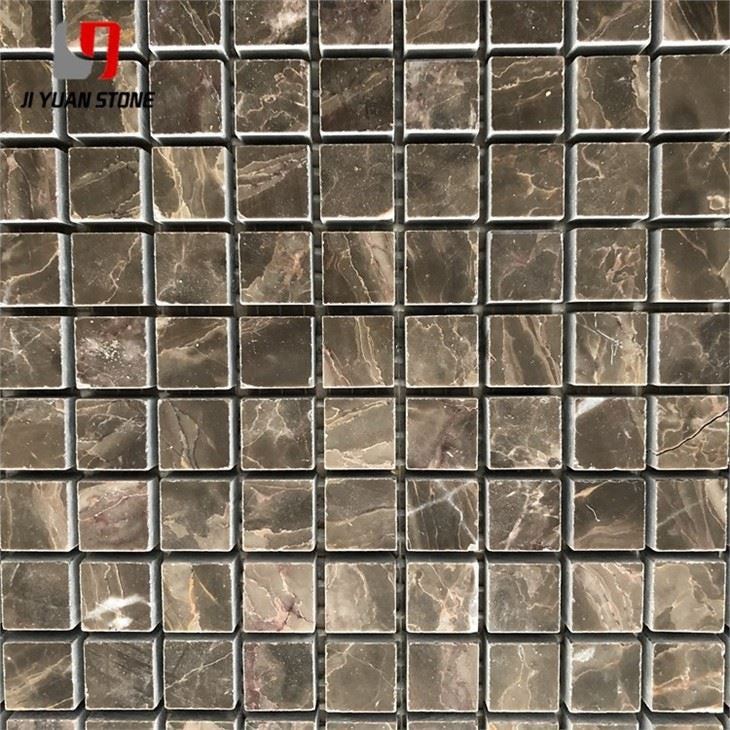
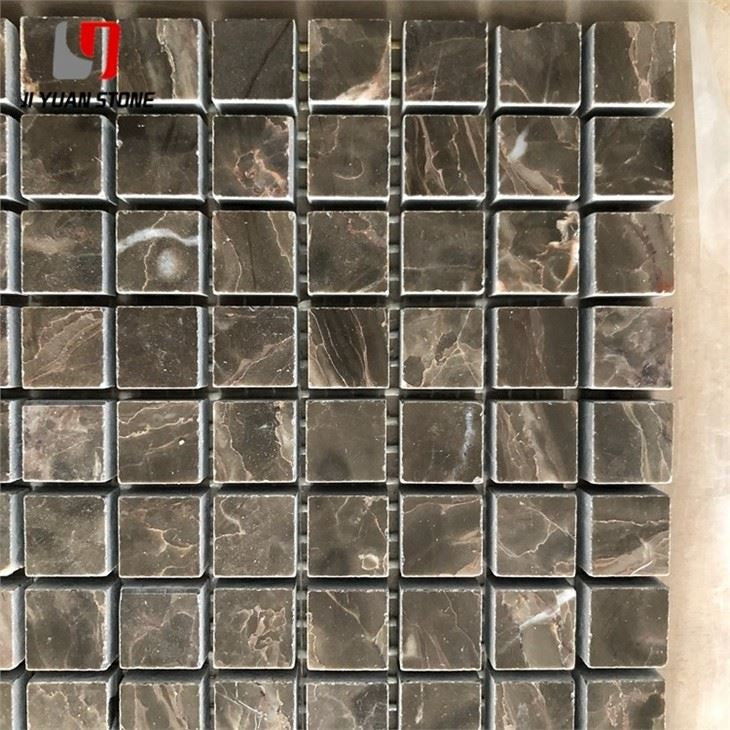
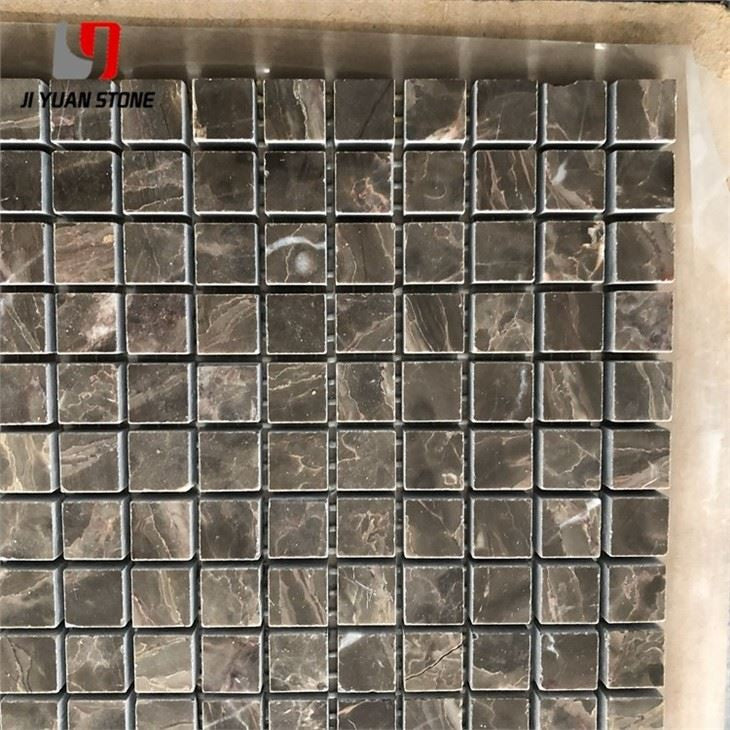
Create a sophisticated and elegant look with our Dark Brown Marble Mosaic. Made from high-quality dark brown marble, this mosaic is both stylish and durable. Perfect for adding a touch of luxury to any room, this mosaic is a must-have for any design-savvy individual.
| Feature |
Details |
| Material |
Natural Marble Stone,Travertine,Limestone |
| Colour |
As pictures show or customized |
| Shape |
Square, Basketweave, Mini brick, Modern brick, Herringbone, Subway, Hexagon, Octagon, Mixed, Grand fan, Penny round, Hand clipped, Tesserae, Random strip, River rocks, 3D cambered, Pinwheel, Rhomboid, Bubble round, Circle bubble, Stacked, etc... |
| MOQ |
Unrestricted |
| Warranty |
3 years |
| After-sale Service |
Online technical support |
| Size |
Customized Size |
| Style |
Modern |
| Occasion |
Wall or Floor |
| Project Solution Capability |
Total solution for projects |
| Application |
Bathroom |
| Design Style |
Modern |
| Place of Origin |
China |
| Model Number |
Brass Marble Waterjet Mosaic |
| Shape |
Irregular |
Our products range includes mosaic, tiles, marble/granite flooring, ledger stone, sandstone cladding, and other stone works like sinks and accessories. We are also an expert for the DIY self-adhesive system which covers products like a mosaic, wood planks, etc.
With our professional and dedicated team, standing on our own factories and deeply cooperated manufacturers, we are trying our best to form a chain of products that can match up customers’“one-stop” shopping demand. We are here in China, we are looking forward to working with you in China as we are capable in China ~! We are one of the “best partners” for all willing hearts for beautiful & decorative material~!
Installation and Reinforcement of Traditional Dark Brown Marble Mosaic
The installation and reinforcement of dark brown marble mosaics are completed simultaneously, following a structured process to ensure strength and durability.
1. Base Layer Preparation
-
Leveling the mortar layer is crucial to ensure flatness, including corner accuracy.
- Once the leveling mortar sets, a thin layer of plain cement slurry is applied.
2. Mosaic Installation
-
Mosaic plates are placed onto the prepared surface.
- Using a wooden trowel (wood crab), the tiles are firmly tapped to:
-
Force the primer upwards into the gaps between mosaic particles.
- Ensure flush alignment with the tile surface (as shown in Figure 1).
- Form a solid bond between the mosaic components and the cement.
3. Curing & Finishing
- After the cement cures, the surface is moistened using a water spray to soften the adhesive under the kraft paper.
- The kraft paper is removed, and gaps are checked and filled with cement clear slurry.
- Finally, the surface is rubbed with wood chips to remove residual glue, ensuring a clean, polished finish.
This traditional technique allows installation, bonding, and reinforcement to be completed in one step, offering simplicity, strength, and long-lasting durability.