Carrara Mosaic Backsplash
Carrara Mosaic Backsplash
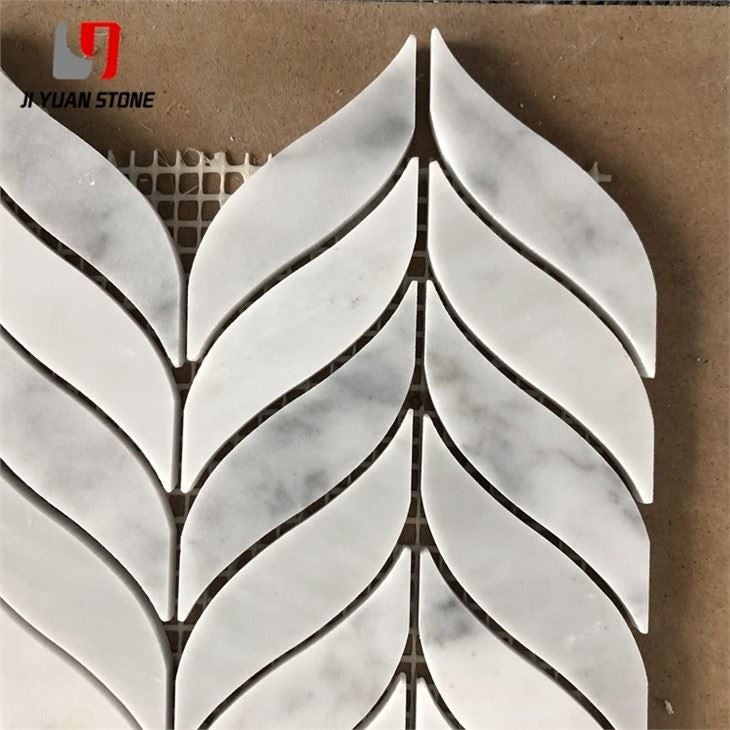
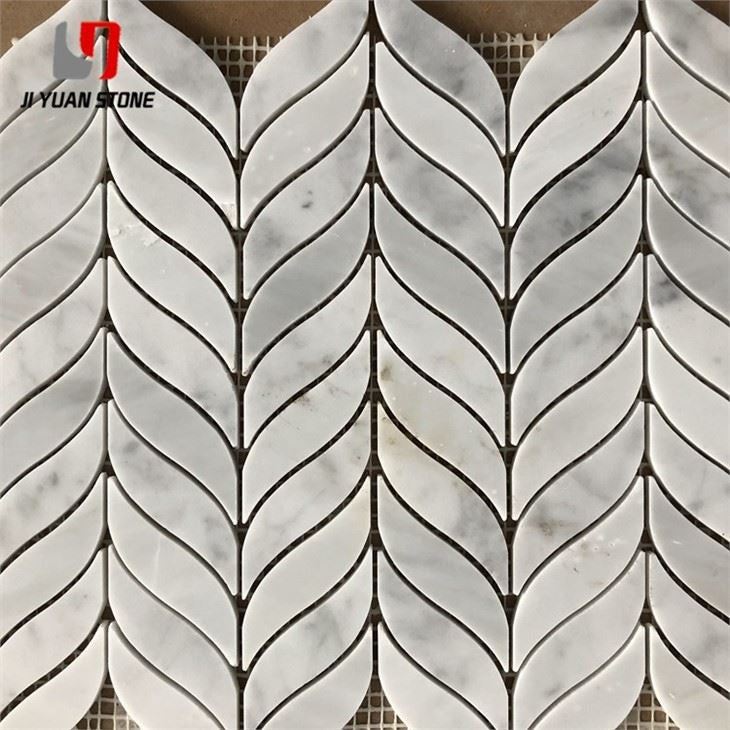
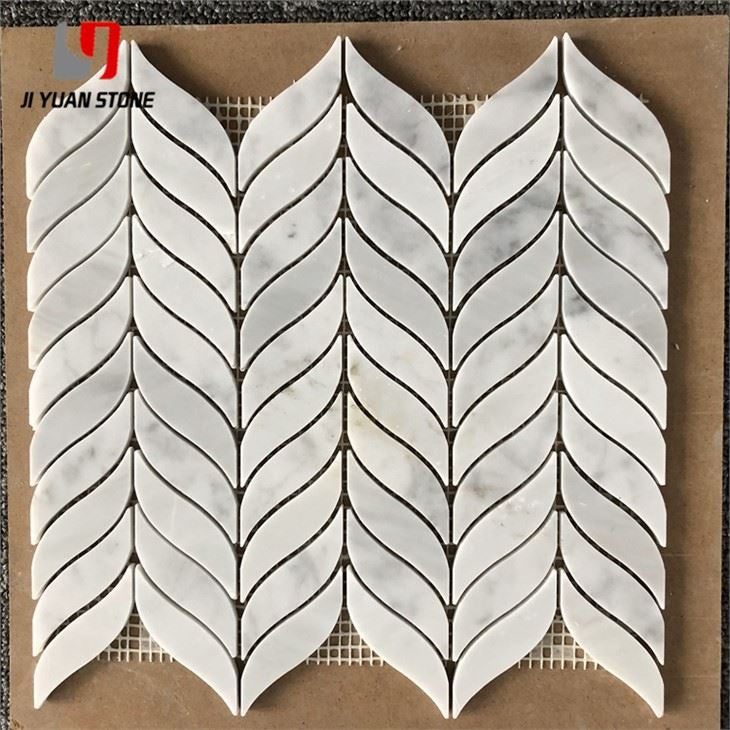
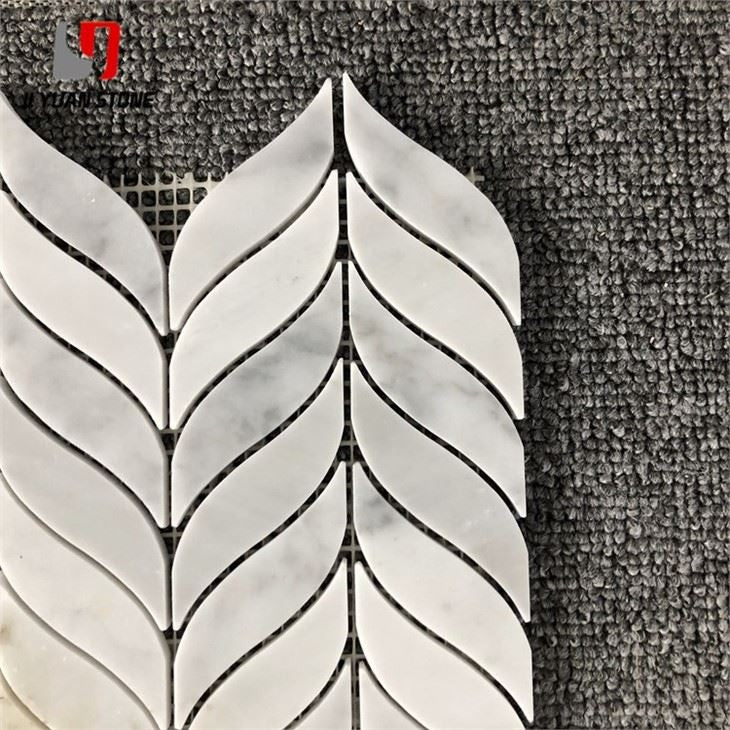
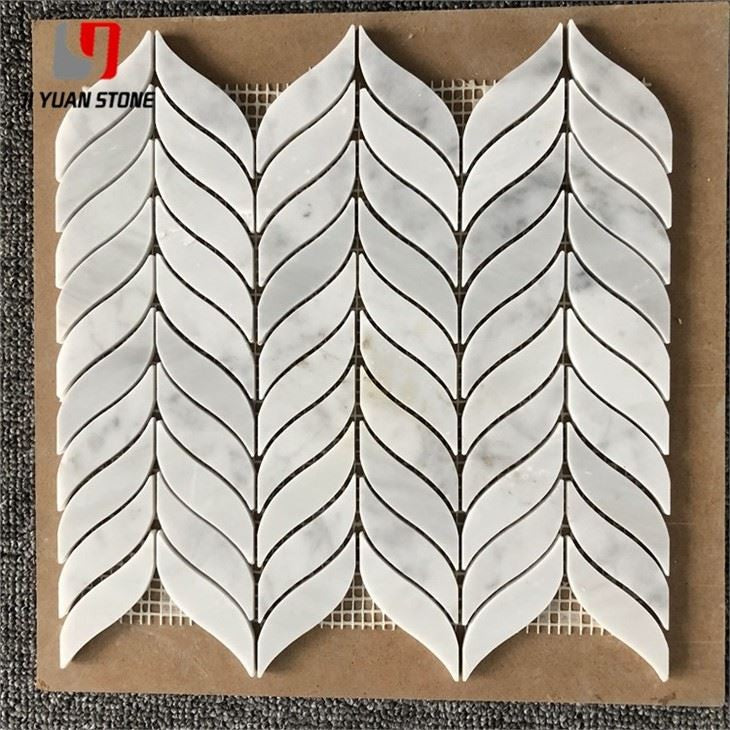
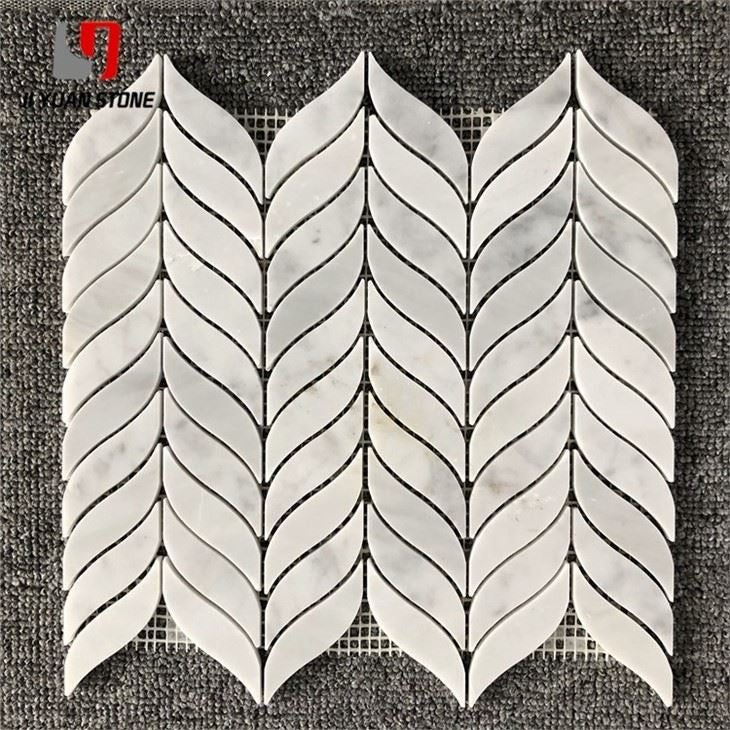
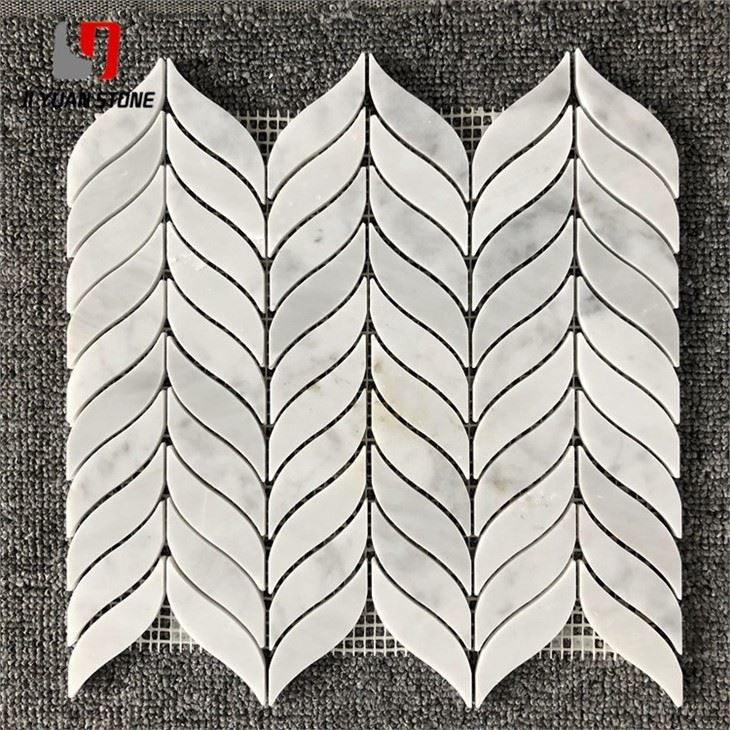
This Carrara Mosaic Backsplash is expertly crafted and designed to enhance the aesthetics of any kitchen or bathroom. Made from premium quality Carrara marble, it offers a timeless and sophisticated look while also providing durability and easy maintenance. Elevate the look of your space with this stunning mosaic backsplash.
| Feature | Details |
|---|---|
| Material | Natural Marble Stone,Travertine,Limestone |
| Colour | As pictures show or customized |
| Shape | Square, Basketweave, Mini brick, Modern brick, Herringbone, Subway, Hexagon, Octagon, Mixed, Grand fan, Penny round, Hand clipped, Tesserae, Random strip, River rocks, 3D cambered, Pinwheel, Rhomboid, Bubble round, Circle bubble, Stacked, etc... |
| MOQ | Unrestricted |
| Sheet Size | 279x295mm , All sizes can be customized |
| Chip Size | 48mm |
| Material | Natural Marble |
| Surface Finishing | Polished / Honed |
| Color | White |
| OEM&ODM | Accepted, different designs can be customized |
| Usage | Interior & exterior commercial and residencial Decoration, Kitchen,Bathroom ,Livingroom, etc. |
| Packing | Carton + Wooden Crate |
| Usage tips |
1.Marble tiles: Grout these tiles after drying the laying mortar / adhesive with a natural stone-suitable, polymer-coated joint ingenuity for absorbent materials. 2.If a color-rich surface is desired, the surface must be treated with a natural stone-suitable color protectant after the jointing 3.Natural stone : Clean the marble tiles with commercially available grease-free, non-alkaline natural stone cleaners from the identical manufacturer of impregnation / color deepening. |
Construction Methods for Special-Shaped Mosaic Products
1. Surface Preparation
- Clean any floating dust or debris from the wall.
- Ensure that the overall area is evenly distributed for a uniform finish after construction.
2. Adhesion Process
- Place the mosaic product face down on a flat surface.
- Apply a 5-8mm thick layer of soaked white cement on the back using a trowel.
- Lift the mosaic carefully and align it along the edge of the wall.
- Press it gently onto the surface and tap with a rubber hammer to release excess cement slurry.
- Sprinkle dry white cement powder over the slurry to enhance adhesion.
3. Surface Treatment
- After installation, use a brush to remove any excess cement.
- Ensure the edges are neatly finished for a clean and professional look.
4. Final Protection
- Once the cement is fully set, clean the surface thoroughly.
- Apply a stone protective agent:
- For smooth surfaces: Use an oil-based protective agent.
- For matte surfaces: Use a water-based protective agent.
- Apply the protective agent twice for better durability.
5. Step-by-Step Construction Procedure
- Clean the wall.
- Measure the area to be covered.
- Install one side of the waistline (decorative border).
- Apply and secure the mosaic.
- Complete the waistline installation.
- Clean the surface.
- Apply the protective agent.
The term "mosaic" originates from ancient Greece, where early Greek mosaics primarily used black-and-white marble combinations. Over time, mosaics have evolved into a highly versatile decorative material.
Mosaics are primarily used for wall and floor decoration, offering:
- Small unit sizes for intricate detailing.
- Vast color variety for creative combinations.
- Unlimited design possibilities to express artistic style and individuality.
They are widely applied in:
✔️ Hotels & resorts
✔️ Bars & entertainment venues
✔️ Stations & swimming pools
✔️ Home interiors (walls & floors)
✔️ Artistic parquet & decorative flooring
Mosaics continue to be a favored design element, blending history, artistry, and functionality.
Share