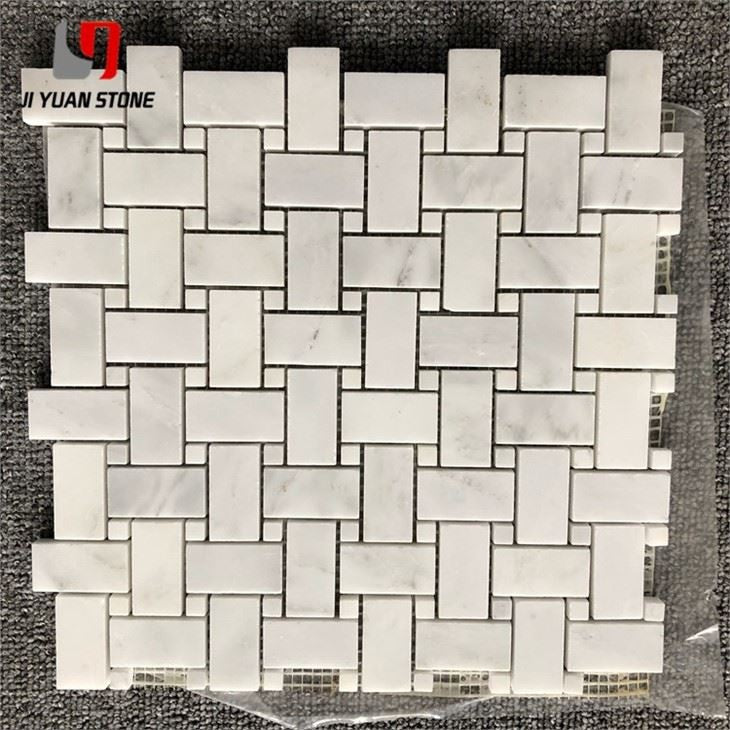
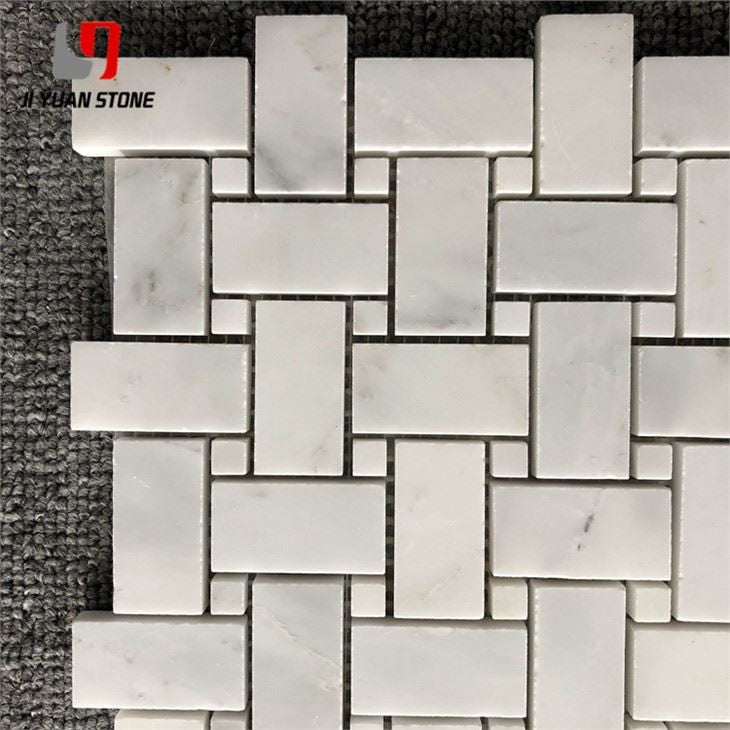
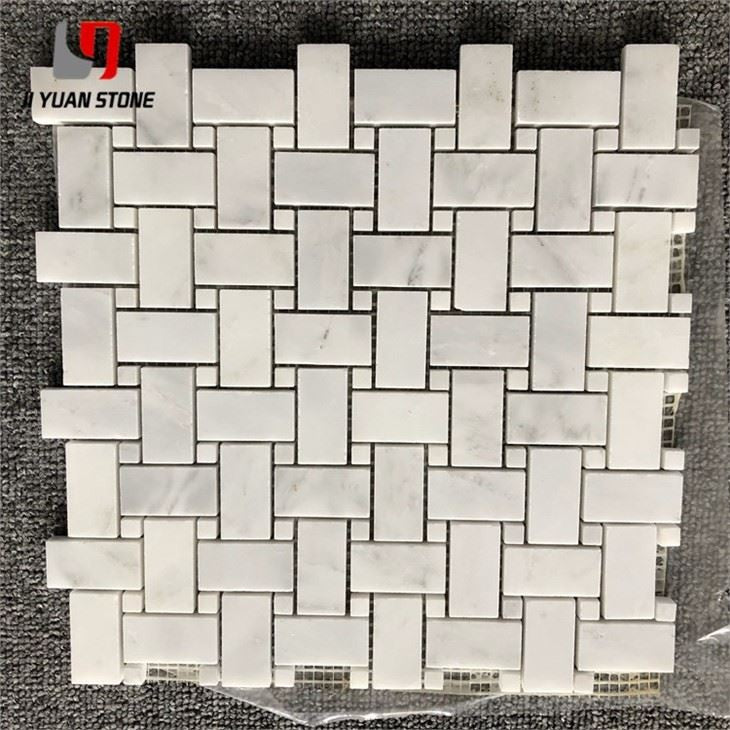
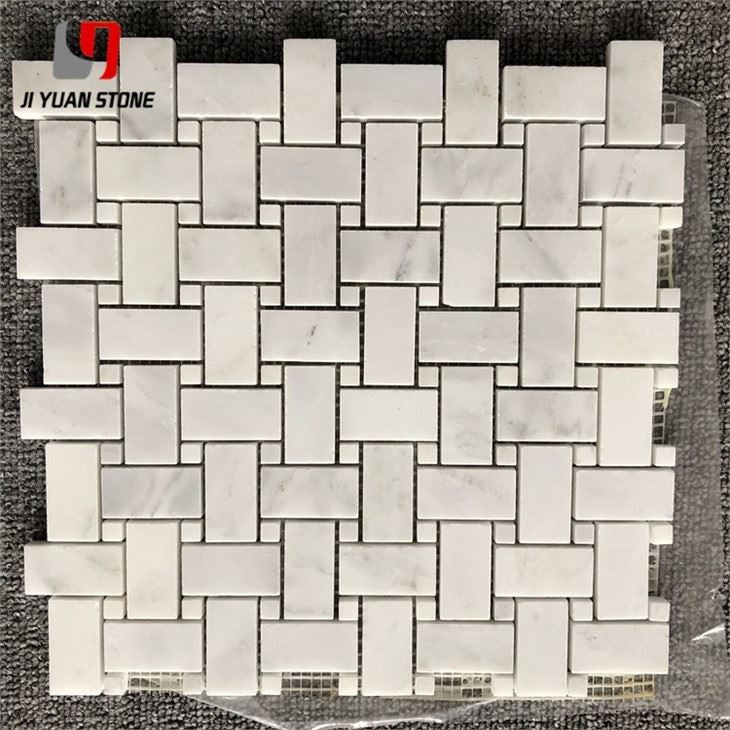
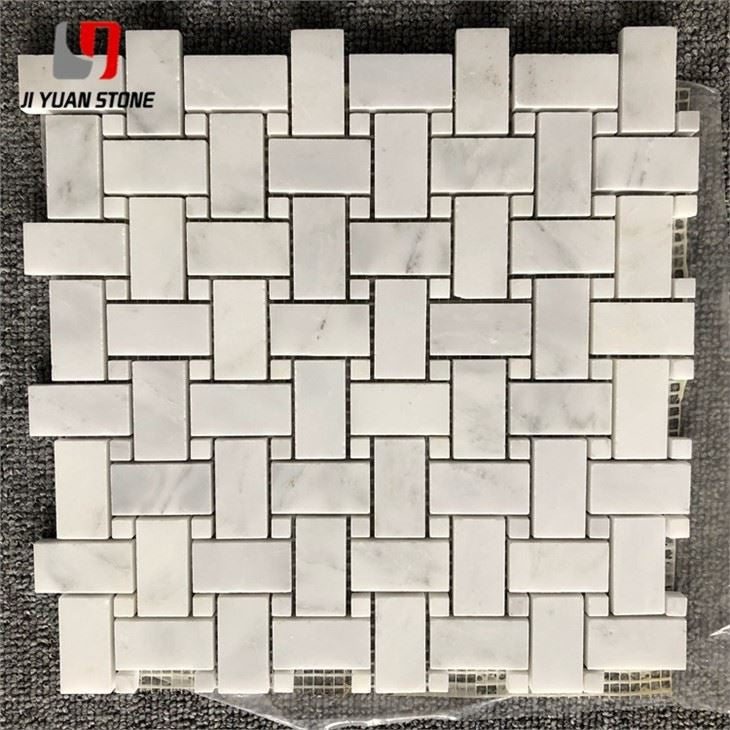
Carrara Bianco Herringbone Mosaic combines the timeless beauty of natural marble with versatile installation options for modern home and commercial interiors. Known for its durability, elegance, and distinctive herringbone pattern, this mosaic adds sophistication to walls, backsplashes, and accent areas.
Construction Guide for Carrara Bianco Herringbone Mosaic Installation
1. Wooden Bottom Construction Structure
Finishing Surface: Wood base to mosaic finish surface ≥22mm
Adjustment for Marble Thickness:
- 15mm marble → Internal glue adjustment space: 5mm
- 18mm marble → Internal glue adjustment space: 4mm
Auxiliary Materials: Self-tapping screws, marble glue, dry hanging AB glue, structural glue, copper wire
Construction Conditions: Recommended height not exceeding 3000mm; suitable for hollow bricks and foam bricks with wood-based substrates
2. Expansion Screw Point Hanging
- Finished Surface: Cement base to mosaic finish surface ≥35mm
- Auxiliary Materials: Stainless steel expansion screws, marble glue, dry hanging AB glue
- Construction Conditions: Suitable for concrete walls and solid brick walls; recommended height not exceeding 3000mm
3. Dry Pendant Point Hanging (Butterfly Pendant)
- Finished Surface: Cement base to mosaic finish surface ≥90mm
- Auxiliary Materials: Stainless steel expansion screws, stainless steel butterfly pendant, marble glue, dry hanging AB glue
- Construction Conditions: Suitable for concrete walls and solid brick walls; recommended height not exceeding 3000mm
Note: Horizontal seam positions follow a slotting process. When using a butterfly pendant, the mosaic must be bonded to the back of the board to increase thickness, facilitating proper installation with a slotting machine.
Carrara Bianco Herringbone Mosaic is perfect for creating elegant, timeless interior walls and accents. Its combination of natural marble beauty and versatile installation methods ensures both style and durability for any modern living space.