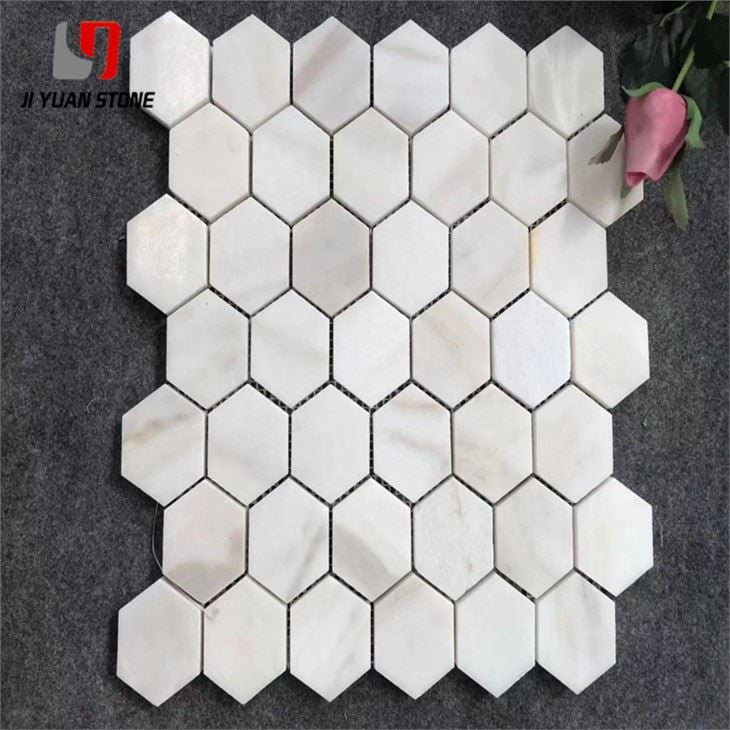
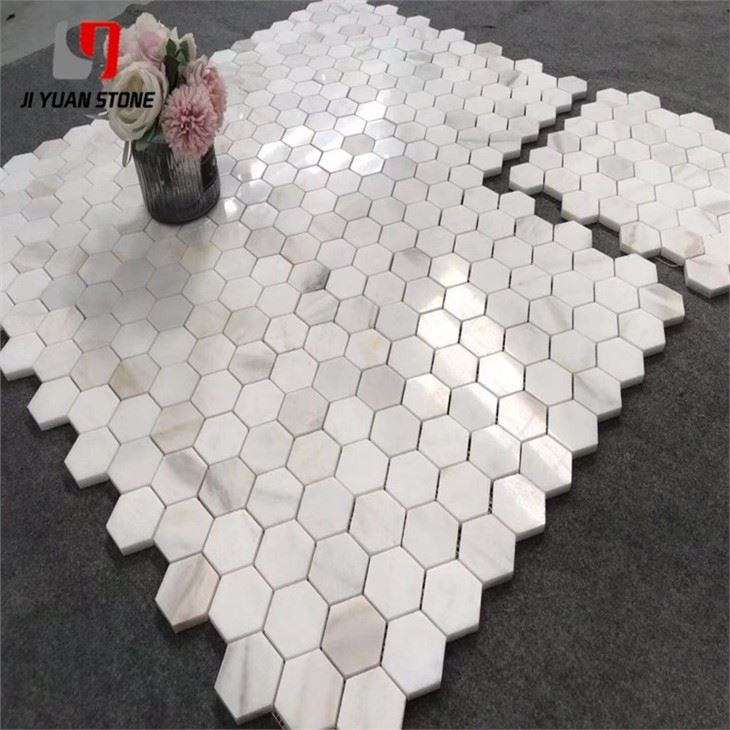
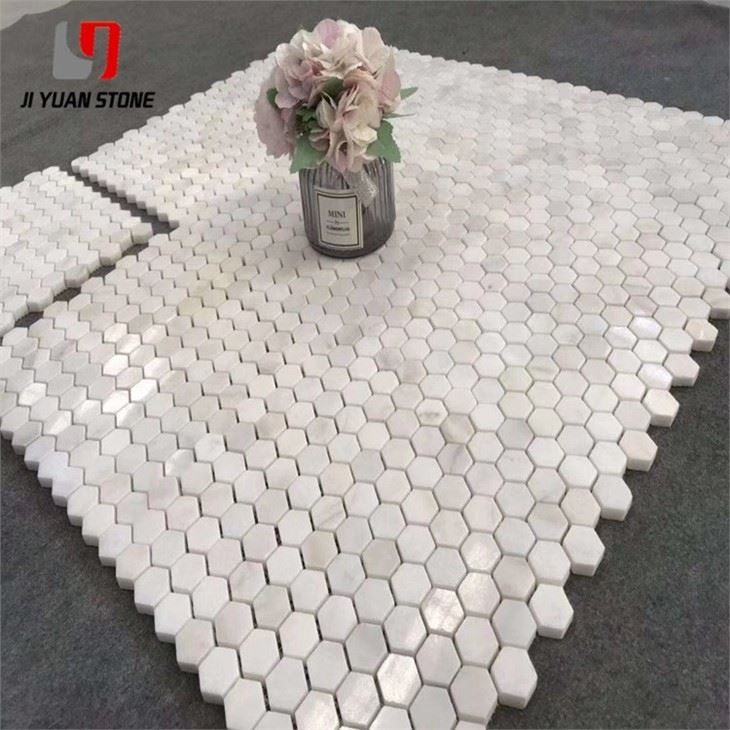
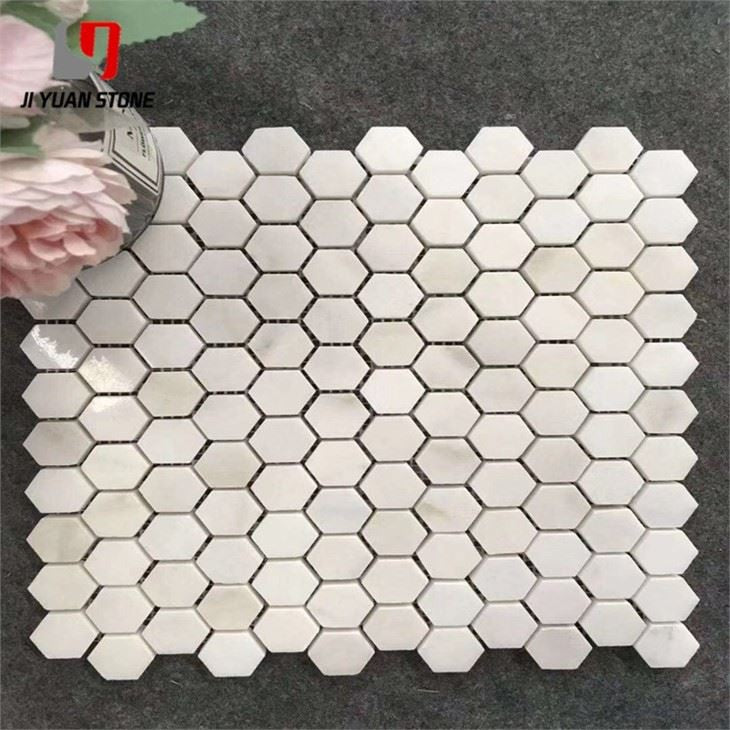
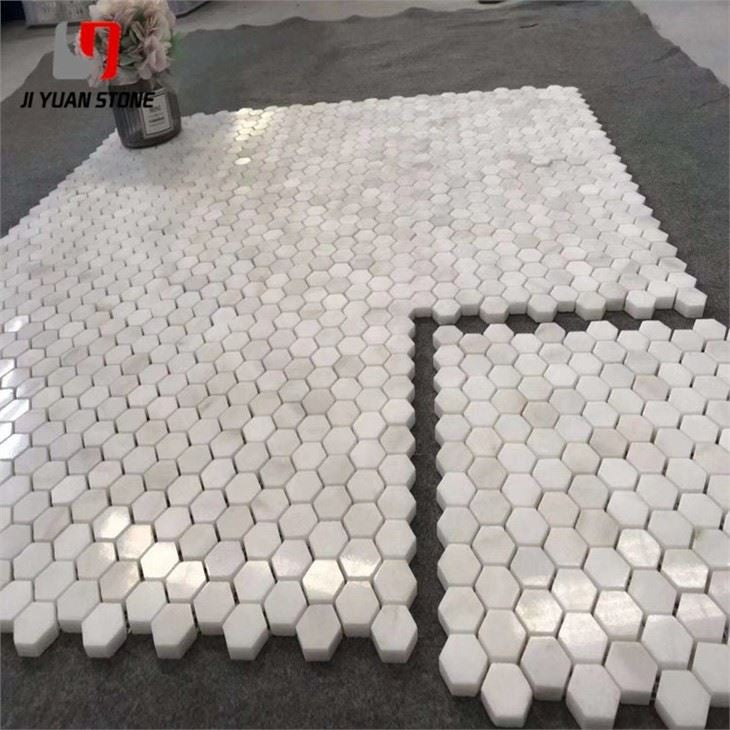
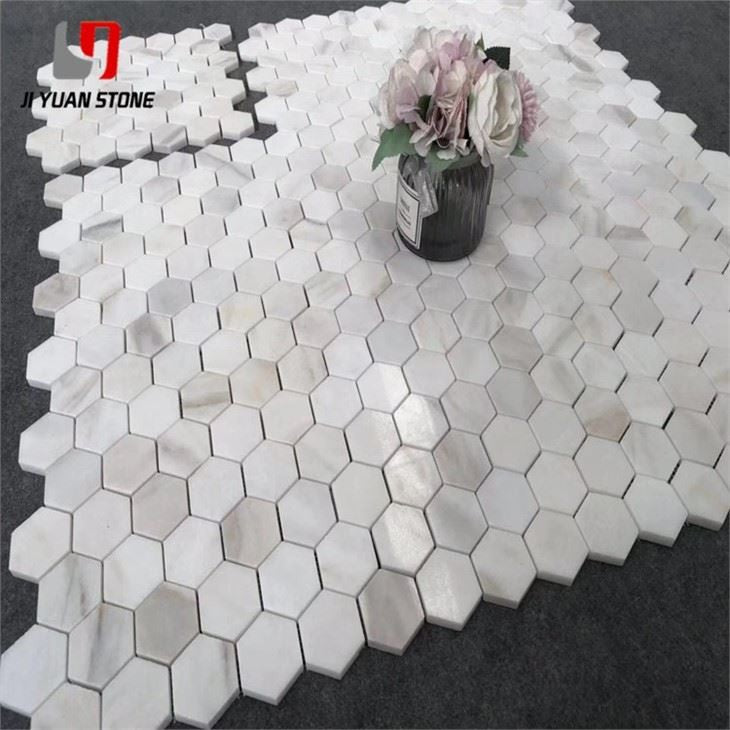
The Calacatta Mosaic Backsplash is the ultimate choice for homeowners and designers seeking elegance, durability, and timeless beauty. Its striking veining and bright white background add a sophisticated touch to kitchens, bathrooms, and other interior spaces.
Achieving a flawless installation requires careful planning, proper materials, and precise techniques. Follow this step-by-step guide to ensure a high-quality result.
Step-by-Step Guide for Calacatta Mosaic Backsplash Installation1. Surface Preparation (Cleaning the Base Layer)
Before installation, the base surface must be thoroughly cleaned to ensure a strong bond.
✅ Remove any obstructions, including:
- Uneven surfaces
- Mortar residues
- Lime, dust, and debris
Key Steps:
- Stake out the layout: Precisely measure and mark elevation control lines on surrounding walls. Draw layout lines on the base layer to ensure accurate positioning.
- Verify accuracy: Double-check measurements to prevent misalignment during installation.
Before paving the backsplash:
1 . Re-measure elevation: Ensure precise height alignment and correct slope positioning.
2 . Determine bonding mortar thickness: Standard thickness is 3cm–5cm. Avoid spreading excessive mortar at once.
Dry Mortar Preparation & Application:
✅ Control water content strictly: Ideal range 7%-9% to prevent over-drying or poor adhesion.
✅ Correct mortar ratio: Cement to sand = 1:3
Testing: Form a ball of mortar; if it crumbles evenly when dropped, the mix is correct.
🚫 Common Mistakes to Avoid:
- Elevation control errors causing misalignment
- Excessively thick mortar layers leading to uneven surfaces
✅ Best Practices:
- Align lofting on the map with on-site lofting for critical nodes
- Use 45° pairings or varied panel sizes for corners and less visible areas
- Standardize panel sizes as much as possible to simplify construction