1
/
of
7
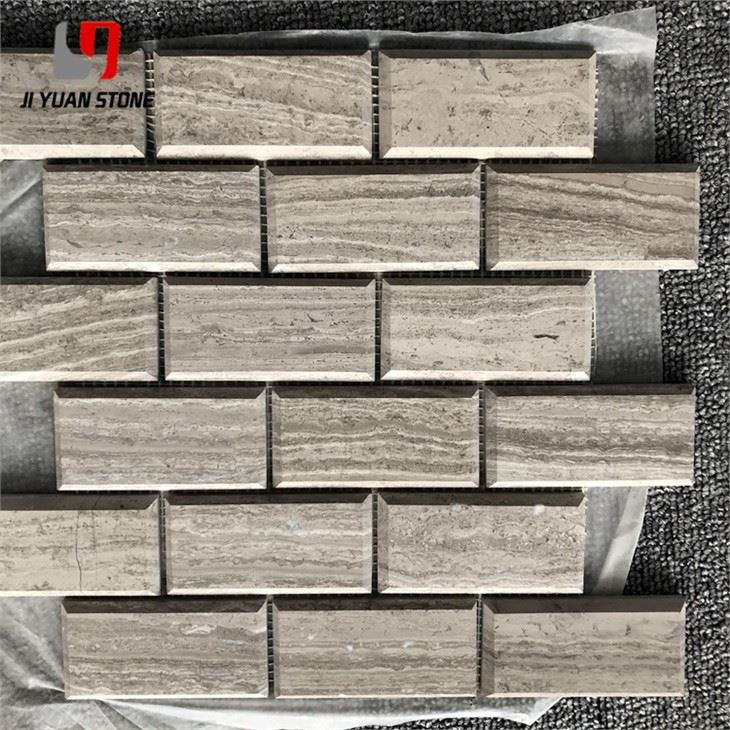
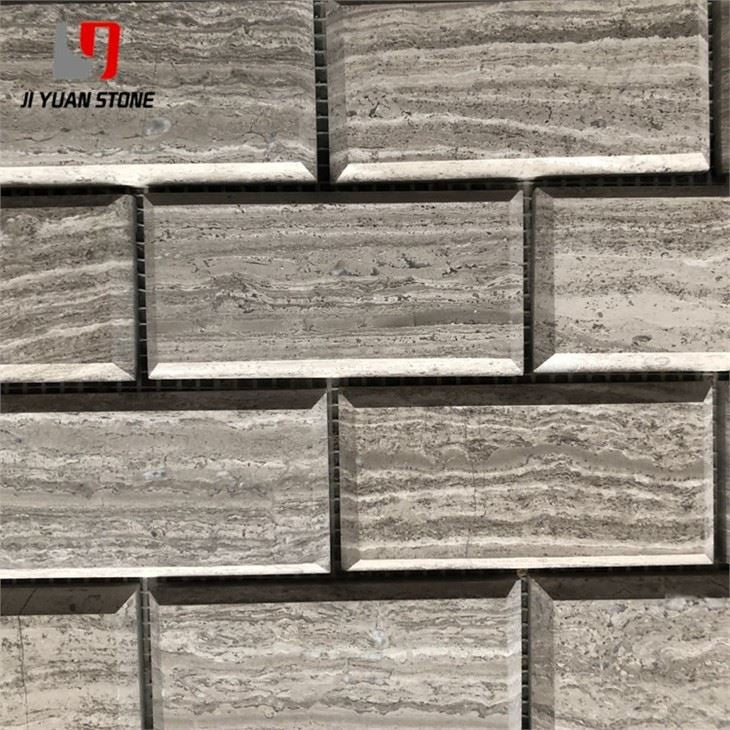
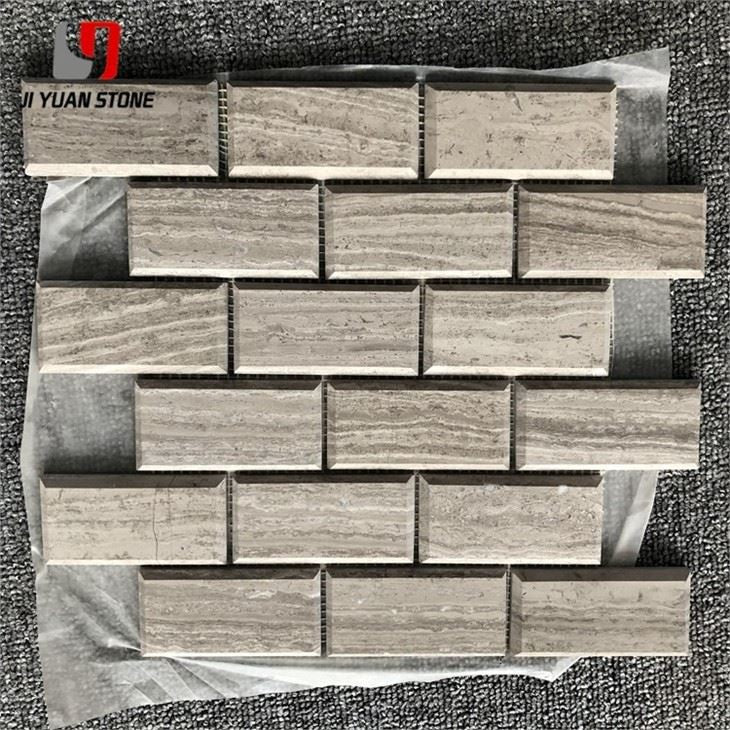
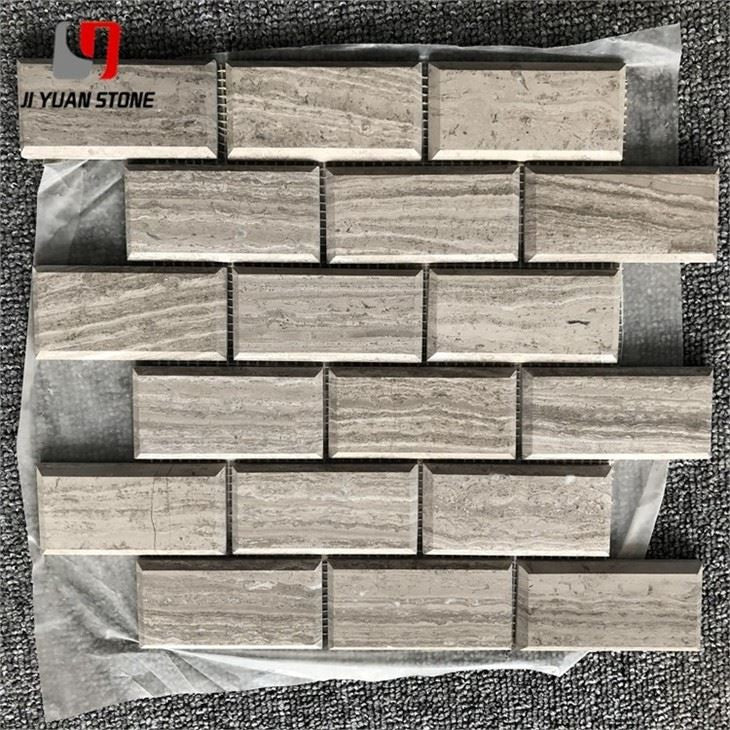
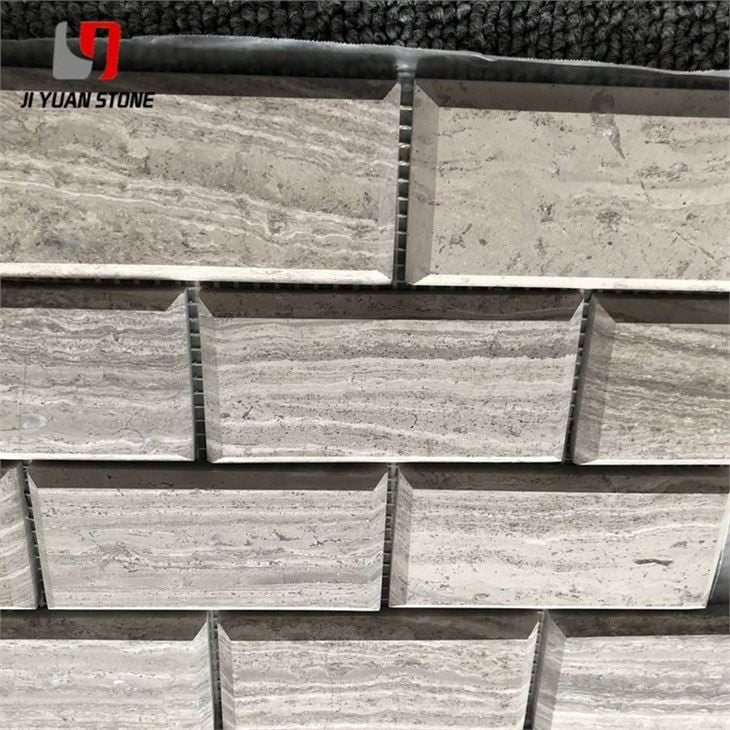
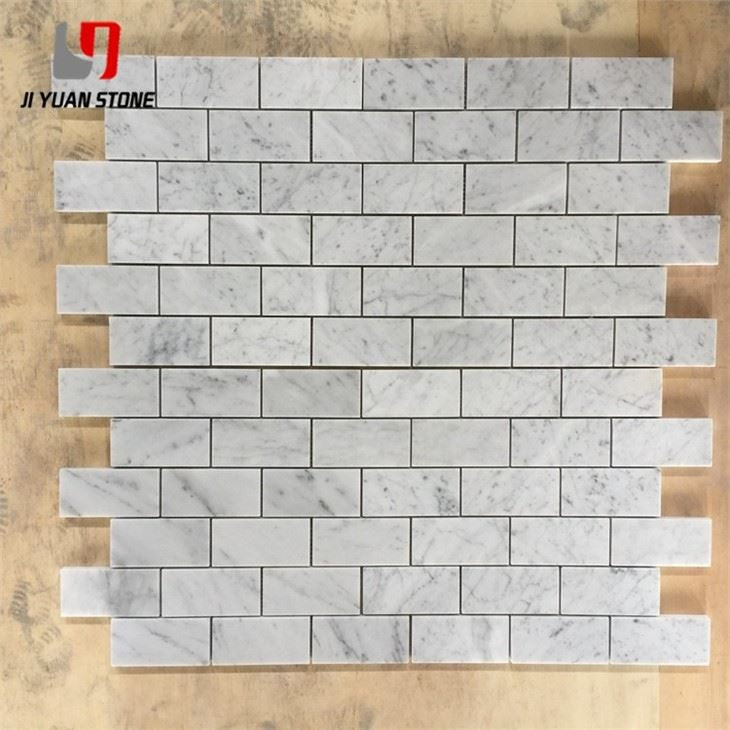
Brick Marble Mosaic Subway Tile
Brick Marble Mosaic Subway Tile
This Brick Marble Mosaic Subway Tile offers a timeless, sophisticated look for any space. Made with high-quality marble, it adds a touch of elegance and durability to your walls or floors. The versatile brick design allows for endless design possibilities, making it a perfect choice for both modern and traditional homes.
| Feature | Details |
|---|---|
| Material | Natural Marble Stone |
| Colour | As pictures show or customized |
| Shape | Square, Basketweave, Mini brick, Modern brick, Herringbone, Subway, Hexagon, Octagon, Mixed, Grand fan, Penny round, Hand clipped, Tesserae, Random strip, River rocks, 3D cambered, Pinwheel, Rhomboid, Bubble round, Circle bubble, Stacked, etc... |
1. Selection Raw Material: According to different designs and customer requests, we select blocks and slabs with suitable colors and veins to increase the yield and avoid waste.
2. Monitoring the whole process: From cutting to mounting the workers are all well aware of the standards and kick out the unqualified chips on sight to avoid wasting more sources and our QC crews make sure of that.
3. Checking pc by PC: Checking pc by pc of finished products according to customer's requirements. Any defective ones will be revised before being packed.
Brick Marble Mosaic Subway Tile Installation Process
Installation Preparation
1. Surface Preparation
- Ensure the base surface is flat and hardened before installation.
- Mark layout lines on the base surface according to the overall design plan to determine accurate installation positions.
2. Material Preparation
- Use tile adhesive or a mixture of white cement, glue, and putty powder for bonding.
- Choose a moisture-proof and environmentally friendly caulking agent.
3. Tile Preparation
- Remove the backing paper between each brick marble mosaic subway tile sheet, but keep the grid cloth intact.
Installation Steps
1. Apply Adhesive
- Clean the base surface by removing oil, dust, and loose particles.
- Repair any defects on the base surface.
- Wet the surface without leaving standing water.
- Spread a thin base layer of adhesive, followed by a thicker layer of adhesive using a notched trowel.
2. Mounting the Tiles
- After applying adhesive, carefully place the mosaic tiles onto the surface.
3. Leveling the Surface
- To ensure a flat and even installation, use a wooden leveling tool wrapped in flannel or sponge and gently press down.
4. Cleaning During Installation
- Assign an assistant to wipe off excess adhesive with a damp sponge before it dries to prevent staining the tile surface.
5. Joint Preparation
- Allow at least 24 hours after installation before applying grout.
- If the surface is too dry, lightly moisten it before grouting.
6. Grouting
- Prepare the grout mixture according to the correct ratio.
- Use a specialized tool to fill the joints completely.
-
Steps for Grouting:
- Ensure the grout fully penetrates the gaps.
- Within 10 minutes of application, wipe off excess grout with a damp sponge.
- Once the grout has cured (about 12 hours, depending on weather conditions), clean the surface again with water.
Post-Installation Maintenance
1. Cleaning and Polishing
- Use a vacuum cleaner to remove dust and apply liquid marble glue.
- Refinish and polish the surface for a clean, smooth appearance.
2. Anti-Slip Treatment
- Ensure the stone surface meets anti-slip standards after applying a mosaic crystal finish.
3. Final Appearance Check
- The color should remain consistent after the crystal finish.
- The surface should be clean, dry, and uniform in luminosity, with no visible scratches or hardening agent marks.
Precautions for Stone Mosaic Construction
1. Surface Cleaning
- Remove floating dust before installation to ensure an even distribution for a better overall effect.
2. Tile Application
- Place tiles face down on a flat surface and apply 5-8mm of wet white cement to the back.
- Lift the tile and press it onto the wall, ensuring proper alignment along the edges.
- Tap gently with a rubber hammer to release excess cement slurry.
- Sprinkle dry white cement powder onto the exposed slurry for better bonding.
3. Edge and Surface Finishing
- Gently brush off excess cement after application to maintain clean and sharp edges.
4. Final Sealing and Protection
- After the cement has fully cured, clean the surface and apply a protective stone sealant.
- Use an oil-based protective agent for glossy surfaces and a water-based agent for matte finishes.
Share