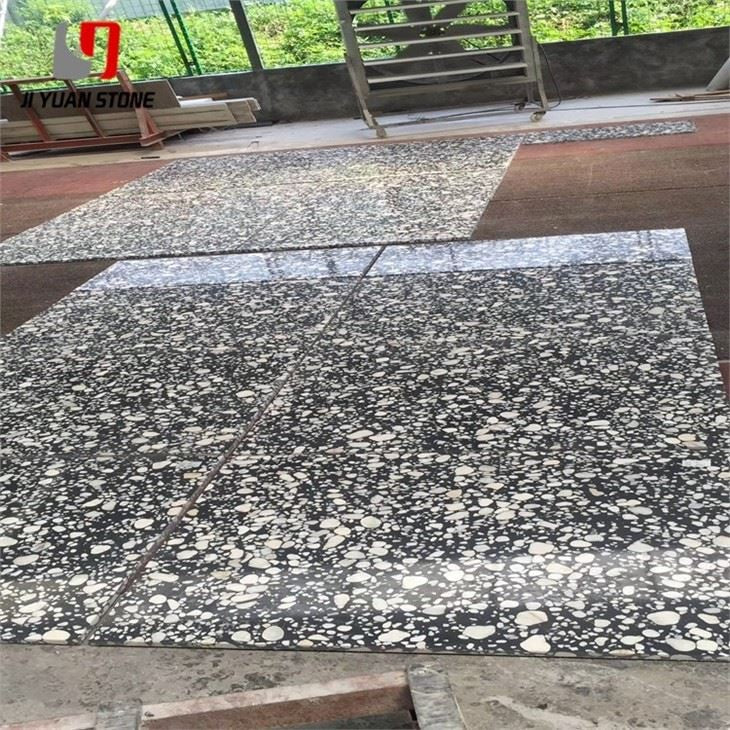
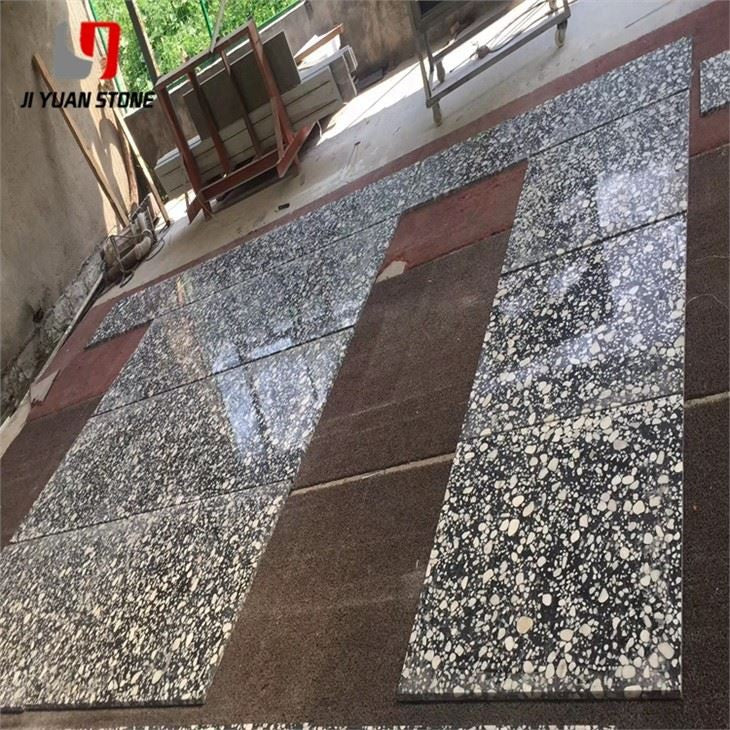
Black Terrazzo Tile
Black Terrazzo Tile
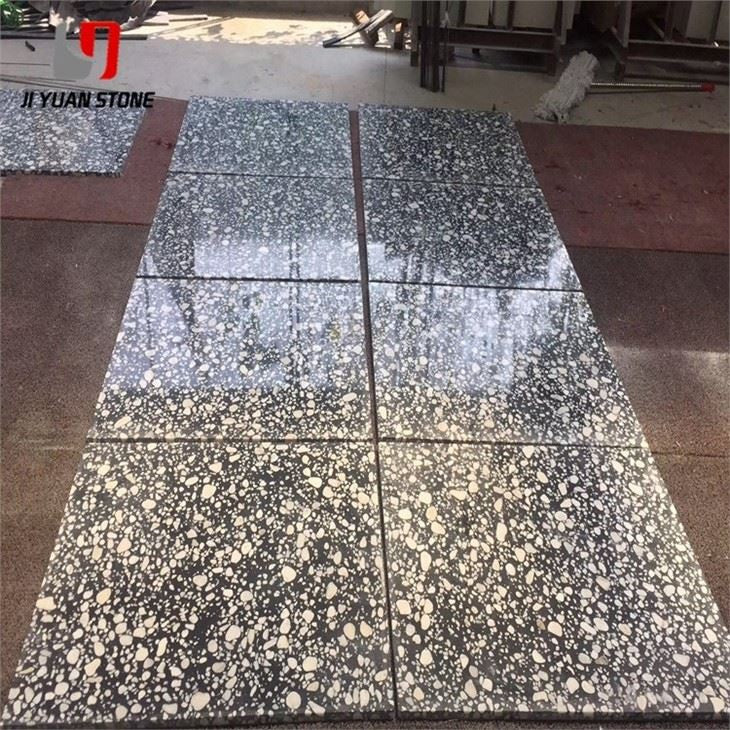
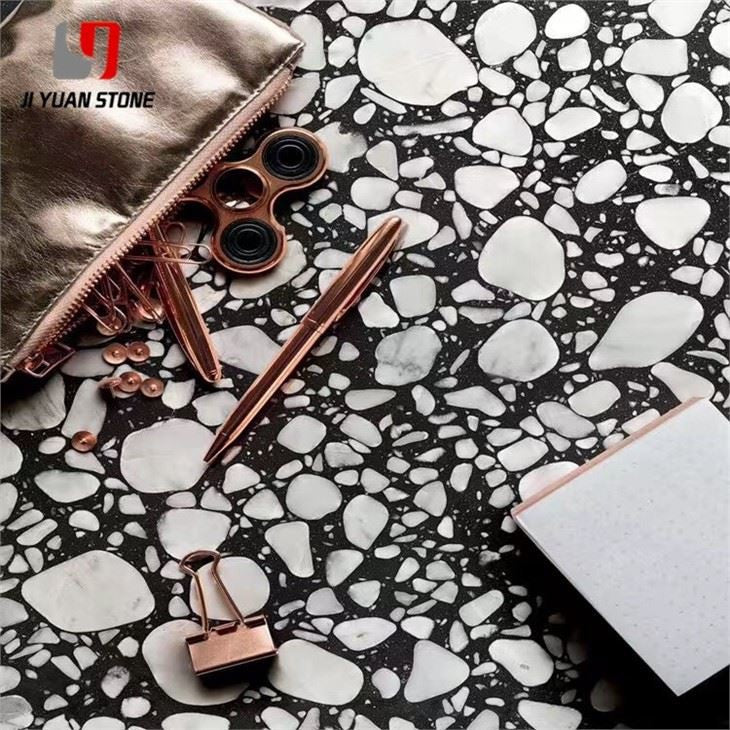
Black Terrazzo Tile – Bold Aesthetics with Precision Installation
The Black Terrazzo Tile is a sleek and sophisticated flooring option for any space. Made from high-quality materials, this tile offers durability and ease of maintenance. Its striking black color adds a touch of elegance to any room. Upgrade your floors with the Black Terrazzo Tile today.
| Feature | Details |
|---|---|
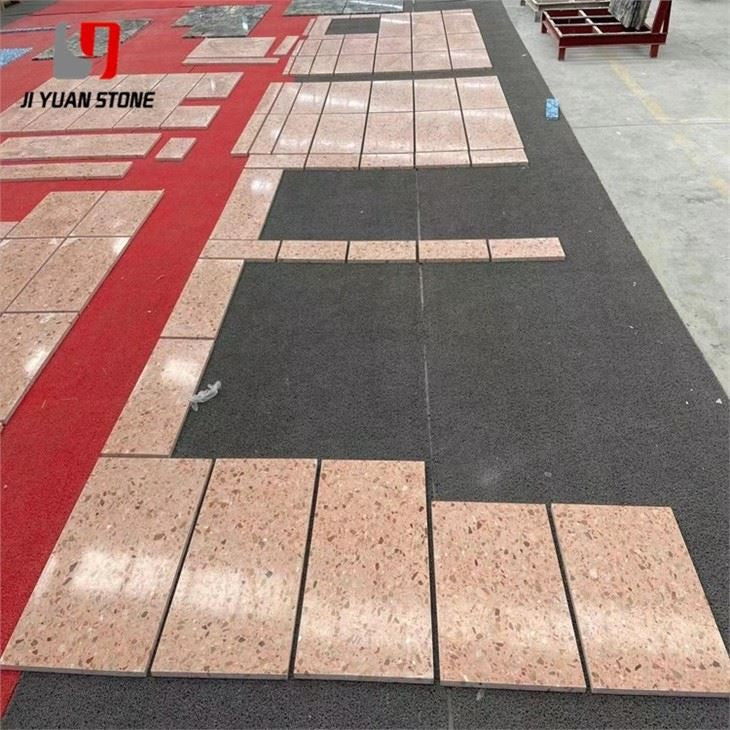
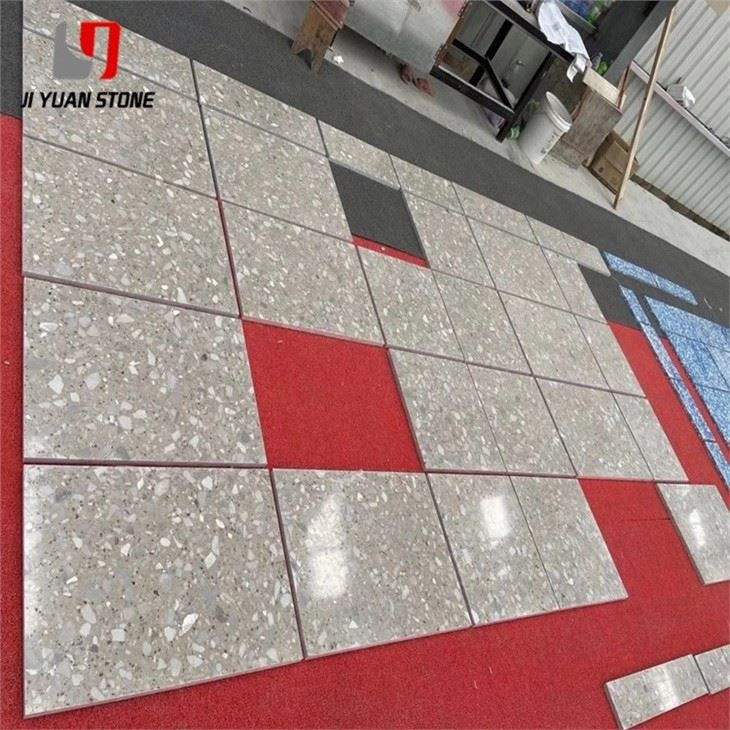
| Material | Terrazzo |
| Surface Finish | Polished,Honed |
| Common Slabs sizes |
|
| Common Tile sizes |
|
| Countertops Size |
|
| Vanity Tops Size |
|
| Edge Style | Bull nose, ogee, bevel, eased, polish, etc |
Elevate your interiors with the timeless beauty of black terrazzo tiles—an ideal choice for architects, designers, and homeowners seeking a contemporary, durable surface. Known for their bold visual impact and long-lasting performance, black terrazzo tiles are perfect for high-traffic commercial areas, modern homes, and artistic architectural projects.
🛠️ Process for Laying and Grinding Black Terrazzo Tile Surface
Proper installation is key to achieving the refined, high-performance look that terrazzo is known for. Below is a step-by-step breakdown of how black terrazzo tiles are laid and finished for maximum durability and aesthetic appeal:1. Surface Preparation and Protection
- Ensure grid inserts are securely stabilized.
- Begin by sprinkling water for curing over 3–4 days before laying the surface mixture.
- Protect grid inserts from bending or damage throughout the installation process.
2. Laying the Cement and Stone Mixture
Color Application Sequence:
- Start with darker colors first, followed by lighter shades.
- Apply terrazzo to larger areas before borders to maintain uniform color and texture.
- Allow the first layer to set completely before layering additional cement-stone mixtures.
- Avoid mixing multiple colors at once to prevent contamination.
Mixing Instructions:
- Accurately measure all materials.
- Dry mix cement and pigment, then add stone chips and mix evenly.
- Add water last for a consistent 60mm mix.
- When using mixed stone sizes or colors, pre-mix thoroughly.
Bonding Layer Application:
- Apply a cement slurry bonding layer (same color as surface) with a 0.4–0.5 water-cement ratio before laying the surface.
- Spread the mixture 1–2mm higher than grid inserts.
- Roll, compact, and smooth with a trowel.
- If stone exposure is insufficient, manually embed more stone chips.
Alternative Method – Dry Stone Sprinkling:
- After leveling, sprinkle washed dry stones over 1/3 to 1/4 of the surface.
- Pat dry stones into the slurry, compact with a roller, and finish with a smooth trowel.
- Ensures strong bonding and a visually rich terrazzo surface.
3. Curing and Grinding Process
Surface Curing:
- No foot traffic immediately after laying.
- Begin watering after 24 hours.
- Standard curing time: 5–7 days, extended to 10+ days in colder climates.
Trial Grinding:
- Conduct a trial grind to verify stone adhesion.
- Begin full grinding only after approval.
- For larger projects, wait at least 15 days before grinding begins.
4. Grinding Timeline Based on Temperature
| Avg Temp (℃) | Machine Grinding | Manual Grinding |
|---|---|---|
| 20 – 30 | 2 – 3 days | 1 – 2 days |
| 10 – 20 | 3 – 4 days | 1.5 – 2.5 days |
| 5 – 10 | 5 – 6 days | 2 – 3 days |
🧱 Why Choose Black Terrazzo Tiles?
- Striking appearance that enhances modern and minimalist designs
- Highly durable and suitable for commercial and residential flooring
- Customizable installation methods ensure optimal results
- Resistant to wear, impact, and daily usage
- Eco-friendly, made using recycled stone and cement
Share