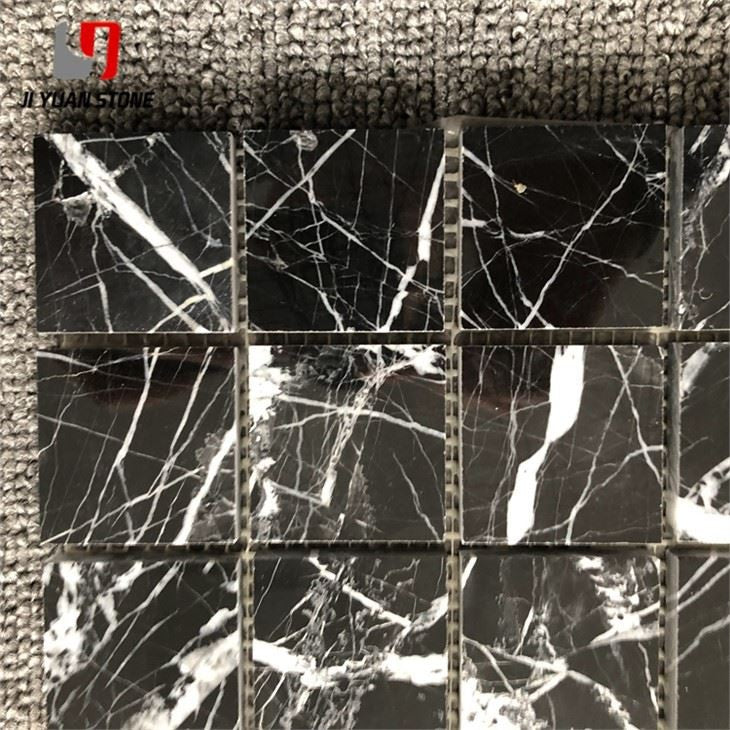
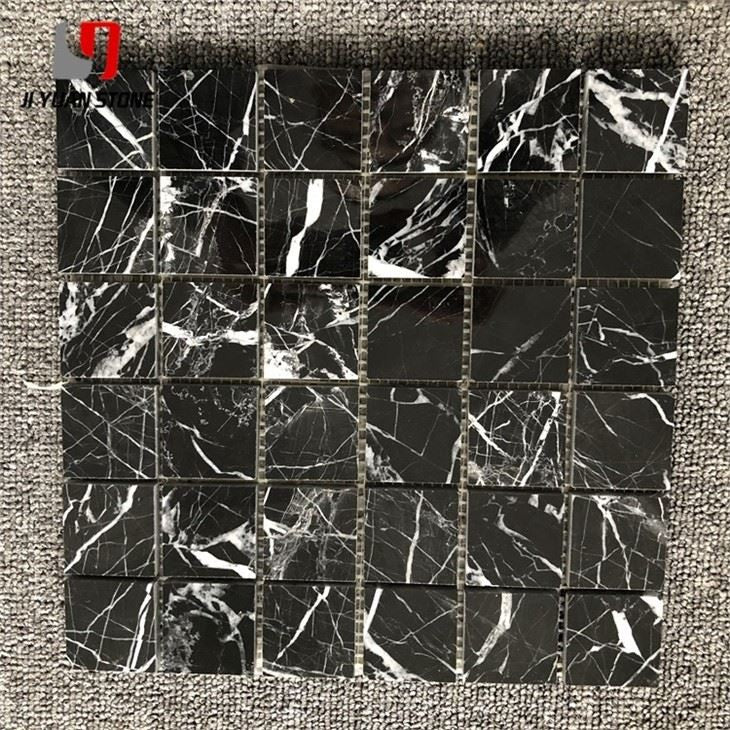
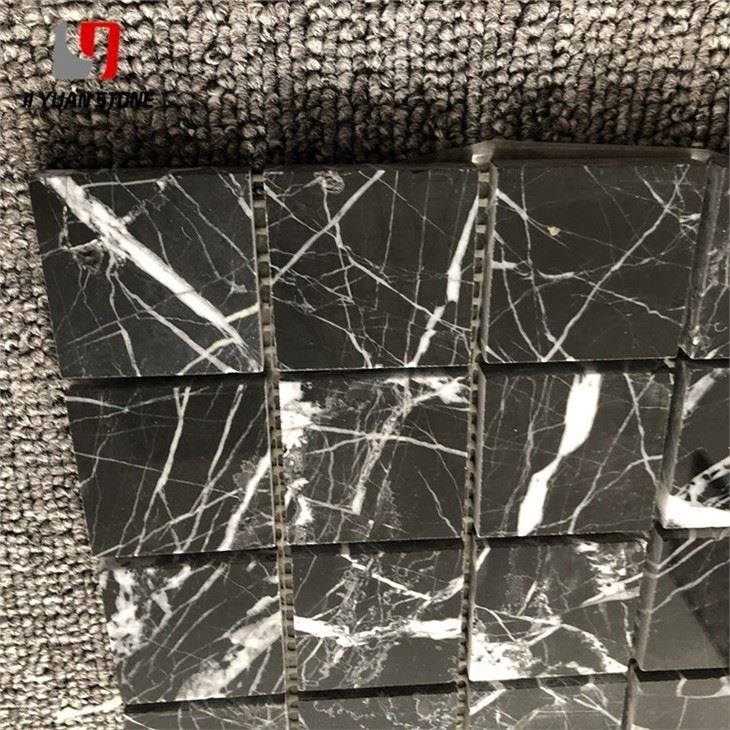
Black Stone Mosaic Tile
Black Stone Mosaic Tile
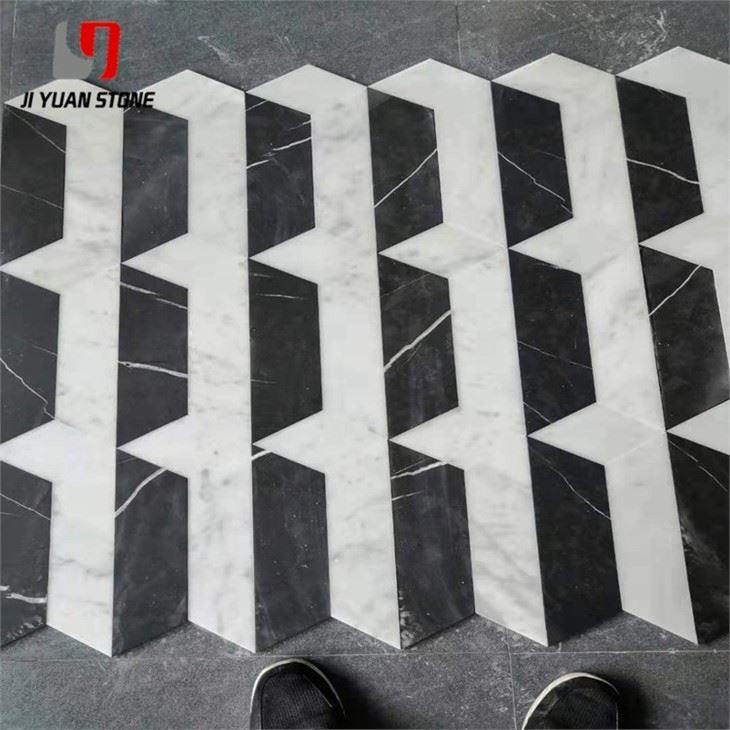
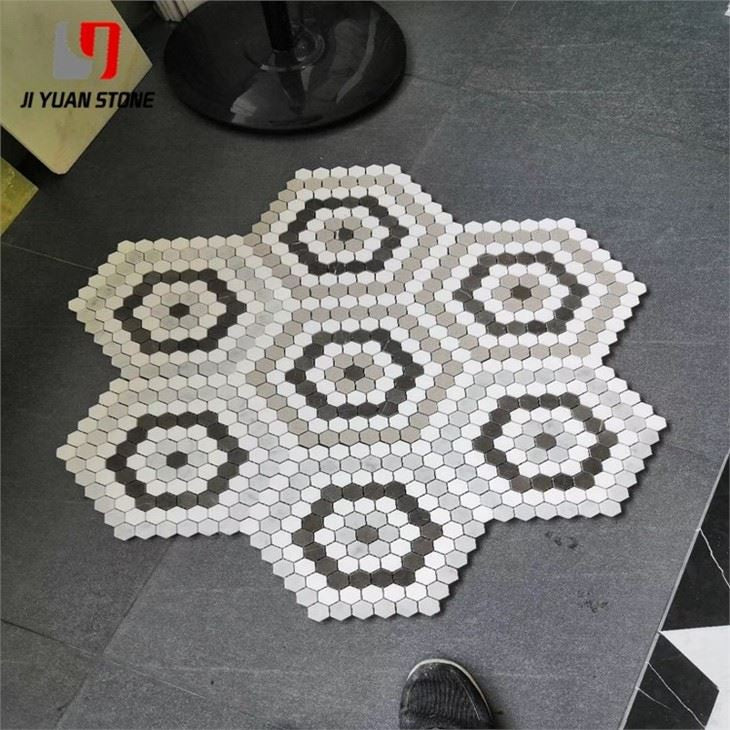
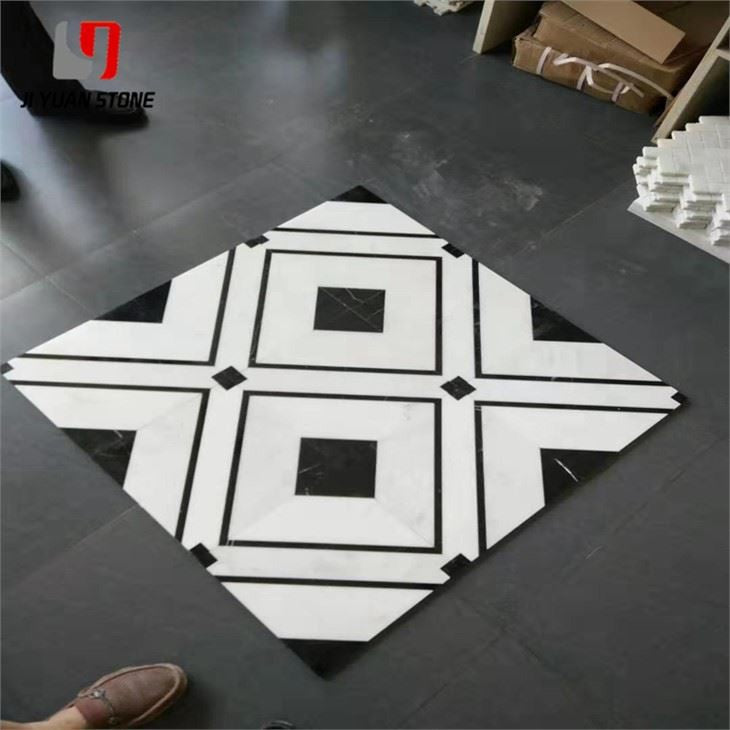
These Black Stone Mosaic Tiles offer a sleek, modern look to any space. Made with durable and long-lasting materials, they provide a stunning aesthetic that is both timeless and versatile. Enhance your home or office with these high-quality tiles that will transform any room into a sophisticated and elegant environment.
| Feature | Details |
|---|---|
| Material | Natural Marble Stone,Travertine,Limestone |
| Colour | As pictures show or customized |
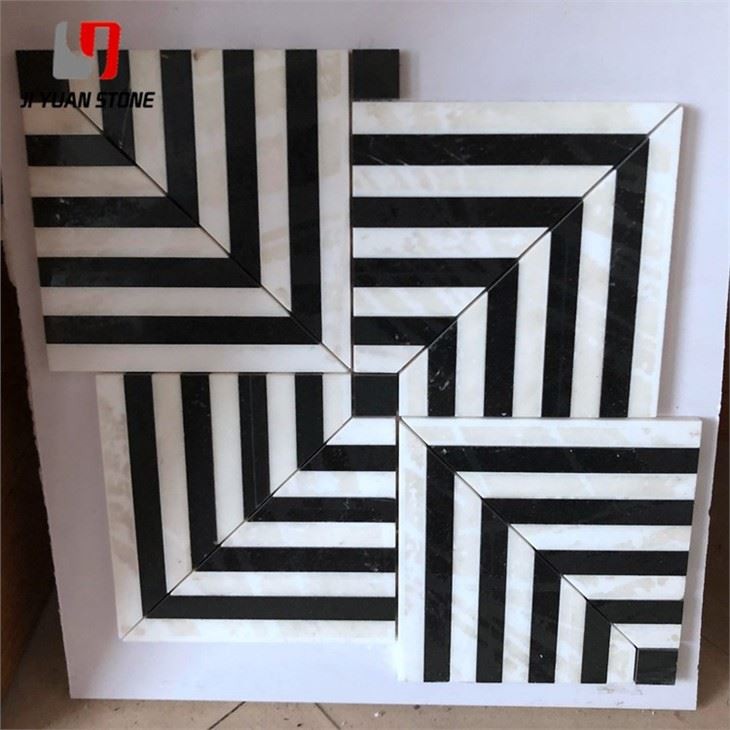
| Shape | Square, Basketweave, Mini brick, Modern brick, Herringbone, Subway, Hexagon, Octagon, Mixed, Grand fan, Penny round, Hand clipped, Tesserae, Random strip, River rocks, 3D cambered, Pinwheel, Rhomboid, Bubble round, Circle bubble, Stacked, etc... |
| MOQ | Unrestricted |
1. Selection Raw Material: According to different designs and customer requests, we select blocks and slabs with suitable colors and veins to increase the yield and avoid waste.
2. Monitoring the whole process: From cutting to mounting the workers are all well aware of the standards and kick out the unqualified chips on sight to avoid wasting more sources and our QC crews make sure of that.
3. Checking pc by PC: Checking pc by pc of finished products according to customer's requirements. Any defective ones will be revised before being packed.
How to Use Black Stone Mosaic Tile Glue
In home decoration, ceramic tiles are one of the most commonly used materials, suitable for both floor and wall decoration. In recent years, black stone mosaic tiles have gained popularity. When installing them, tile glue plays a crucial role in ensuring a strong and long-lasting bond. Below is a step-by-step guide on how to properly use black stone mosaic tile glue.
Step 1: Flatten the Wall Foundation
- Before installation, ensure the wall surface is smooth and uniform in color.
- Flatten and clean the base to create an even and stable foundation for the mosaic tiles.
Step 2: Mark the Tile Layout
- Draw a guideline on the wall to record the exact placement of each tile.
- Lay three mosaic tiles side by side on the ground, ensuring the gray seams between them are even.
- Measure the overall width and use a ruler and level to draw a large square on the wall.
- Divide this square into nine smaller squares, with each square designated for one mosaic tile.
Step 3: Prepare the Tile Glue
- Mix the tile glue according to the specified ratio.
- Using a smooth-edged spatula, spread the glue on the wall, covering an area slightly smaller than nine tiles at a time.
- Then, use a serrated-edged spatula to create zigzag stripes for better adhesion.
Step 4: Install the Mosaic Tiles
- Since the mosaics are pre-attached to a net, they can be directly placed onto the glue-coated wall.
- Lay the tiles vertically, ensuring the gaps between sheets match the gray seams in the design.
Step 5: Reinforce the Tiles
- After positioning each tile, use a flat board to gently tap the mosaic surface, ensuring a firm attachment to the wall.
Step 6: Maintain Uniform Mortar Joints
- Before applying grout, confirm that the gaps between the tiles are evenly spaced.
- Use a small trowel to adjust the seams if necessary.
- This step requires patience, as proper spacing enhances the final appearance and durability of the mosaic tile installation.
Step 7: Apply Sealant
- Prepare the required sealant or grout.
- Using a small spatula, apply the grout evenly across the mosaic surface.
- Work in a bottom-to-top, then top-to-bottom motion for full coverage.
Step 8: Clean the Surface
- Before the grout dries, clean the mosaic surface using a cloth soaked in detergent (without wringing it out).
- Wipe the mosaic in a circular motion to remove excess grout and achieve a polished finish.
By following these steps, you can ensure a seamless, professional-looking black stone mosaic tile installation that enhances the elegance and durability of your space.
Share