Xiamen Ji Yuan Stone Co.,Ltd.
Black Marble Mosaic Tile
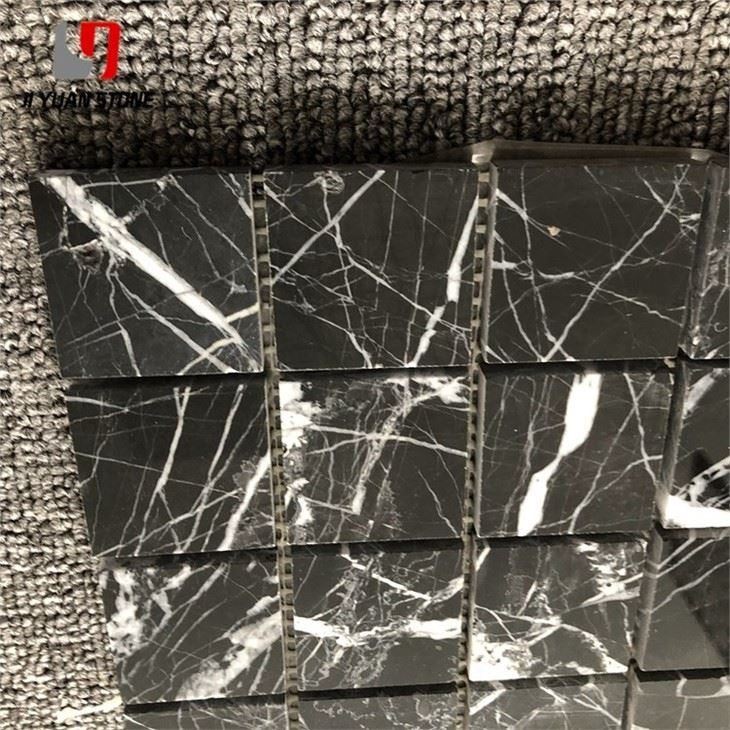
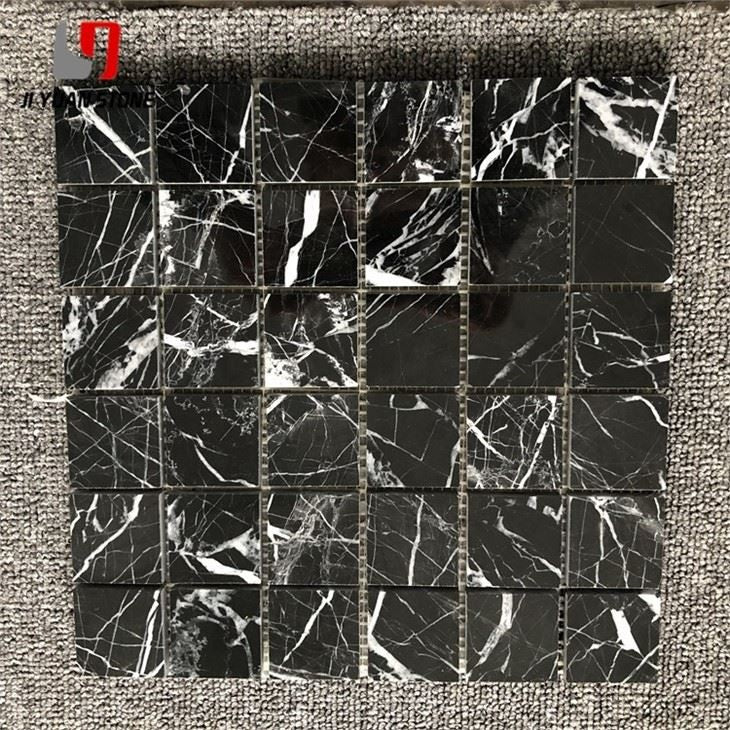
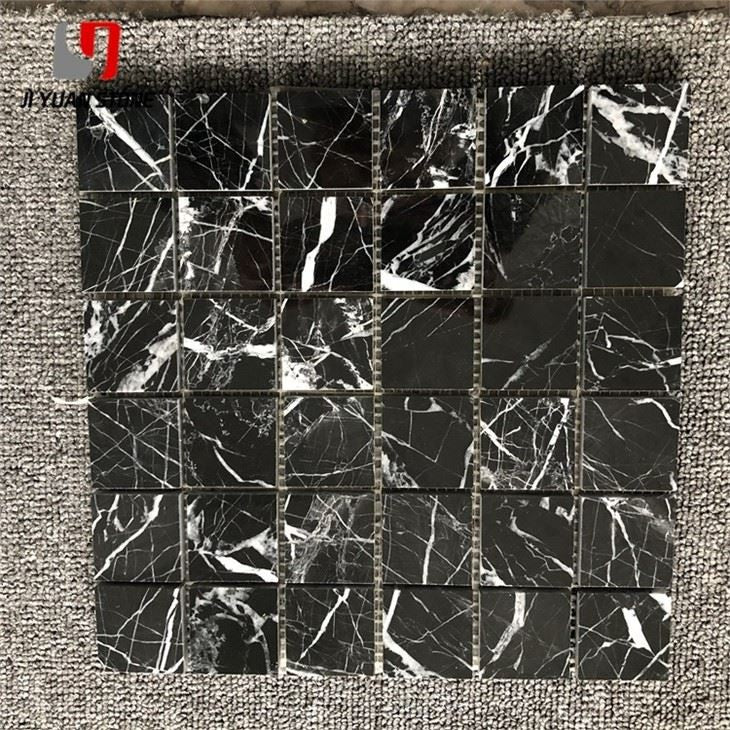
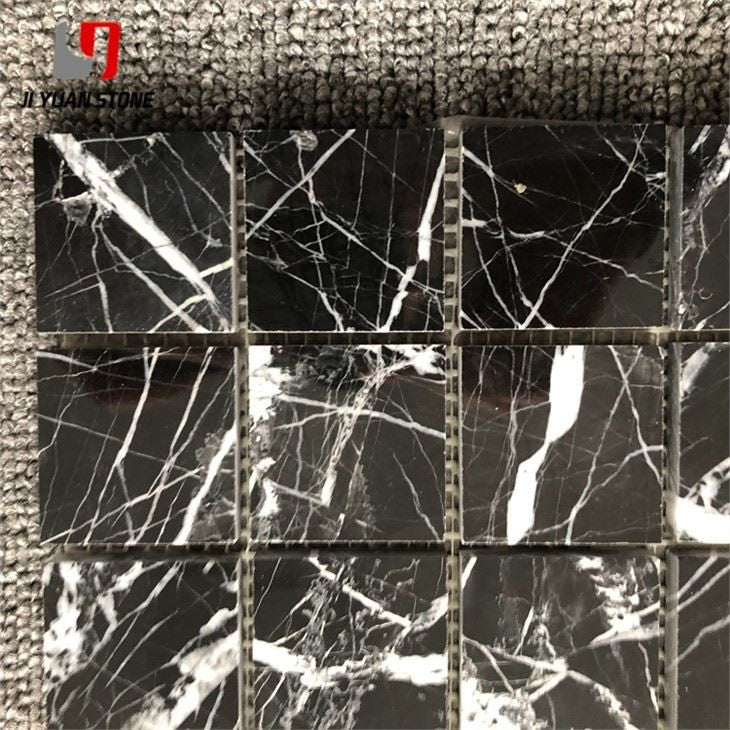
Enhance the elegance of your space with our Black Marble Mosaic Tile. The intricately designed black marble adds a touch of sophistication and charm to any room. Made with high quality materials, this tile is not just visually appealing but also durable and long-lasting. Elevate your interior design with this stunning addition.
Feature | Details |
---|---|
Material | Natural Marble Stone,Travertine,Limestone |
Colour | As pictures show or customized |
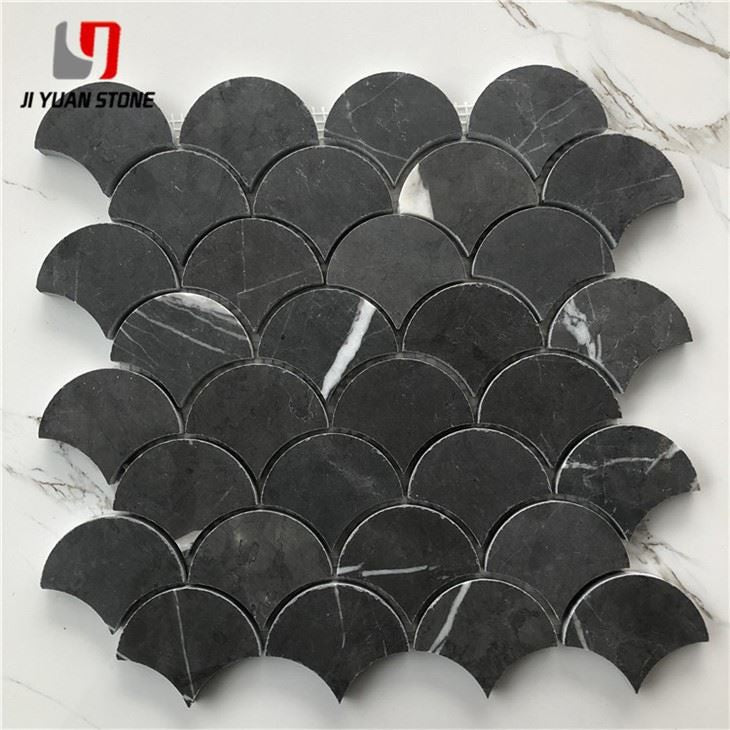
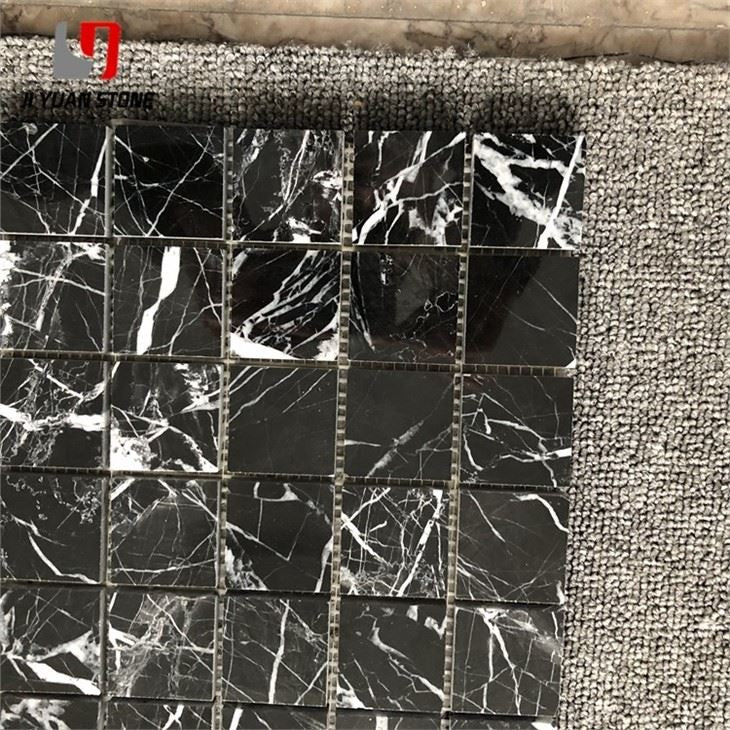
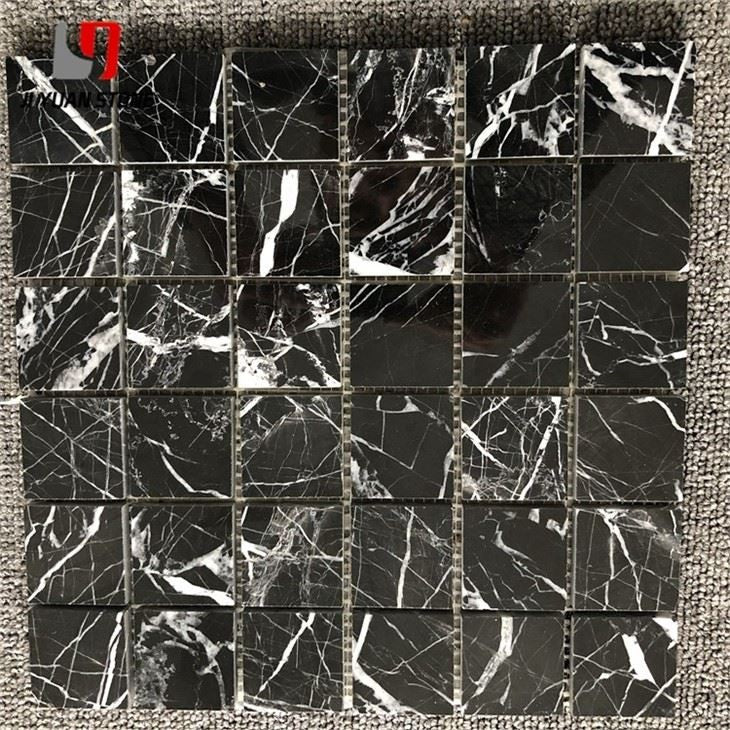
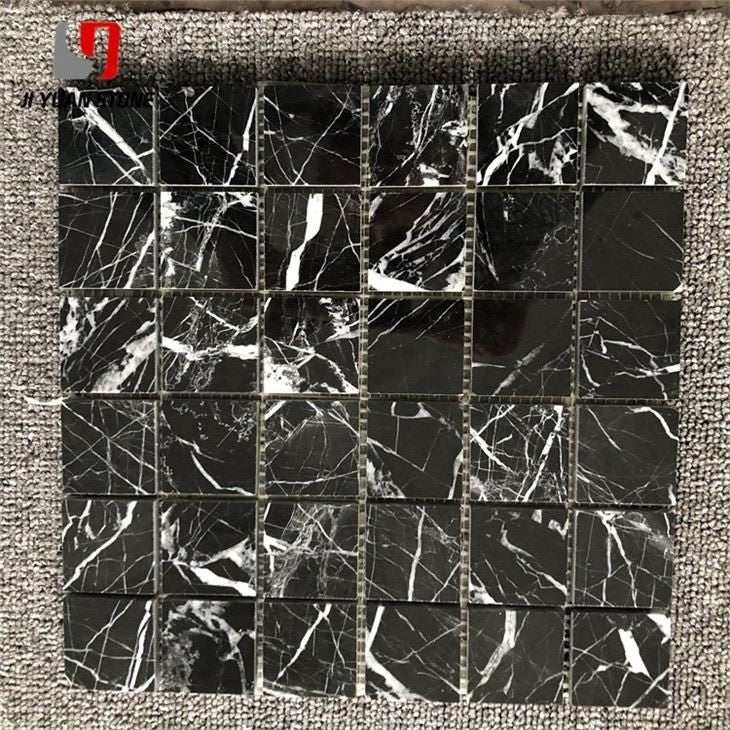
Shape | Square, Basketweave, Mini brick, Modern brick, Herringbone, Subway, Hexagon, Octagon, Mixed, Grand fan, Penny round, Hand clipped, Tesserae, Random strip, River rocks, 3D cambered, Pinwheel, Rhomboid, Bubble round, Circle bubble, Stacked, etc... |
MOQ | Unrestricted |
Material | Marble stone |
Sheet size |
|
Chip size |
|
Black Marble Mosaic Tile: Installation Guide & Decorative Trends
1. The Evolving Appeal of Black Marble Mosaic Tile
Black marble mosaic tiles, crafted with modern technology, showcase diversified colors, textures, and specifications while maintaining high-quality material selection. The evolving design trends allow these mosaics to extend beyond traditional kitchen and bathroom applications. Today, they are widely used for:
✔ Mosaic TV walls
✔ Decorative columns
✔ Elegant stair coverings
These stylish applications offer a romantic, warm, and unique aesthetic, appealing to both professional designers and home DIY enthusiasts.
2. Step-by-Step Guide to Installing Black Marble Mosaic Tile
Step 1: Gluing
- Apply a layer of stone mosaic glue or white cement to the wall or floor surface.
- Use a special trowel to spread it evenly and smoothly.
- The recommended thickness of glue/cement is around 20mm for optimal adhesion.
Step 2: Pasting the Mosaic
- Align the black marble mosaic tiles according to the design layout.
- After placing each tile, press it firmly into the adhesive.
- Use a rubber mallet or caulking tool to ensure secure attachment and a uniform surface.
Step 3: Caulking
- Once the adhesive has dried to a stable strength, begin caulking.
- Use a professional caulking wipe or putty knife to fill the mosaic gaps.
- Ensure the caulking is evenly distributed and fully fills the gaps.
- Work in small sections (no more than 2 square meters at a time) to maintain quality and make cleaning easier.
Step 4: Cleaning & Finishing
- 20-25 minutes after caulking, wipe off excess material using a damp cloth or sponge.
- Be gentle to avoid removing the caulking from the gaps.
- Finish by wiping with a dry cloth for a polished look.
Share


