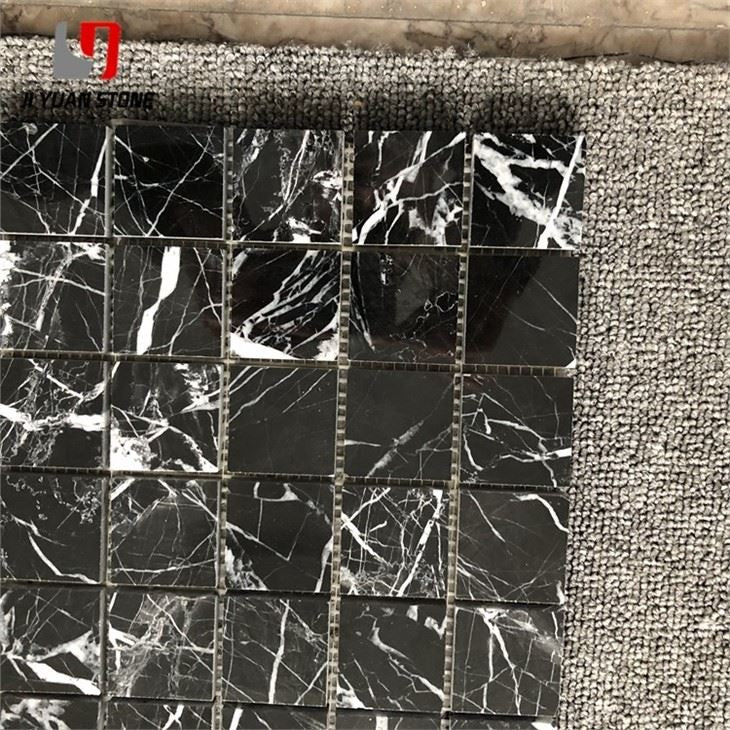
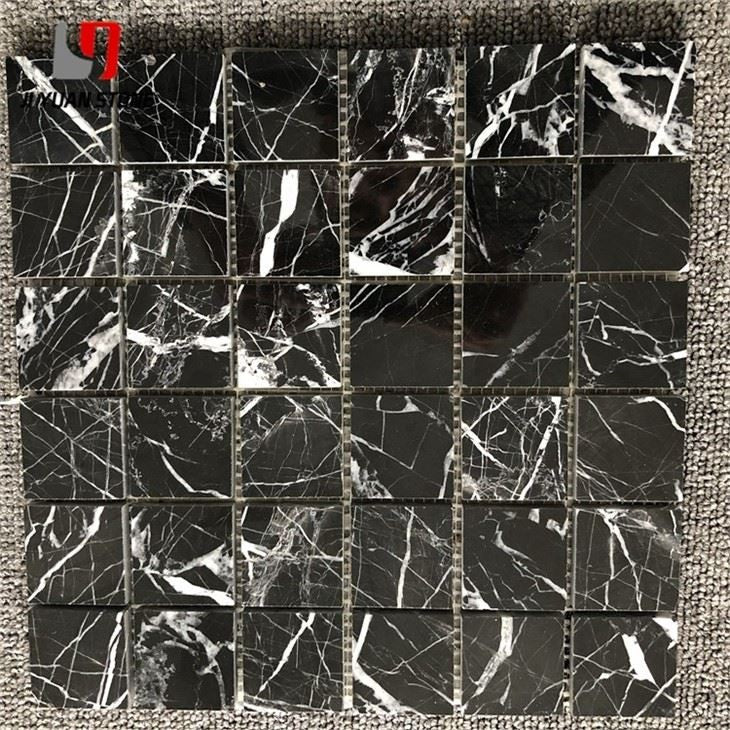
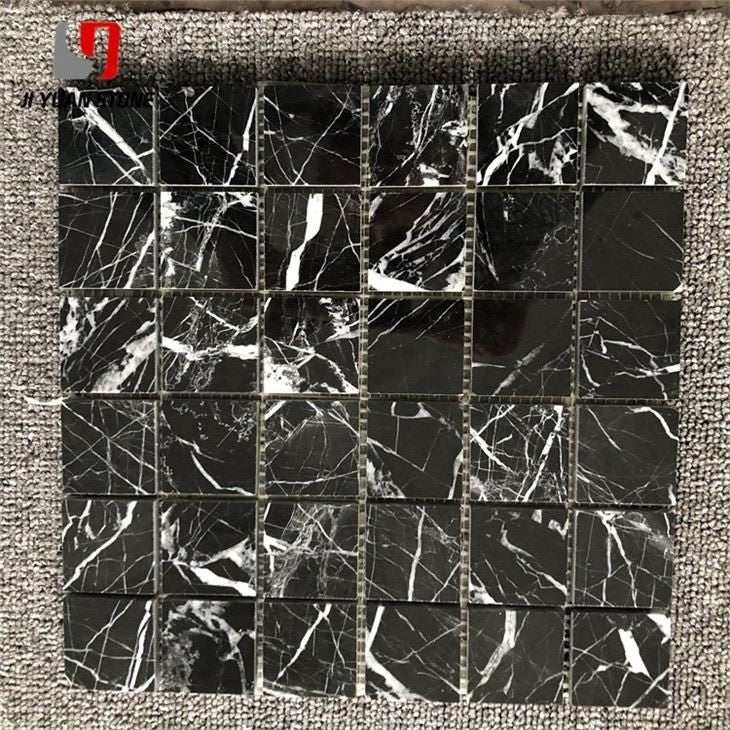
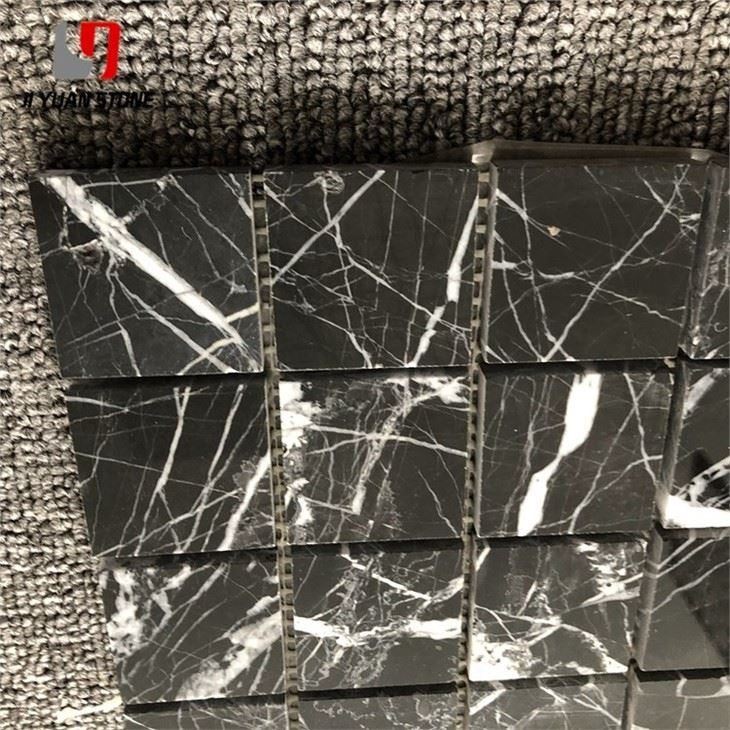
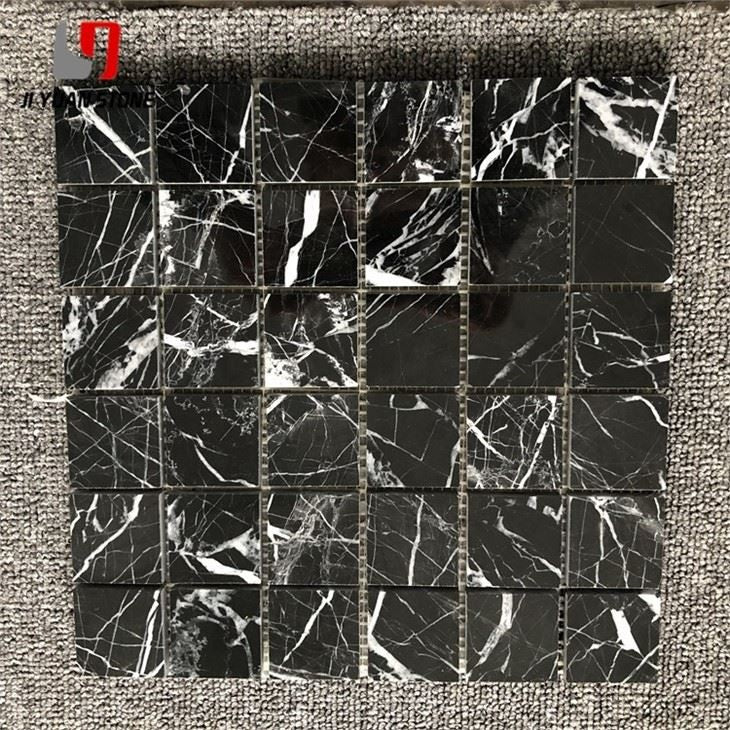
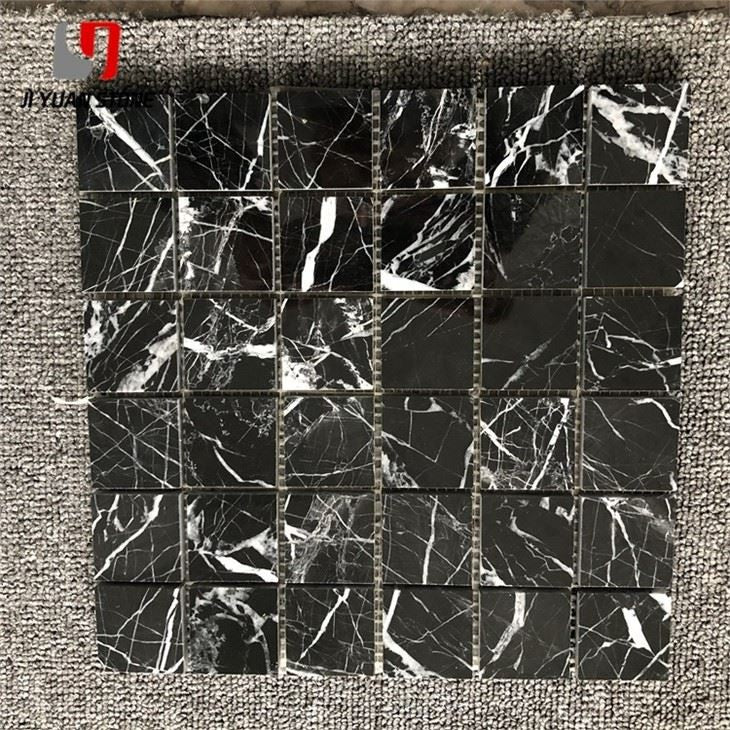
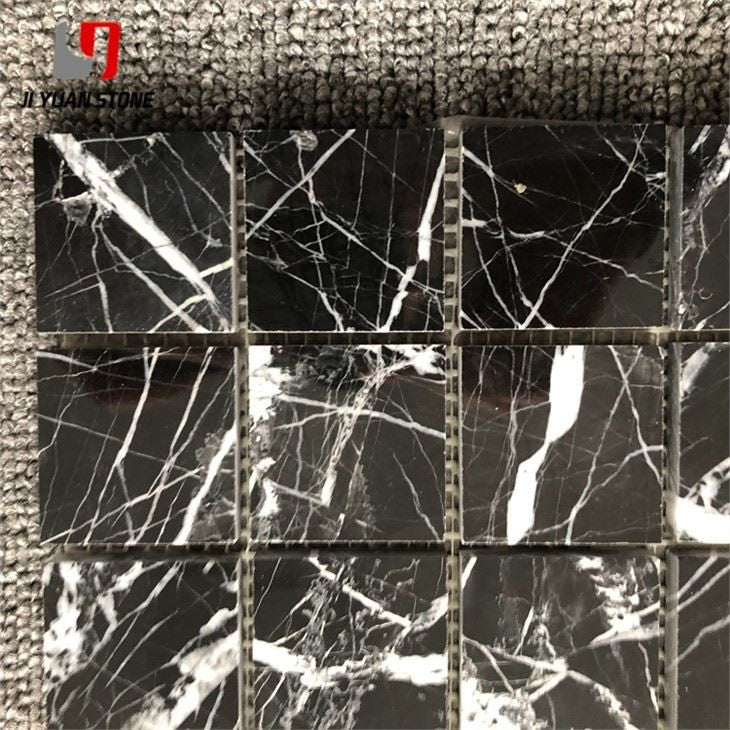
This elegant Black Marble Mosaic uses high-quality marble to create a unique and sophisticated look. With its sleek black color, it adds a touch of luxury to any space. Perfect for both traditional and modern decor, this mosaic is durable and easy to maintain, providing lasting beauty for years to come.
Feature
Details
Material
Natural Marble Stone,Travertine,Limestone
Colour
As pictures show or customized
Shape
Square, Basketweave, Mini brick, Modern brick, Herringbone, Subway, Hexagon, Octagon, Mixed, Grand fan, Penny round, Hand clipped, Tesserae, Random strip, River rocks, 3D cambered, Pinwheel, Rhomboid, Bubble round, Circle bubble, Stacked, etc...
30x30mm(1 1/4"x1 1/4") and etc ,Thickness 7mm(5/16") to 15mm(5/8")
Precautions & Installation Guide for Black Marble Mosaic
1. Precautions for Laying Black Marble Mosaic
When installing black marble mosaic, follow these guidelines to ensure a high-quality and visually appealing finish:
✔ Consistent Gaps – The gap between each tile should match the spacing between individual mosaic particles to maintain uniformity. ✔ Secure Adhesion – Every mosaic piece must be fully compacted and glued to ensure a strong bond. ✔ Attention to Order – Mosaics rely on precise color and pattern arrangements. Any mistake can lead to rework, wasting time and materials. ✔ Clean & Smooth Finish – After installation, ensure that:
Caulking is tight
No tiles are misaligned or skewed
No stains, glue, or other residues remain on the surface
2. Step-by-Step Guide to Installing Black Marble Mosaic
1️⃣ Surface Preparation
Ensure the substrate (wall, floor, or countertop) is clean, dry, and level.
Apply a thin layer of tile adhesive or white cement before laying the mosaic.
2️⃣ Applying the Mosaic Sheets
Carefully place the mesh-backed mosaic onto the surface.
Maintain consistent spacing between the mosaic sheets and particles.
Follow the arrow direction marked on the backing paper for proper alignment.
Press down firmly to remove any air pockets and ensure full adhesion.
3️⃣ Soaking & Backing Paper Removal
Wait 30 minutes after installation.
Use a sponge or soft cloth to soak the surface.
After 5 minutes, gently peel off the backing paper.
4️⃣ Final Adjustments & Caulking
Check for skewed, warped, or hollowed-out sections and correct if necessary.
Ensure the caulking is tight and evenly applied between tiles.
The top edge deviation of a wall installation should be within 2mm.
5️⃣ Cleaning & Maintenance
Wipe the surface with a damp cloth regularly.
For stubborn stains, use a special stone cleaner and rinse with water.
Avoid using acidic or harsh cleaning agents that may damage the stone.