Black Limestone 600 X 600
Black Limestone 600 X 600
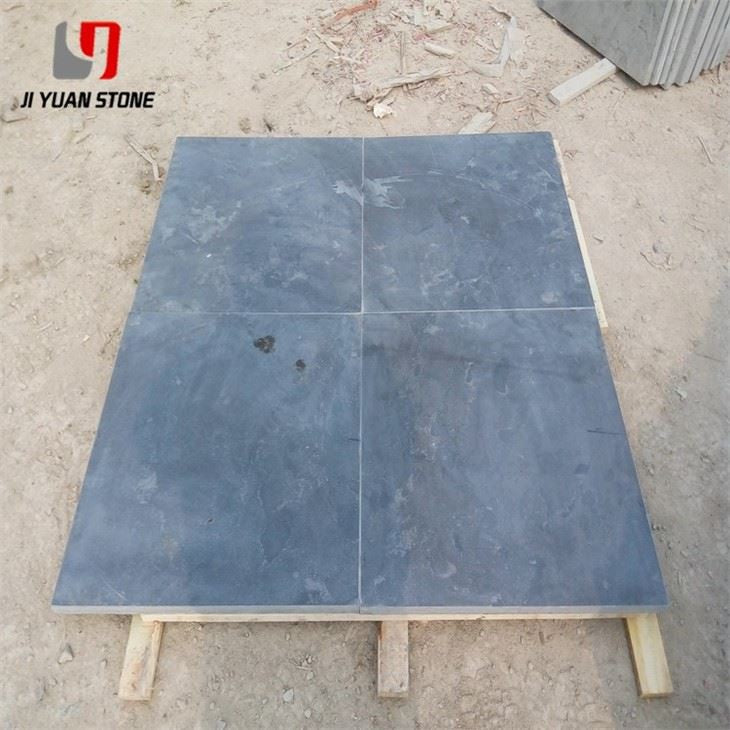
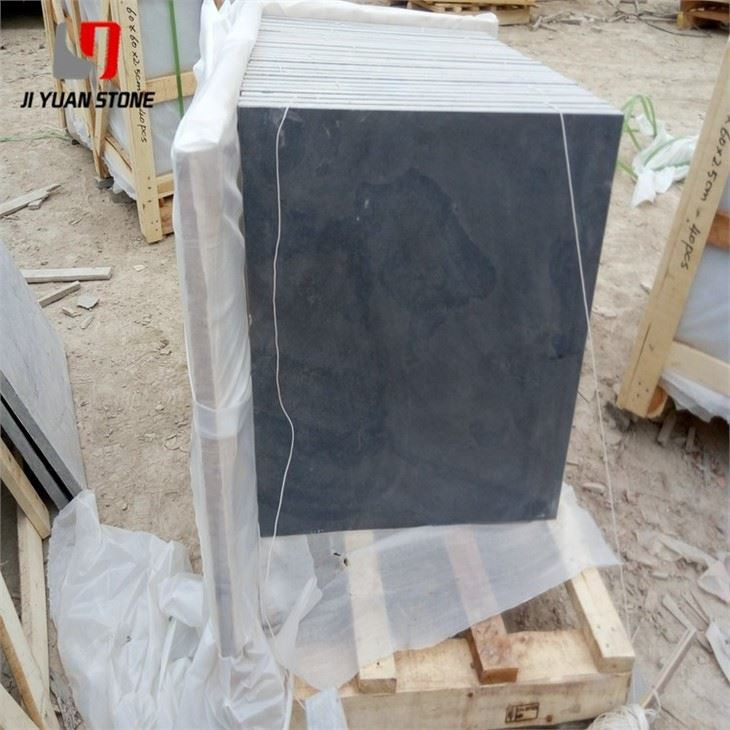
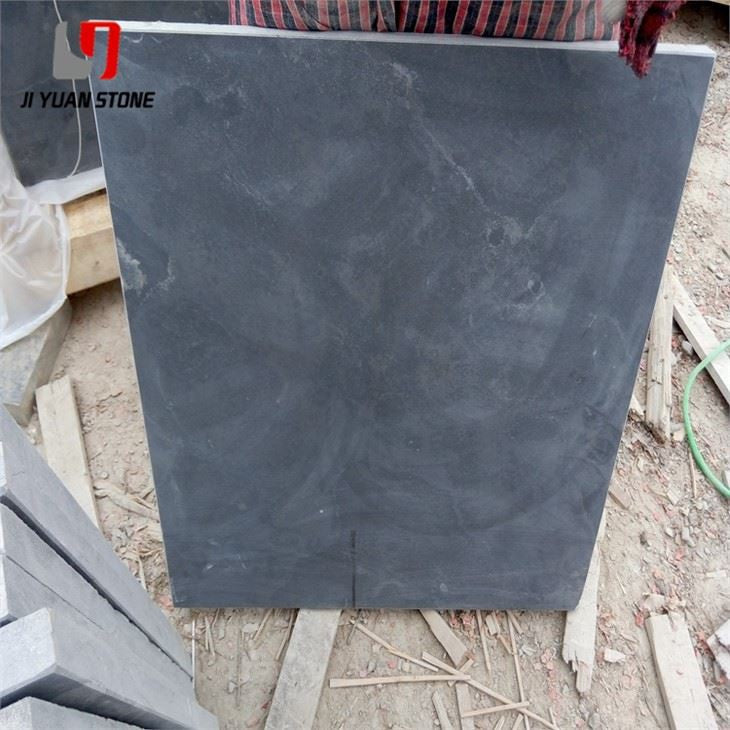
Black Limestone 600 x 600 Paving Slabs – Elegant and Durable Outdoor Flooring
Enhance your space with the elegant beauty of Black Limestone 600 x 600. The natural durability of this dark stone provides a long-lasting flooring solution that adds sophistication and value to any room. Trust the timeless appeal and expert craftsmanship of this 600 x 600 tile to elevate your home or business.
| Feature | Details |
|---|---|
| Material | Bluestone Limestone |
| Surface Finish | Honed |
| Common Slab sizes, |
|
| Common Tile Sizes, |
|
Enhance your outdoor spaces with our Black Limestone 600 x 600 paving slabs, perfect for patios, walkways, garden paths, and contemporary landscaping. These natural stone slabs offer a sleek, modern finish with a deep black tone that complements any exterior design. Known for their durability and resistance to weathering, these slabs provide a long-lasting and visually striking surface.
Construction Program for Black Limestone 600 x 600 Floor Surface Layer Paving
Whether you're a DIY enthusiast or a professional contractor, follow this expert construction procedure to install your black limestone floor perfectly:
1. Construction Procedure
The installation of natural black limestone 600 x 600 floor surface layer involves the following six essential steps:
1 . Cleaning the Base Layer
- Ensure the bottom ash layer is plastered. The surface should be clean and level, similar to preparing for a cement mortar floor.
2 . Elastic Line Marking
- Mark the center lines on surrounding walls.
- Pop a cross center line on the ground.
- Stake out block positions with seam allowances.
- Use tension lines to mark surface positions and determine floor elevation from the wall’s horizontal datum line.
3 . Installing Standard Blocks
- Standard blocks guide horizontal alignment and joint positioning.
- Place them at line intersections or diagonally for center seam alignment.
- Use a level and square ruler for precise placement.
4 . Paving the Slabs
Pre-treatment:
- Soak slabs in water and clean the back before laying.
Seam Widths:
- Maintain a 1mm seam for limestone slabs.
- For terrazzo slabs, use a 2mm seam.
Bonding Layer:
- Use 15–20mm thick dry hard cement mortar.
- Prime the base with cement slurry before placing mortar.
- Use the "four-reverse footwork method" starting from the room center, or lay a guiding row along a wall.
Placement & Adjustments:
- Ensure all four slab corners touch the floor simultaneously.
- Level the slabs using a leather or wooden hammer.
- Maintain uniform seam spacing and check bonding layer consistency.
5 . Filling Joints (Grouting)
- Apply plain cement slurry to ⅔ of the joint depth.
- Match cement color with the stone for seamless finish.
6 . Curing
- Allow appropriate time for curing to ensure durability and bonding strength.
2. Key Construction Points
- Always prepare a clean, even base.
- Use precise line marking for alignment and height control.
- Proper slab pre-treatment and seam spacing are essential.
- Consistency in mortar application and leveling ensures long-term performance.
- Grout with care using color-matched cement for aesthetics and protection.
Why Choose Our Black Limestone 600 x 600 Slabs?
✅ Natural Stone Quality – Authentic black limestone with rich, natural texture.
✅ Weather-Resistant – Withstands rain, frost, and high foot traffic.
✅ Low Maintenance – Easy to clean and maintain for years.
✅ Perfect Size – 600 x 600mm format balances aesthetic appeal and installation ease.
Transform your outdoor environment with the sleek, timeless elegance of our Black Limestone 600 x 600 paving slabs. Shop now at Purchase Stones for top-grade quality and detailed installation support.
Share