Artificial Quartz Stone Sheet
Artificial Quartz Stone Sheet
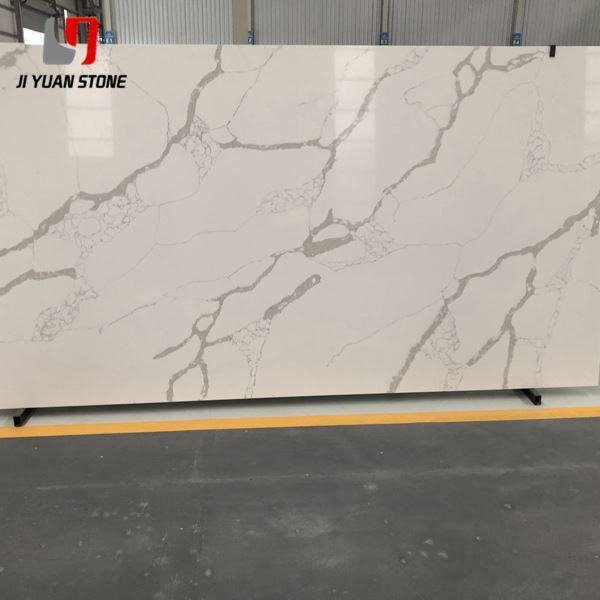
Artificial Quartz Stone Sheet – Durable Elegance for Every Space
Expertly crafted for durability and beauty, our Artificial Quartz Stone Sheet offers the perfect solution for any residential or commercial space. Its high-quality materials and precise engineering ensure long-lasting performance, while its stunning design adds a touch of sophistication to any room. Upgrade your space with our Artificial Quartz Stone Sheet today.
| Feature | Details |
|---|---|
| Material | 93% Nature Quartz |
| Calacatta quartz engineered stone kitchen countertop Size | 96"x26", 108''x26''; |
| Island size |
|
| Vanity top Size: |
|
| Big Slab Size |
|
| Slab Size | 1400*3000 1600*3200 1800*3200 or cut to size |
| Thickness | 12mm, 15mm, 20mm,30mm |
| Surface | 100% full polished |
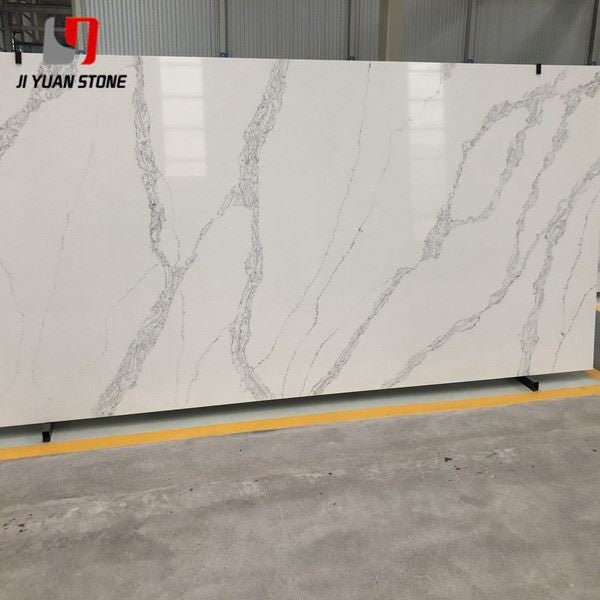
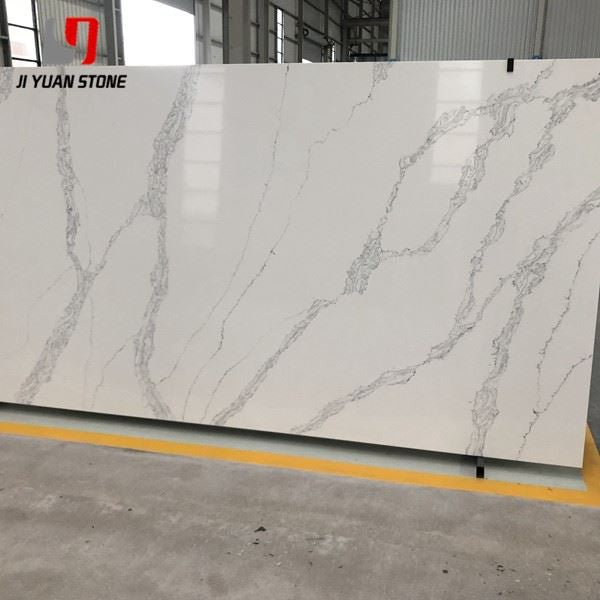
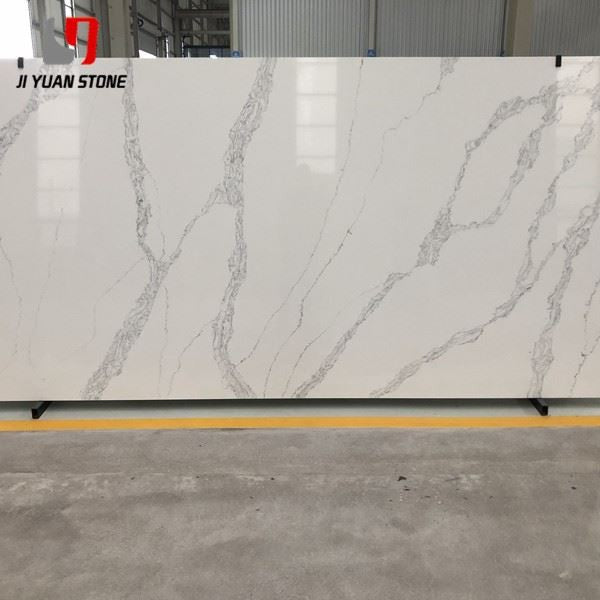
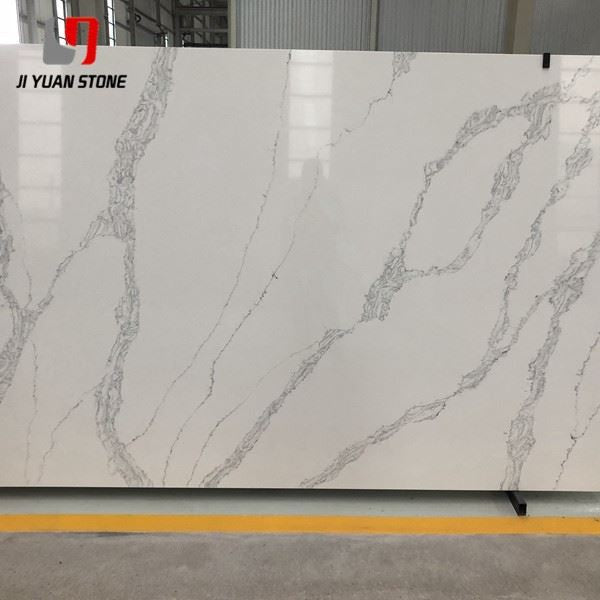
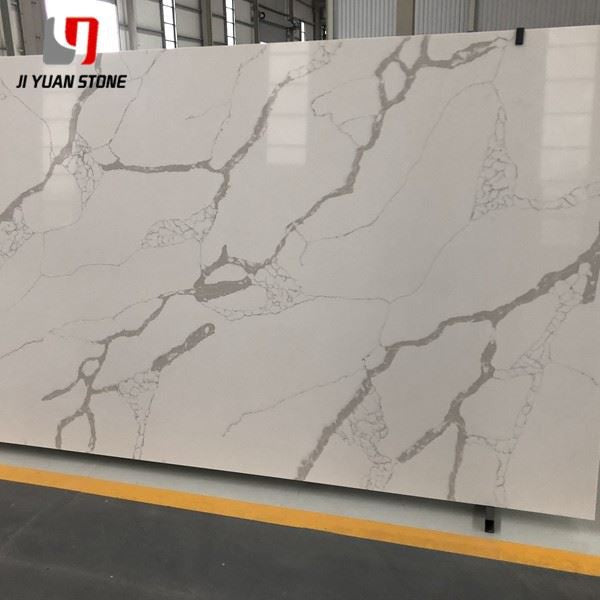
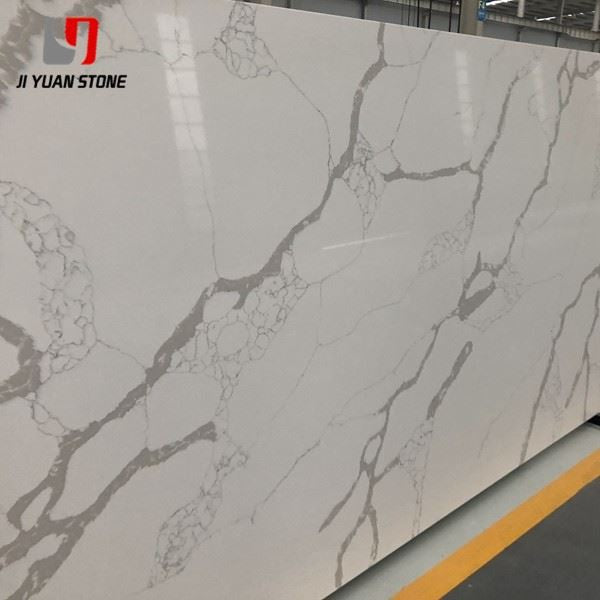
| Color range | Calacatta, marble looks, Carrara, basic colors, mixed colors |
| Slabs packing |
105 slabs 2cm per 20ft container and 70 slabs 3cm per 20ft container |
| Applications |
Kitchen countertop, bathroom vanity tops, benchtops, kitchen island, bar countertops,residential and commercial projects. |
| Delivery time | Around 20 days after getting the deposit |
When quality, consistency, and beauty matter, Artificial Quartz Stone Sheets deliver. Engineered for durability and style, these sheets are perfect for countertops, wall panels, and decorative surfaces in both residential and commercial settings. Combining high performance with visual appeal, they’re an excellent solution for modern interior design.
🔹 Key Features of Artificial Quartz Stone Sheets:
1. Consistent Pattern – Beauty Inside and Out
Each artificial quartz stone sheet features a uniform pattern throughout, meaning the inside of the stone looks just as beautiful as the outside. This ensures long-lasting elegance, even when edges are exposed or reshaped.
2. Aesthetic and Decorative Appeal
Infused with natural quartz minerals, these sheets exhibit diverse and eye-catching patterns. Their strong decorative ability makes them ideal for a wide range of design styles—from minimalist kitchens to luxurious hotel lobbies.
3. Anti-Penetration, Acid, and Alkali Resistance
Thanks to advanced surface treatments and ultra-fine polishing, artificial quartz stone sheets offer:
- Low water absorption
- Stain resistance against oil, wine, fruit juice, etc.
- Acid and alkali resistance, protecting the surface from common household chemicals
This makes them an excellent choice for kitchens, bathrooms, and other high-use areas.
🔧 Seamless Splicing Process for Professional Results
For a flawless, high-end finish, proper splicing is crucial. Follow these professional steps for seamless joints:
1 . Preparation: Ensure splicing surfaces are straight and properly aligned to avoid visible glue marks.
2 . Panel Positioning: Lay both sheets on the same plane and align them carefully.
3 . Secure: Use F clips and a positioning guide to hold the sheets in place.
4 . Edge Cutting: Use a gong machine to trim the edges flat for a perfect interface.
5 . Surface Sanding: Lightly sand the splicing interface with 120# sandpaper (2–3mm depth).
6 . Clean: Wipe the splicing area clean with alcohol or Tianna water.
7 . Bonding: Apply instant adhesive to fix small splicing pieces, ensuring strong adhesion.
8 . Taping: Place single-sided tape under the splicing line to catch any dripping glue.
9 . Glue Gap: Maintain a 3mm gap between panels to allow even glue distribution and bonding strength.
Following these steps will give you tight, seamless joints and a professional finish that lasts.
✅ Why Choose Artificial Quartz Stone Sheets?
🪨 Uniform Beauty – Same pattern throughout for consistent appearance
💧 Non-Porous & Stain-Resistant – Withstands spills and splashes
🧪 Resistant to Acids, Alkalis & Corrosive Agents – Ideal for kitchens & labs
🔧 Seamless Splicing – Clean and professional results with proper installation
🎨 Versatile Applications – Great for countertops, vanities, tabletops, walls & more
Whether you're designing a high-traffic kitchen, a stylish commercial space, or an elegant bathroom, artificial quartz stone sheets offer a combination of durability, aesthetics, and easy maintenance that’s hard to beat.
Share