Skip to product information
1 of 6

Xiamen Ji Yuan Stone Co.,Ltd.

Arabesque Mosaic Tiles Marble

Arabesque Mosaic Tiles Marble

Send Inquiry

Enhance the elegance of your space with our Arabesque Mosaic Tiles Marble. Made with exquisite marble, these tiles feature a stunning arabesque design that adds a luxurious touch to any room. With their durability and unique pattern, these tiles are the perfect choice for adding a touch of sophistication to your home.


Feature Details
Material  Natural Marble Stone,Travertine,Limestone
Colour As pictures show or customized
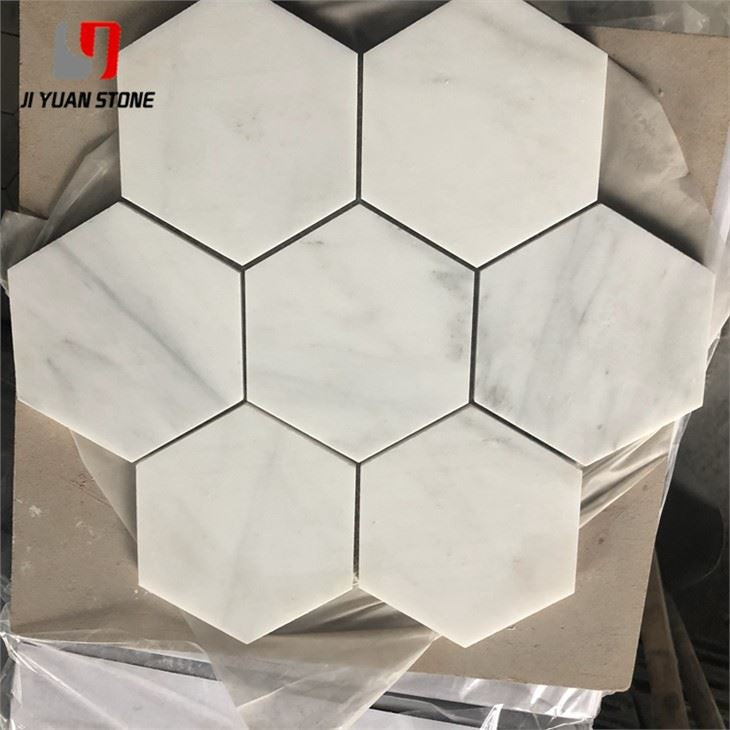
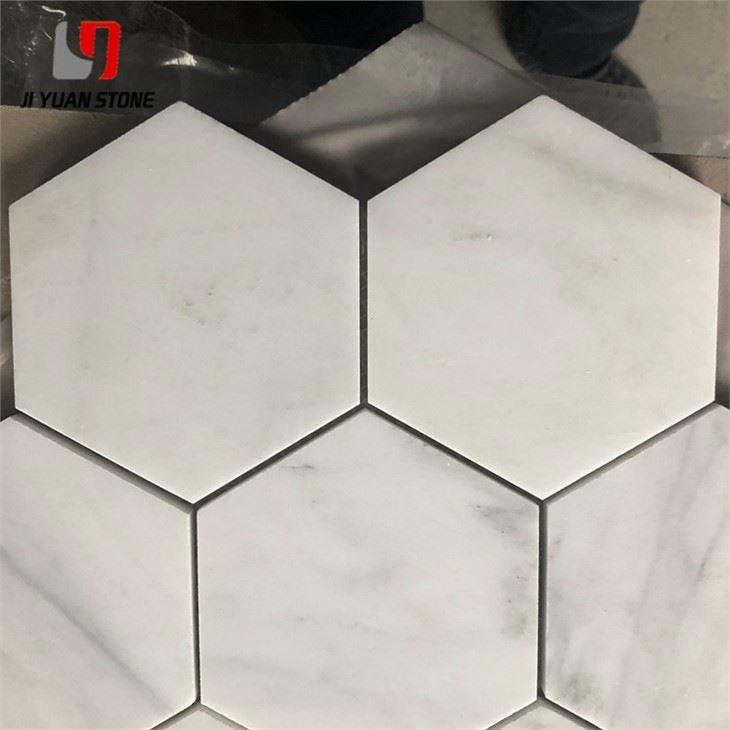
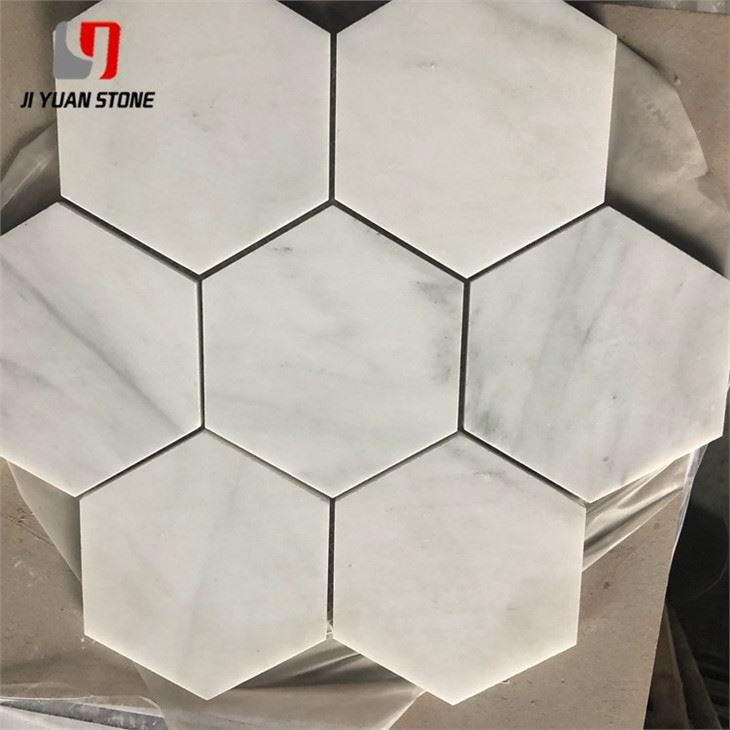
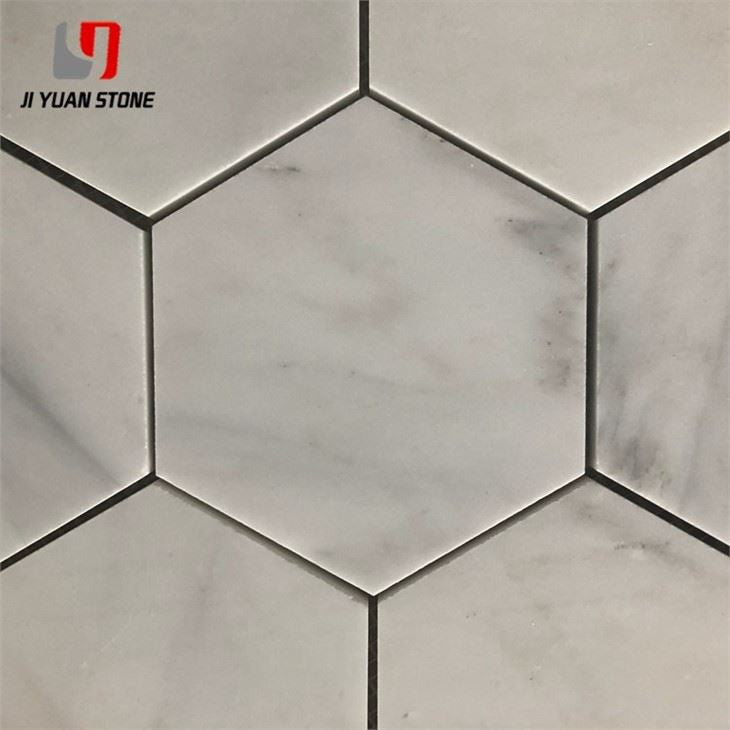
Shape 
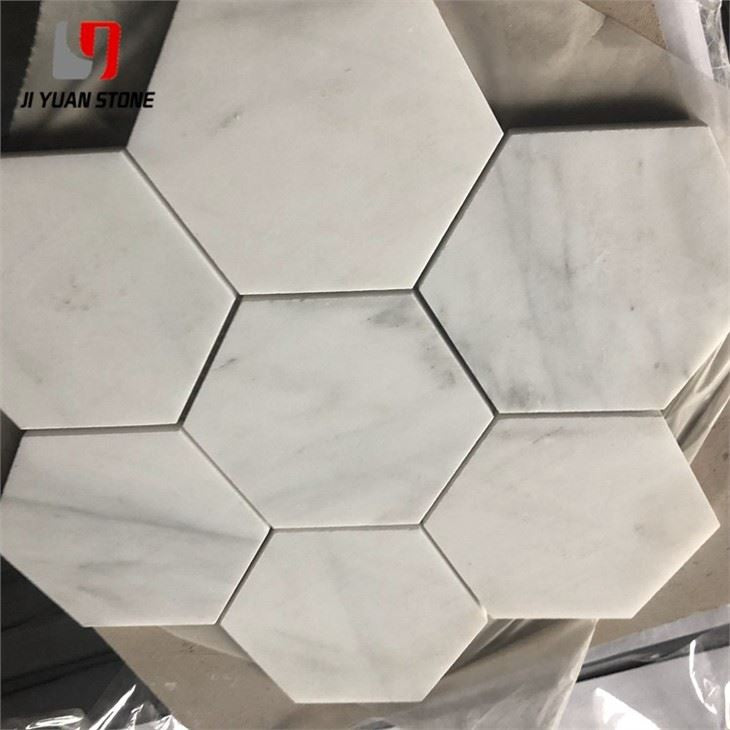
Square, Basketweave, Mini brick, Modern brick, Herringbone, Subway, Hexagon, Octagon, Mixed, Grand fan, Penny round, Hand clipped, Tesserae, Random strip, River rocks, 3D cambered, Pinwheel, Rhomboid, Bubble round, Circle bubble, Stacked, etc...
MOQ Unrestricted
Product Material Marble
Surface Choice Polished, Honed, Flamed, Antique, Stripped, Bush-hammered, Picked, Sawn, Sandblasted, Tumbled, Brushed, Rough, Lined, Acid-wash, etc.
Products Choice Dry-hangs, Cut-to-Sizes, Panels, Slabs, Tops, Sanitary, Blocks, Stair Steps, Paving, Curbs, Columns, Pillars, Swimming Pool Borders, Tombstone, Sculptures, Fountains, Lanterns, Pots, Tables & Chairs, Meshed Paving, Mosaics etc.
Mosaics 305x305Size(mm)
Thickness(mm) 10-20
Package (Poly) Wooden Crate, Pallet, Rain Cloth, Carton & Foam are Our Usual Packing Material, But Different Product Different Pack, Different Pack Different Cost.


Installation and Filling Process for Natural Arabesque Mosaic Tiles Marble

1. Tile Installation

  • Use a serrated trowel to evenly spread the mixed adhesive slurry on the bonding surface of the natural Arabesque mosaic tiles marble.
  • Press the slate onto the semi-dry mortar, tap it with a rubber hammer, adjust the level, and apply proper pressure for a secure bond.

2. Joint Setup and Expansion Considerations

  • Joints should be set based on the size of the slate to accommodate temperature-related expansion, especially for floor heating installations:
    • For slabs ≤ 60 cm → Joint width should be no less than 1mm.
    • For slabs > 60 cm → Joint width should be no less than 1.5mm.
  • Open protection should be used; airtight coverings like plastic film are strictly prohibited.
  • Protection should be done using naturally open or air-permeable materials.

3. Filling Construction

A. Timing and Material Selection

  • Filling should be delayed as long as possible, with a minimum waiting period of 14 days after pasting.
  • Due to temperature variations in heated floors, flexible caulking agents (e.g., AD-1026) should be used.

B. Application Process

  1. Insert the AD-1026 flexible caulking agent into the gaps using a spatula or batch board.
  2. The caulking depth should be at least 3mm for proper sealing.
  3. Allow the caulk to cure naturally for 2 to 3 days before polishing and finishing the slate.
  4. Use the mixed grout within its specified working time.
  5. Before the grout solidifies, clean excess material from the surface with a spatula.

C. Grout Coverage

  • The standard gap size is 3mm in depth and 3mm in width.
  • Each kilogram of gap filler can cover a 60m-long joint.
View full details
 

Send Us Your Inquiry!