Agate Stone Slab Tile
Agate Stone Slab Tile
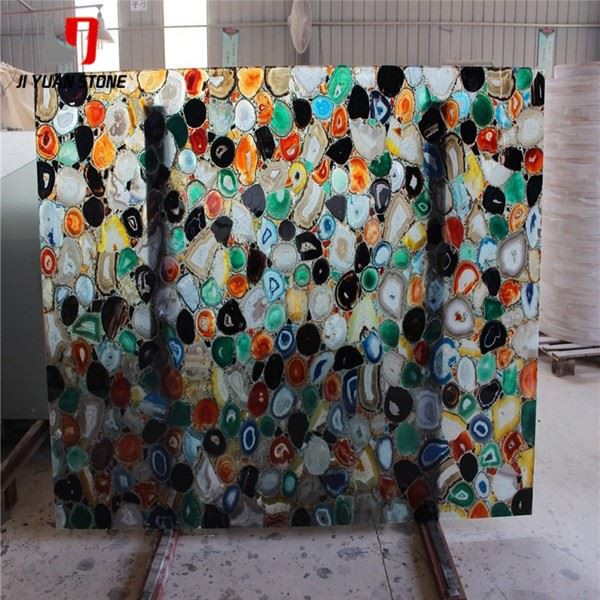
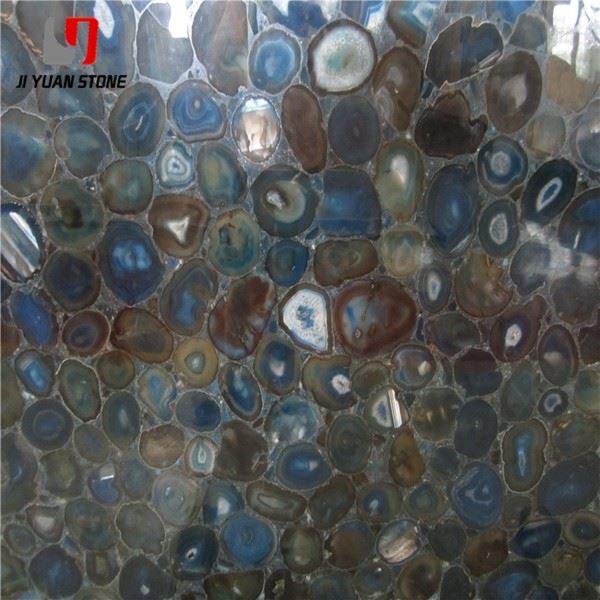
Agate Stone Slab Tiles – Natural Luxury with Structural Precision
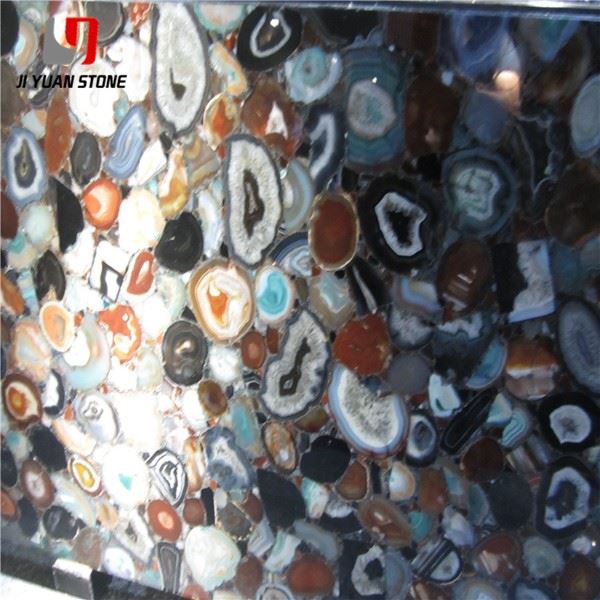
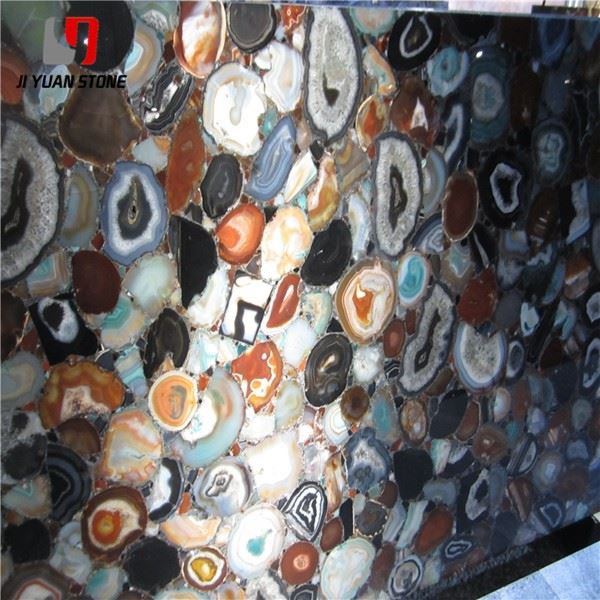
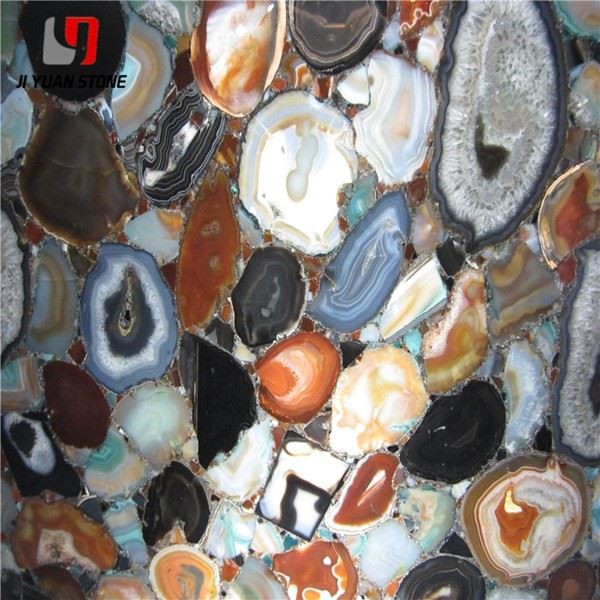
Crafted from natural agate stone, these slab tiles add a unique and elegant touch to any space. With each tile showcasing its own one-of-a-kind pattern and coloring, your project is sure to stand out. Perfect for adding a touch of luxury to your home or business design.
| Feature | Details |
|---|---|
| Product Name | Agate Stone Slab Tile |
| Material | Agate Gemstone Semi-precious Stone |
| Surface Finished | Honed,Polished |
| Finished Products | Floor Tiles, Wall Cladding, Countertops, Windowsills, Special-Shaped Tiles, Small Slabs, Swimming Pool, Steps, Wall Panel, Flooring, Veneers, Slabs, Coping Tiles etc. |
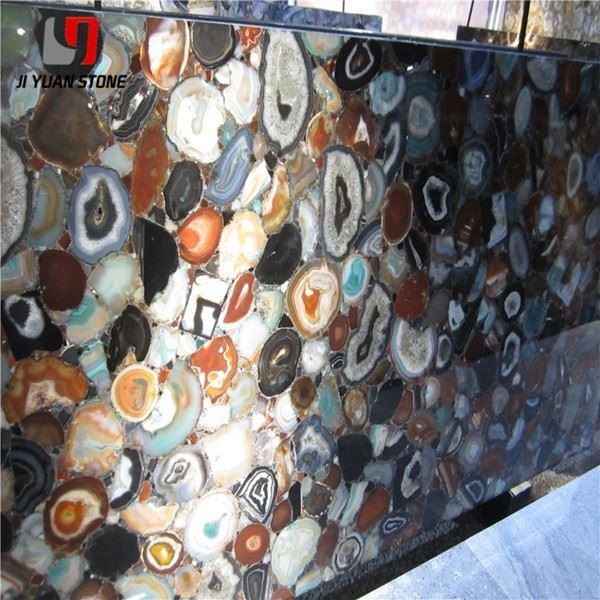
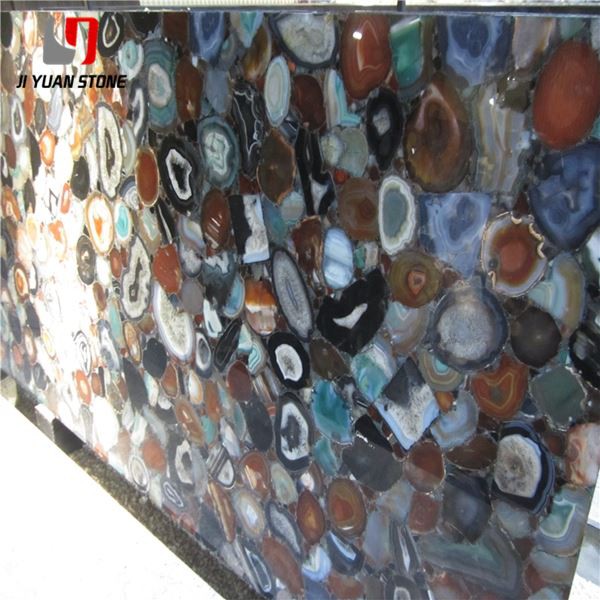
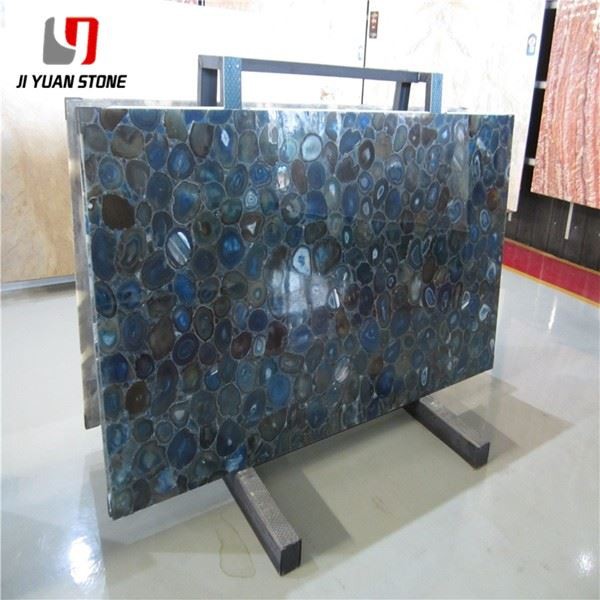
| Color | Yellow,Black,White,Red,Purple Wood,Green,Grey,Pink,Rainbow,Pink,Tiger Eye etc |
| Slab Size |
|
| Size |
|
| Package Detail |
1) Slab: plastic inside + strong seaworthy wooden bundle outside 2) tile: foam inside + strong seaworthy wooden crates with reinforced straps outside 3) Countertop: foam inside + strong seaworthy wooden crates with reinforced straps outside |
Elevate your architectural designs with agate stone slab tiles, known for their vibrant patterns, semi-translucent quality, and exceptional durability. Perfect for luxury interiors, agate tiles combine exotic beauty with a crystalline finish that transforms any surface into a statement of sophistication.
These slabs are suitable for floors, walls, steps, and countertops in high-end residential and commercial projects. With expert installation methods, they ensure long-lasting performance in structurally demanding applications.
🛠️ Installation Guide for Agate Stone Slab Tiles
For the best results, choose from the following professional installation techniques based on your project requirements:
1. Direct Bonding Method
In this standard technique, agate stone slab tiles are bonded directly to a flat, firm base layer using specially formulated adhesives.
- Ideal for walls and simple flooring applications
- Requires a clean, dry, and even surface
- Eliminates the need for heavy infrastructure or steel frames
- Simplifies and speeds up the installation process
2. Cantilevered Step Installation
Designed for staircases and floating step designs, this method supports the stone slab via a steel cantilevered frame.
2.1 Thickness Considerations
- Step thickness should be ≤80mm, suitable for spatial constraints
- Base structure: steel frame with flame-retardant board + steel plate
- Agate tile is bonded using agate-specific adhesive, keeping the surface sleek and thin
2.2 Base Layer Construction
Woodworking board or plywood is used instead of mortar
Benefits:
- Can be quickly secured with gun nails and steel plates
- No need for traditional grouting
- Resists impacts better during construction
3. Reinforced Base Layer Method
This is a highly durable and stable installation approach, ideal for high-load applications like steps or countertops.
3.1 Step-by-Step Process
1 . Plant Reinforcement – Enhances steel structure strength
2 . Cement Mortar Leveling – Ensures a flat and level surface
3 . Stone Bonding – Agate tiles are affixed with cement for a firm hold
3.2 Thickness Breakdown
- Agate stone slab tile: 2 cm
- Cement bonding layer: ≥ 0.8 cm
- Mortar base layer: ≥ 1.5 cm
- Total finished thickness: approx. 5 cm
4. Advanced Construction Procedures
Choose one of the following structural methods depending on site conditions:
4.1 Steel Structure Installation Method
Construction Sequence:
- Slot the wall
- Pre-embed steel plates
- Install chemical bolts
- Position and mark the steps
- Weld steel plate and square tubing
- Install agate slab tiles on top
Key Considerations:
- Embedded steel plates serve as structural stress points
- Requires professional structural analysis to determine plate thickness
4.2 Wall-Fixed Installation Method
Construction Sequence:
- On-site layout and planning
- Weld steel plates and square pipes
- Bolt the structure chemically to load-bearing walls
- Add galvanized plates for additional support
- Install the agate slab tile surface layer
Key Considerations:
Requires high wall load-bearing capacity
Not compatible with:
- Aerated light brick walls
- Light steel keel wall systems
🌟 Why Choose Agate Stone Slab Tiles?
- Exquisite natural patterns and crystal clarity
- Ideal for modern, elegant interior and stair applications
- Compatible with direct bonding or advanced structural methods
- Resistant to impact, heat, and moisture
- Adds both artistic and material value to any space
Choose agate stone slab tiles for a unique fusion of natural luxury and engineered strength. Whether you're designing statement stairs, glowing countertops, or timeless walls, these tiles offer unmatched beauty and precision-fit installation options.
Share