1
/
of
8
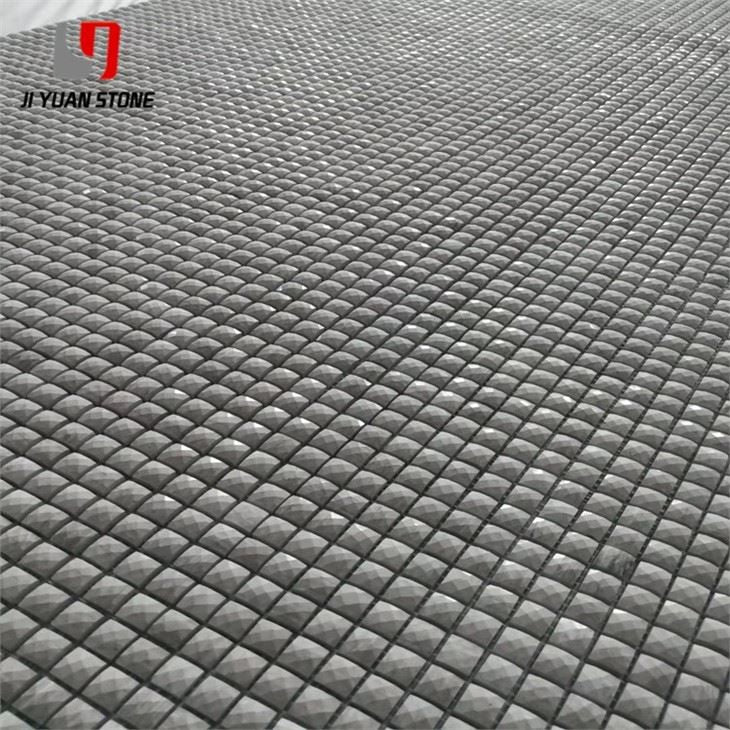
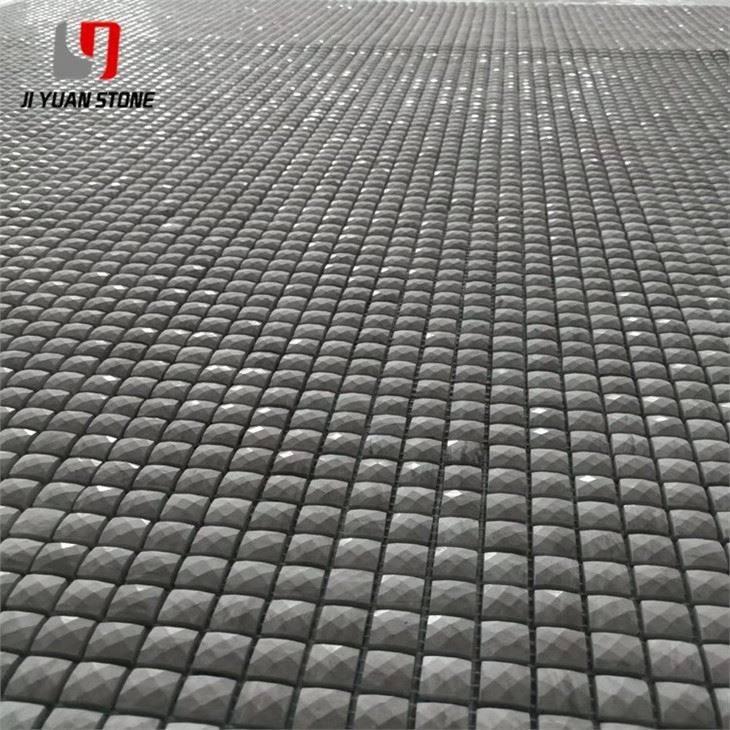
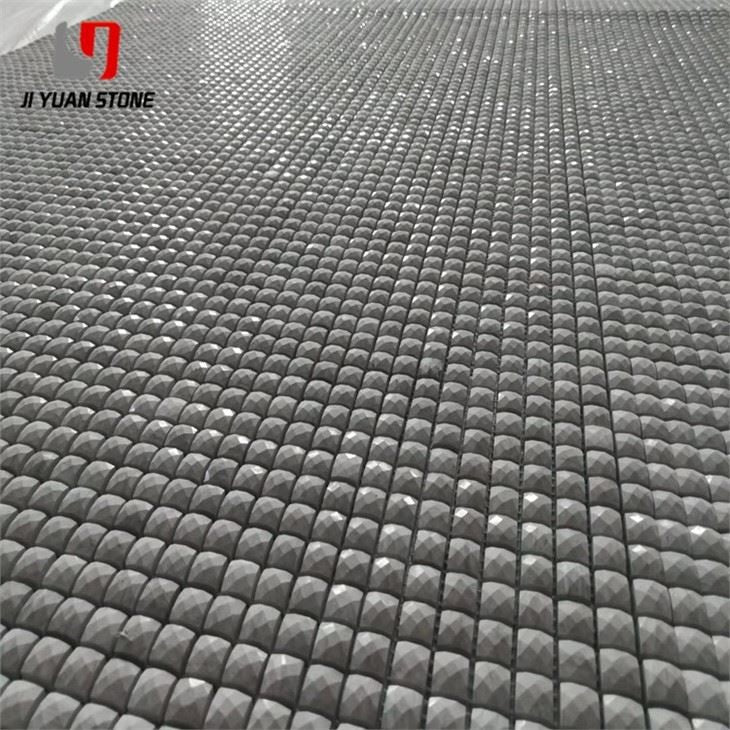
3d Stone Mosaic
3d Stone Mosaic
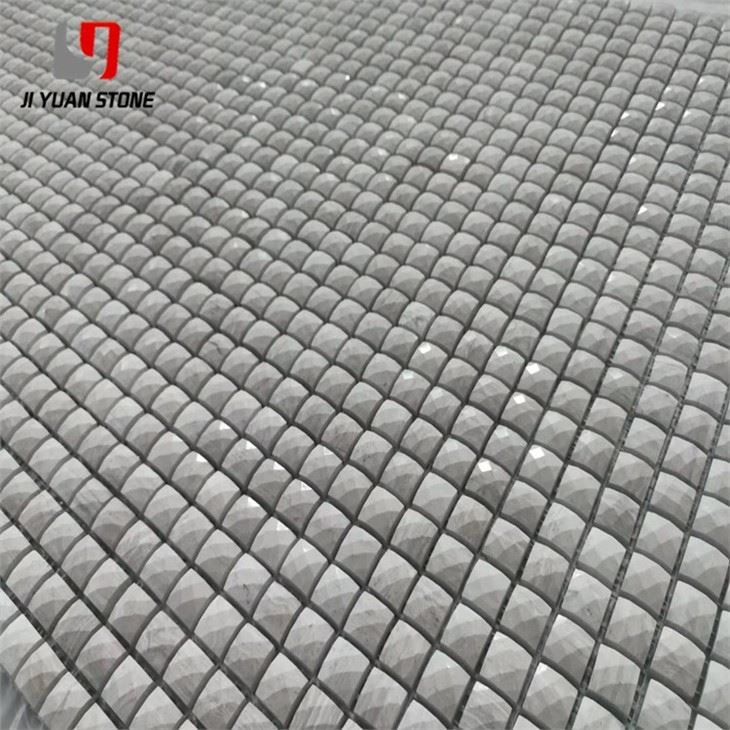
Introducing our innovative 3d Stone Mosaic, a stunning addition to any space. Crafted from high-quality stone, this mosaic offers a unique 3D effect that adds depth and dimension to your walls or floors. With its durable and stylish design, create a modern and sophisticated look in your home or office.
| Feature | Details |
|---|---|
| Material | Natural Marble Stone,Travertine,Limestone |
| Colour | As pictures show or customized |
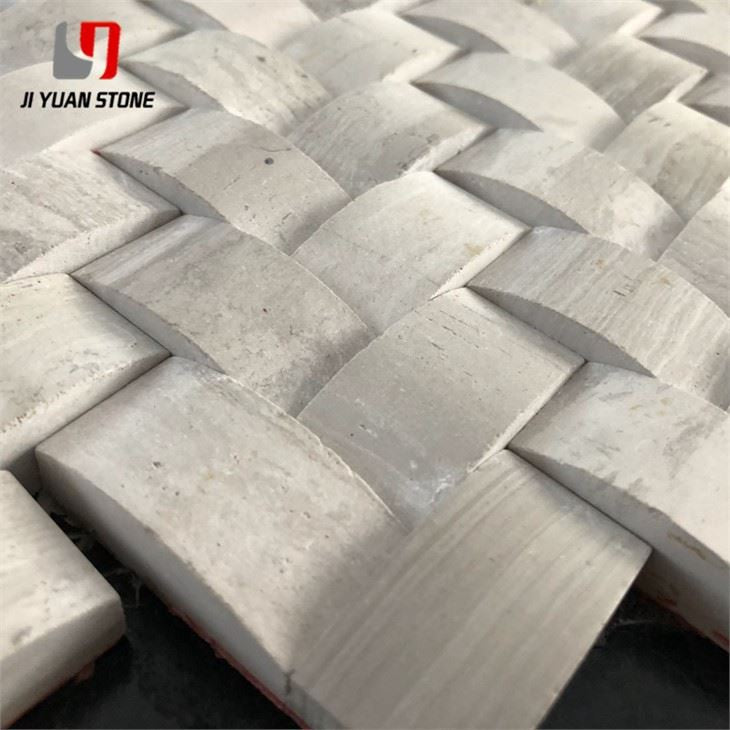
| Shape | Square, Basketweave, Mini brick, Modern brick, Herringbone, Subway, Hexagon, Octagon, Mixed, Grand fan, Penny round, Hand clipped, Tesserae, Random strip, River rocks, 3D cambered, Pinwheel, Rhomboid, Bubble round, Circle bubble, Stacked, etc... |
| MOQ | Unrestricted |
| Product Material | Marble |
| Surface Choice | Polished, Honed, Flamed, Antique, Stripped, Bush-hammered, Picked, Sawn, Sandblasted, Tumbled, Brushed, Rough, Lined, Acid-wash, etc. |
| Products Choice | Dry-hangs, Cut-to-Sizes, Panels, Slabs, Tops, Sanitary, Blocks, Stair Steps, Paving, Curbs, Columns, Pillars, Swimming Pool Borders, Tombstone, Sculptures, Fountains, Lanterns, Pots, Tables & Chairs, Meshed Paving, Mosaics etc. |
| Mosaics | 305x305Size(mm) |
| Thickness(mm) | 10-20 |
| Package | (Poly) Wooden Crate, Pallet, Rain Cloth, Carton & Foam are Our Usual Packing Material, But Different Product Different Pack, Different Pack Different Cost. |
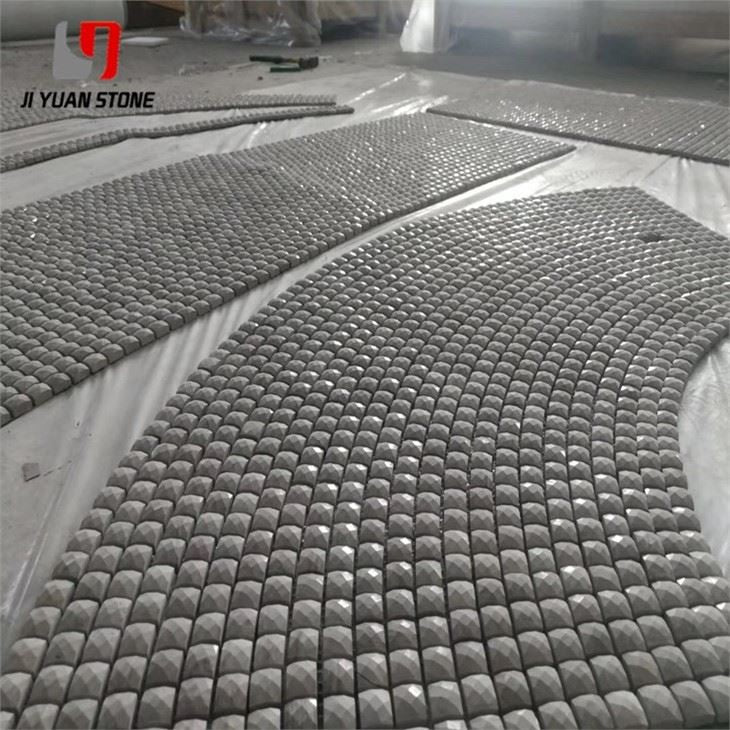
3D Stone Mosaic Marble Background Wall Installation
Dry Hanging Installation Method
Process Steps:
1. Steel Frame Installation:
- Due to the large area of the background wall and its 10 cm protrusion from the wall, a dry hanging method is used for safety.
- A steel frame is welded to the wall, and fixing parts connect the 3D stone mosaic marble blocks to the frame.
- The installer marks the location on the wall and installs the fixing parts accordingly.
2. Connector Installation on Steel Frame:
- The connection method involves cutting the upper and lower corners of each stone.
- 3D stone mosaic glue is injected into the cut, and the connector’s upper and lower clips are inserted to secure the stone in place.
3. Stone Installation:
- The first two stone pieces are installed.
- Edges of the stone and joints are chamfered to ensure a seamless look.
- The lower stone is secured by the installer.
- The fourth 3D stone mosaic piece is placed.
- The installation is completed, achieving the final effect of a well-secured and visually appealing stone background wall.
Empty Wall Installation Method
Design Highlights:
- Redefines the traditional concept of using the wall as a background. Instead, the entire wall itself becomes the background.
- Creates a modern, stylish look while enhancing the connection between adjacent spaces.
Applicable Space:
- Suitable for non-load-bearing walls that can be demolished without affecting the functionality of the adjacent space.
Use Effect:
-
Best approach: After demolishing the original wall, build a false wall with various design styles:
- A half-wall with the bottom portion remaining.
- A top half-wall supported by metal rods.
- The empty wall design is highly flexible, allowing for various decorative elements such as:
- Bead curtain partitions
- Glass partitions
- Avoid cluttering the space with TV cabinets, set-top boxes, DVD players, or excessive external devices, as this can diminish the aesthetic appeal.
Challenges in Renovation:
- The entire non-load-bearing wall must be demolished and replaced with a false wall for decoration.
Design Flaws:
- If the knocked-out wall is not carefully designed, the final outcome may lack functionality and reduce its aesthetic value.
Share